Getting Started
Choose where models live, then let Cubric Vision set up the local generation engine.
If you have not downloaded and extracted the app yet, start with Installation. This page picks up at the first launch, once Cubric Vision opens.
First launch
The first time Cubric Vision opens, it asks where to store AI model files. Pick a drive or folder with enough free space for the models you plan to use.
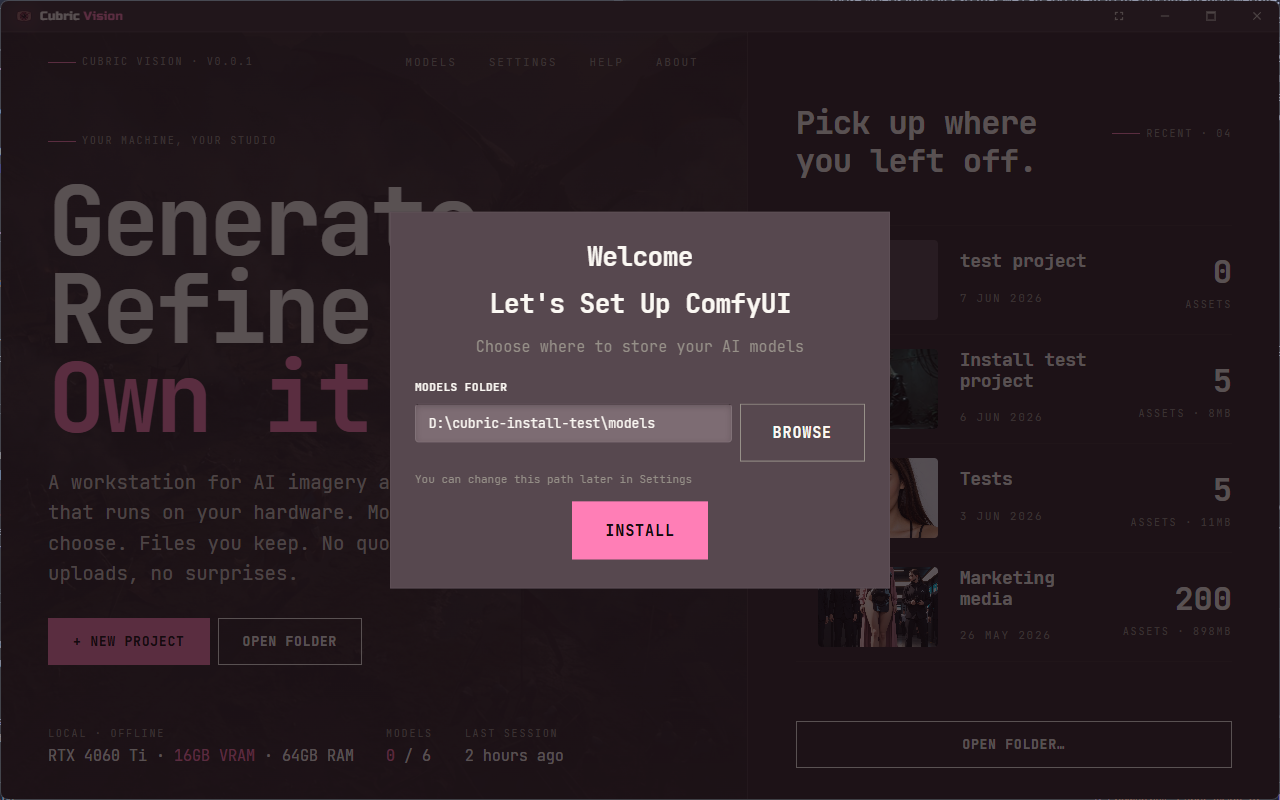
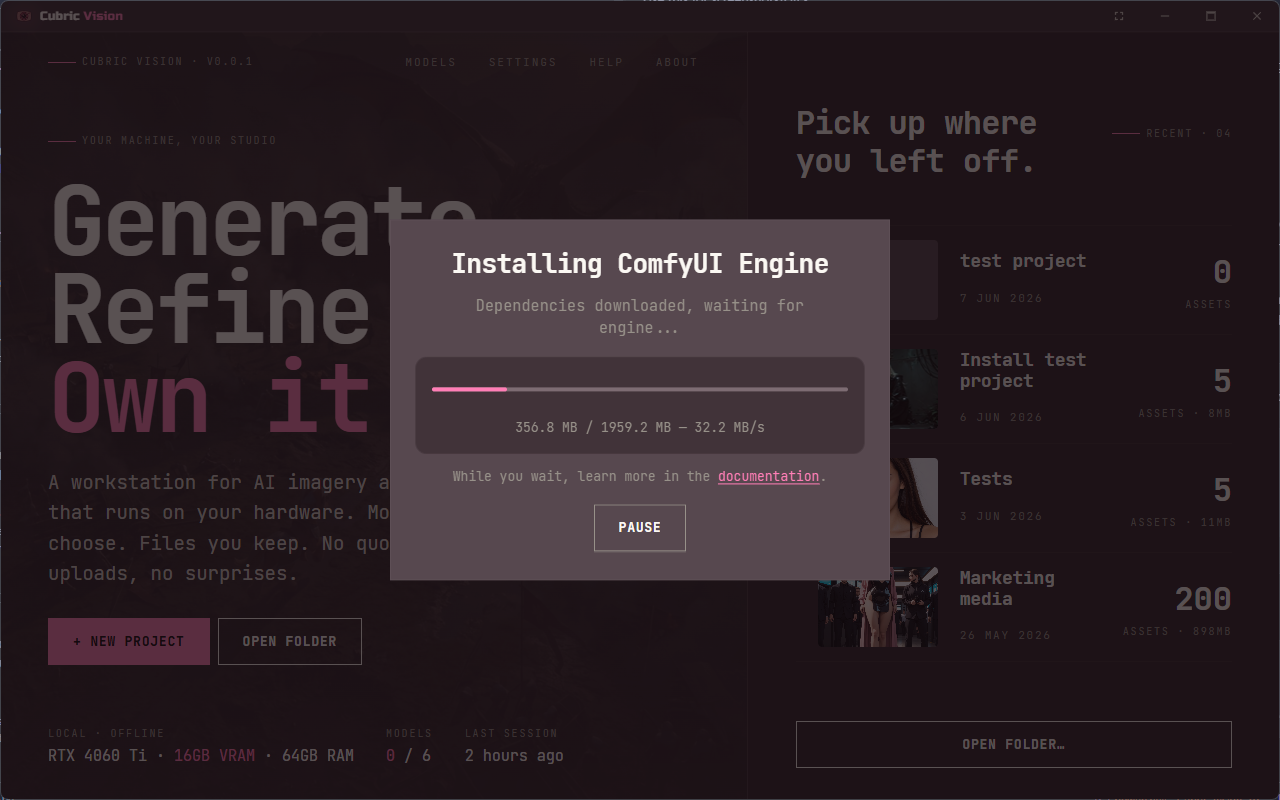
Press Install to start setup. Cubric Vision downloads and prepares the ComfyUI engine, installs required custom nodes, and installs the base files needed for built-in workflows. This can take a while, especially on the first run.
Models and folders
After setup finishes, Cubric Vision opens to the Projects page. From there you can open Settings to change the main ComfyUI models path later.
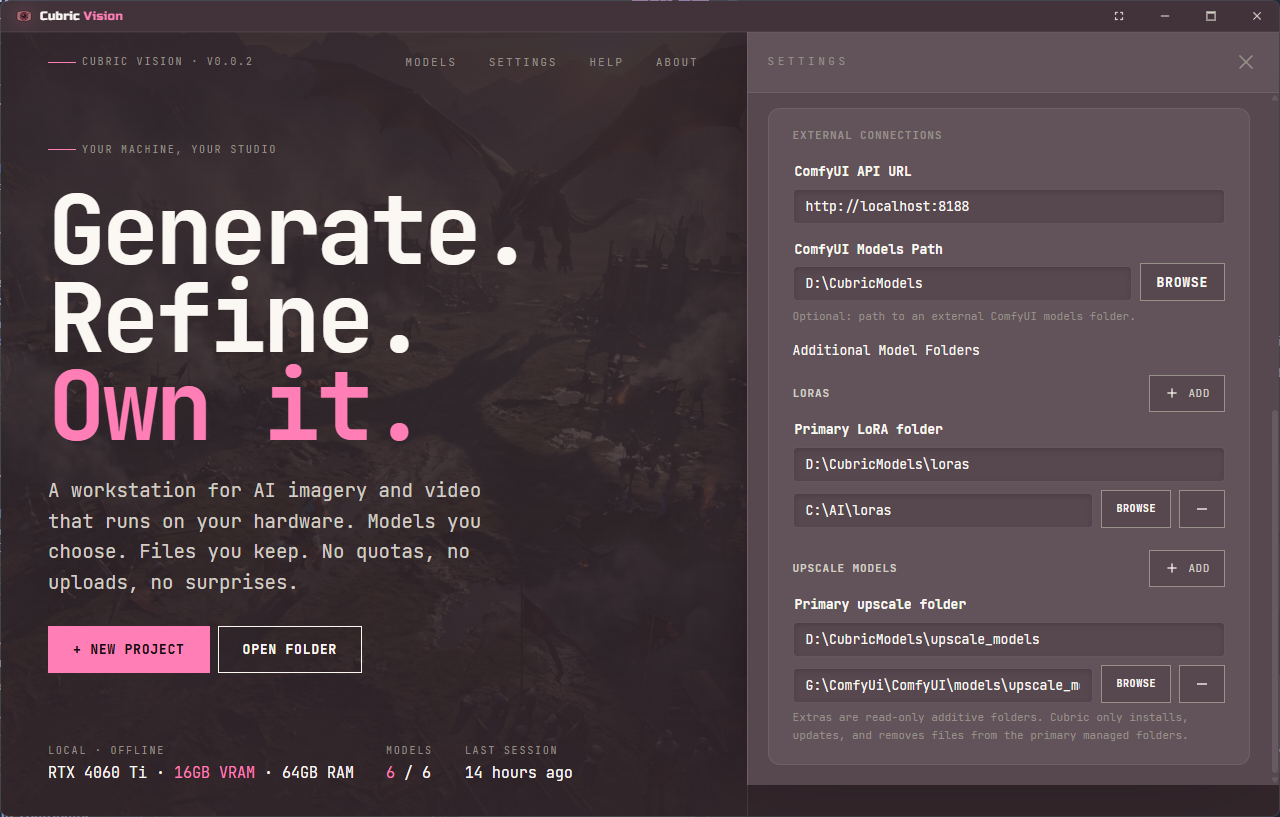
Additional LoRA and upscale model folders are additive. You can add more than one LoRA folder and more than one upscale model folder, even when those folders live in different parts of your system. Cubric Vision reads them together when showing available LoRAs and upscale models.
General settings
The Settings panel also controls how Cubric Vision starts the generation engine, displays media, and reuses previous generation details.
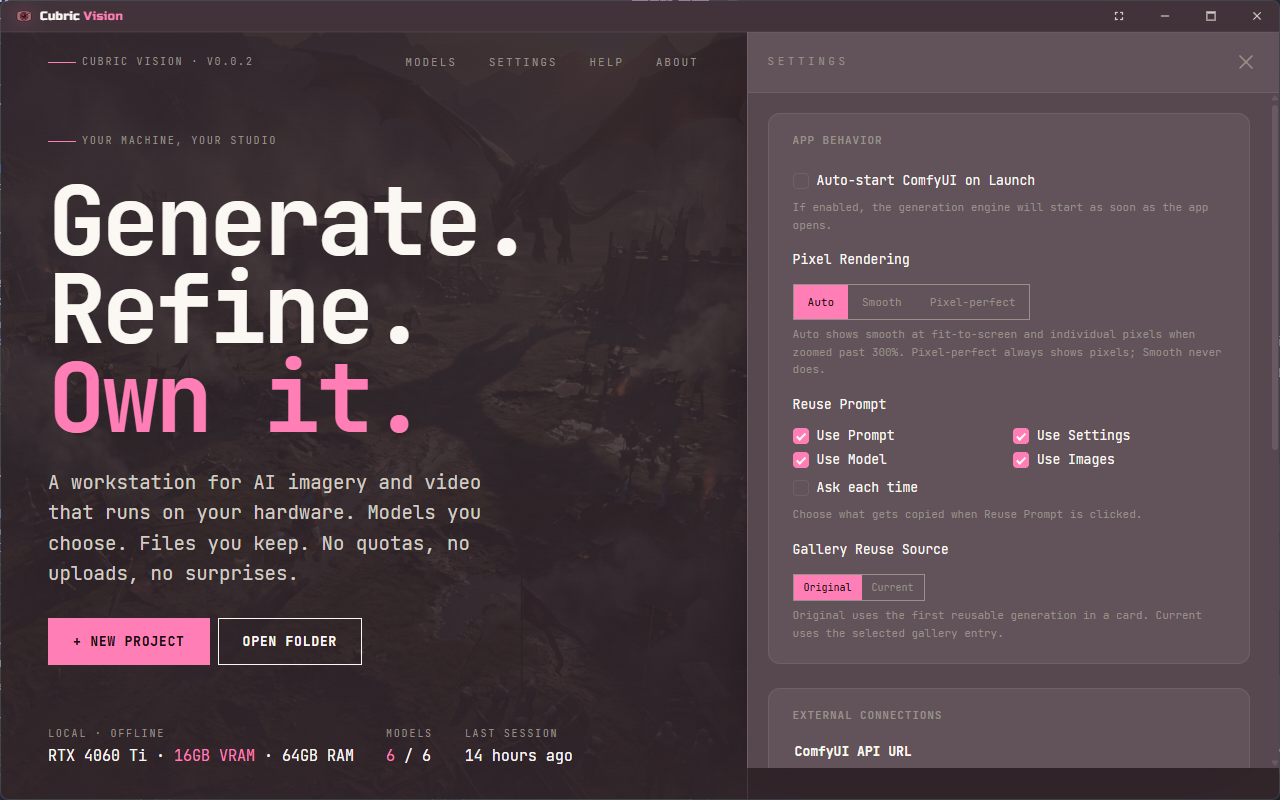
Auto-start ComfyUI on Launch starts the local generation engine as soon as Cubric Vision opens. Leave it off if you prefer Cubric Vision to wait; the first workflow that needs ComfyUI starts it once, then the engine keeps running in the background for later ComfyUI-backed operations.
Pixel Rendering changes only how images and videos are displayed in the viewer. Smooth blends pixels like a normal image or video viewer. Pixel-perfect shows the actual pixels, which is useful for precise edits. Auto stays smooth at fit-to-screen and switches to visible pixels when you zoom in past 300%.
Reuse Prompt controls what is copied when you press Reuse Prompt on a Gallery card or History entry. You can reuse the prompt text, the generation settings, the model choice, the input images or video frames, or any combination of those parts. Enable Ask each time if you want Cubric Vision to show a choice dialog every time you reuse a prompt.
Gallery Reuse Source applies to Gallery cards that contain more than one entry. Original reuses the first reusable generation in the card. Current reuses the entry currently selected or visible in that card.
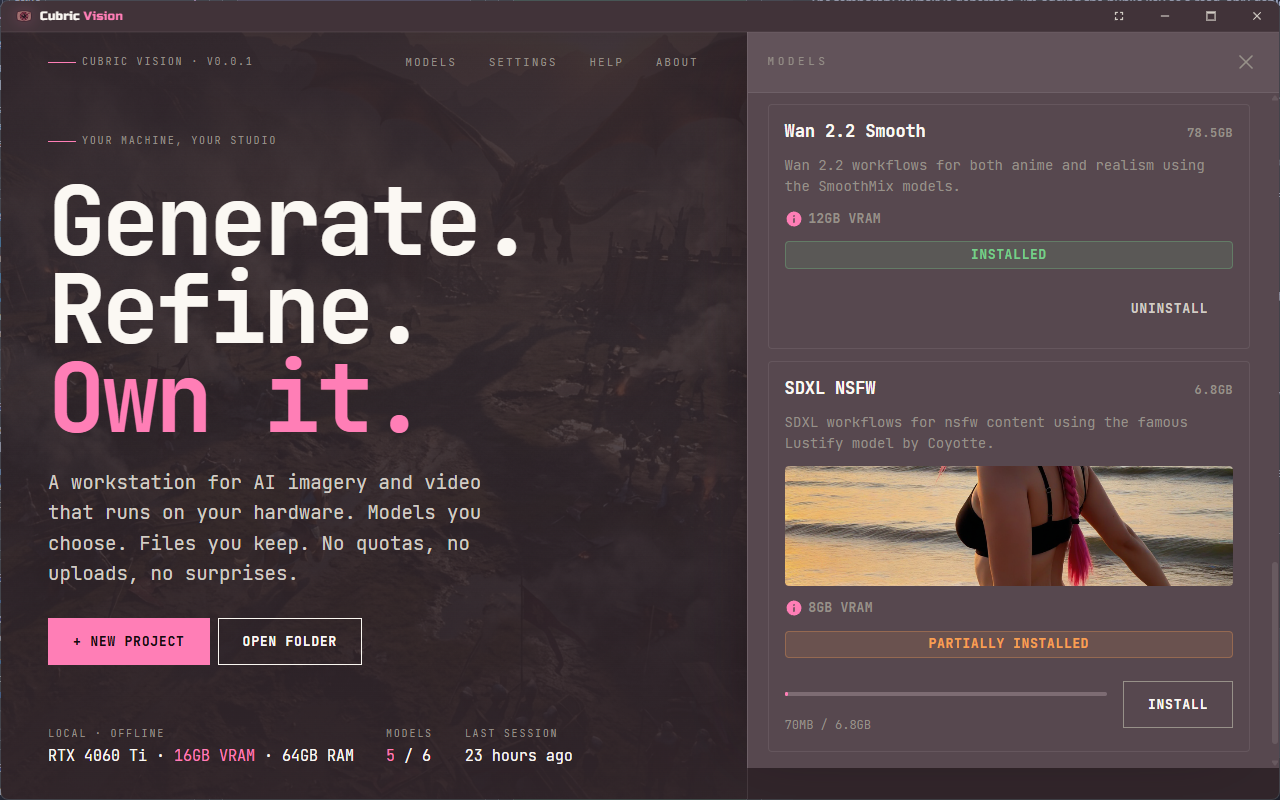
Some models share the same required files. When you install one model, any other model that uses those same files may appear as Partially installed. The progress bar shows how much of that model is already present on disk, so installing it later only needs to download the missing files.
What to expect
The first setup is the slowest run because Cubric Vision is preparing the local engine and downloading required files. Later launches use the installed engine and models from disk.