Cubric Vision - Prompt Box

Prompt Box

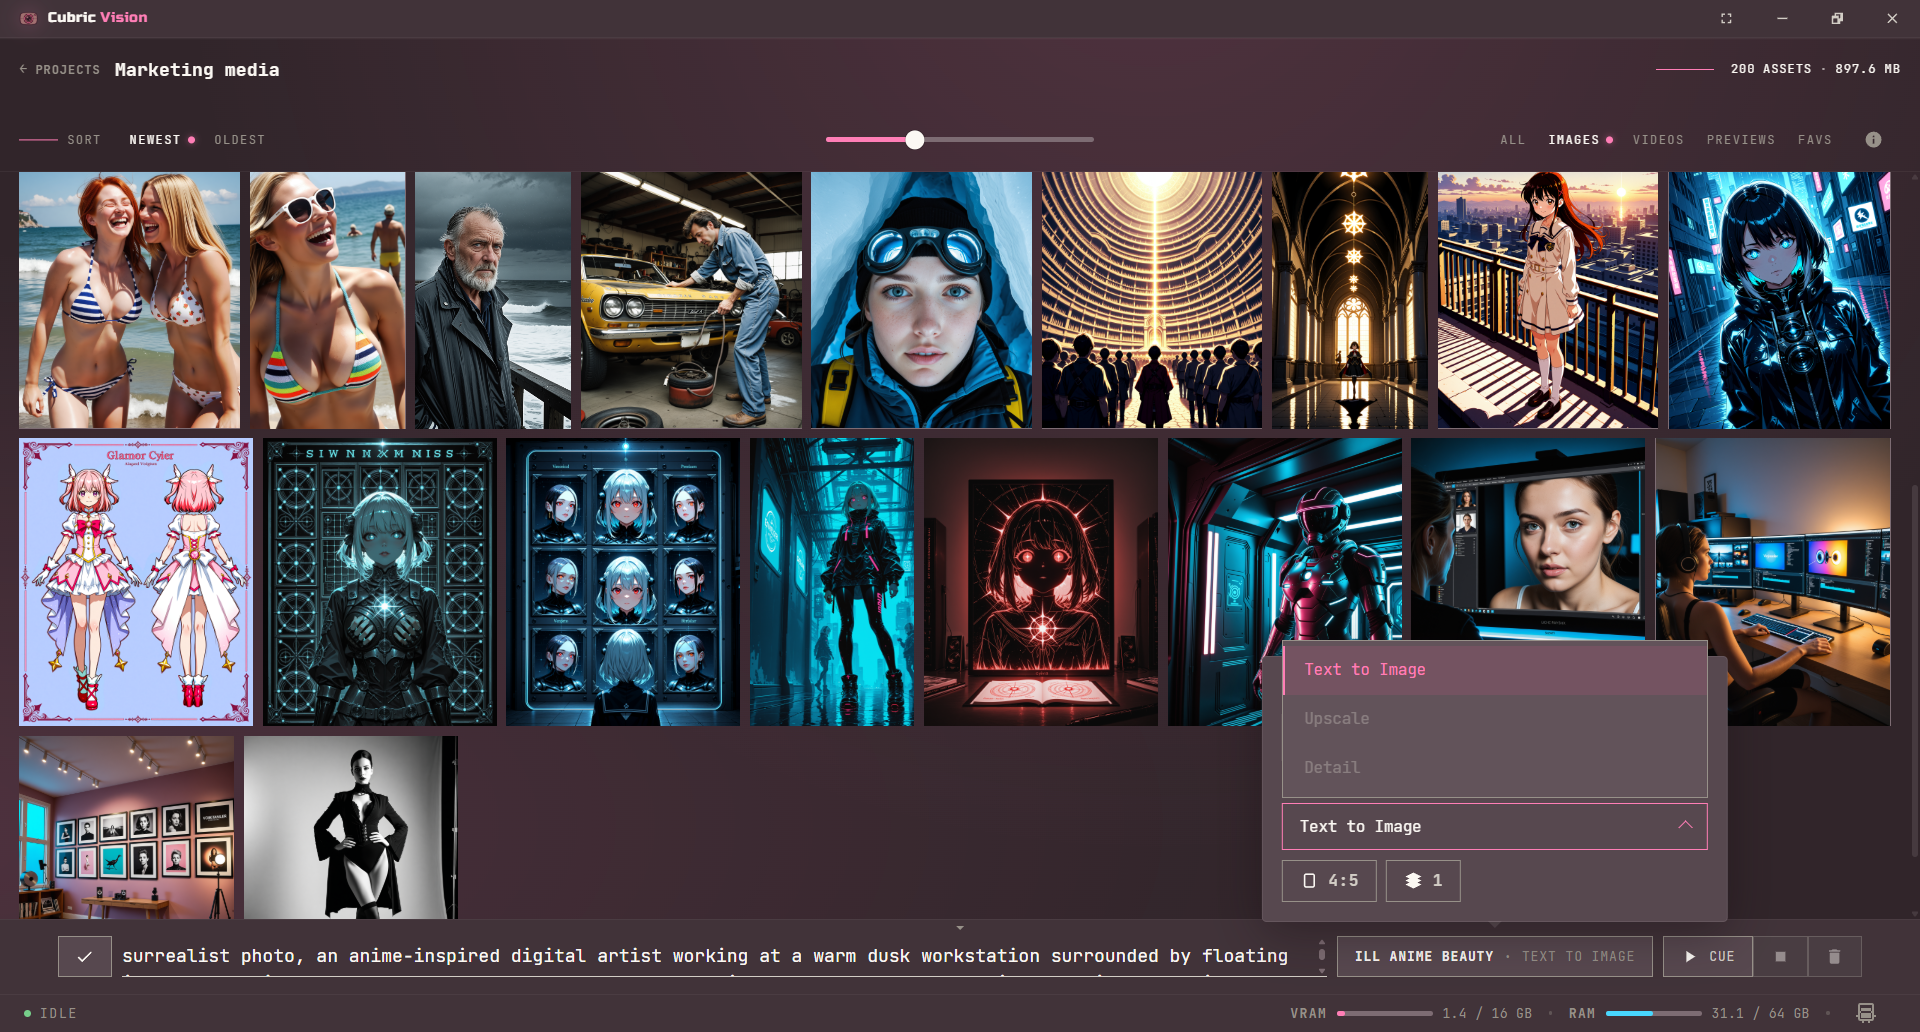
The Prompt Box is where you choose the model, operation, prompt text, media inputs, and generation controls for the next Cue.

Compact and expanded modes

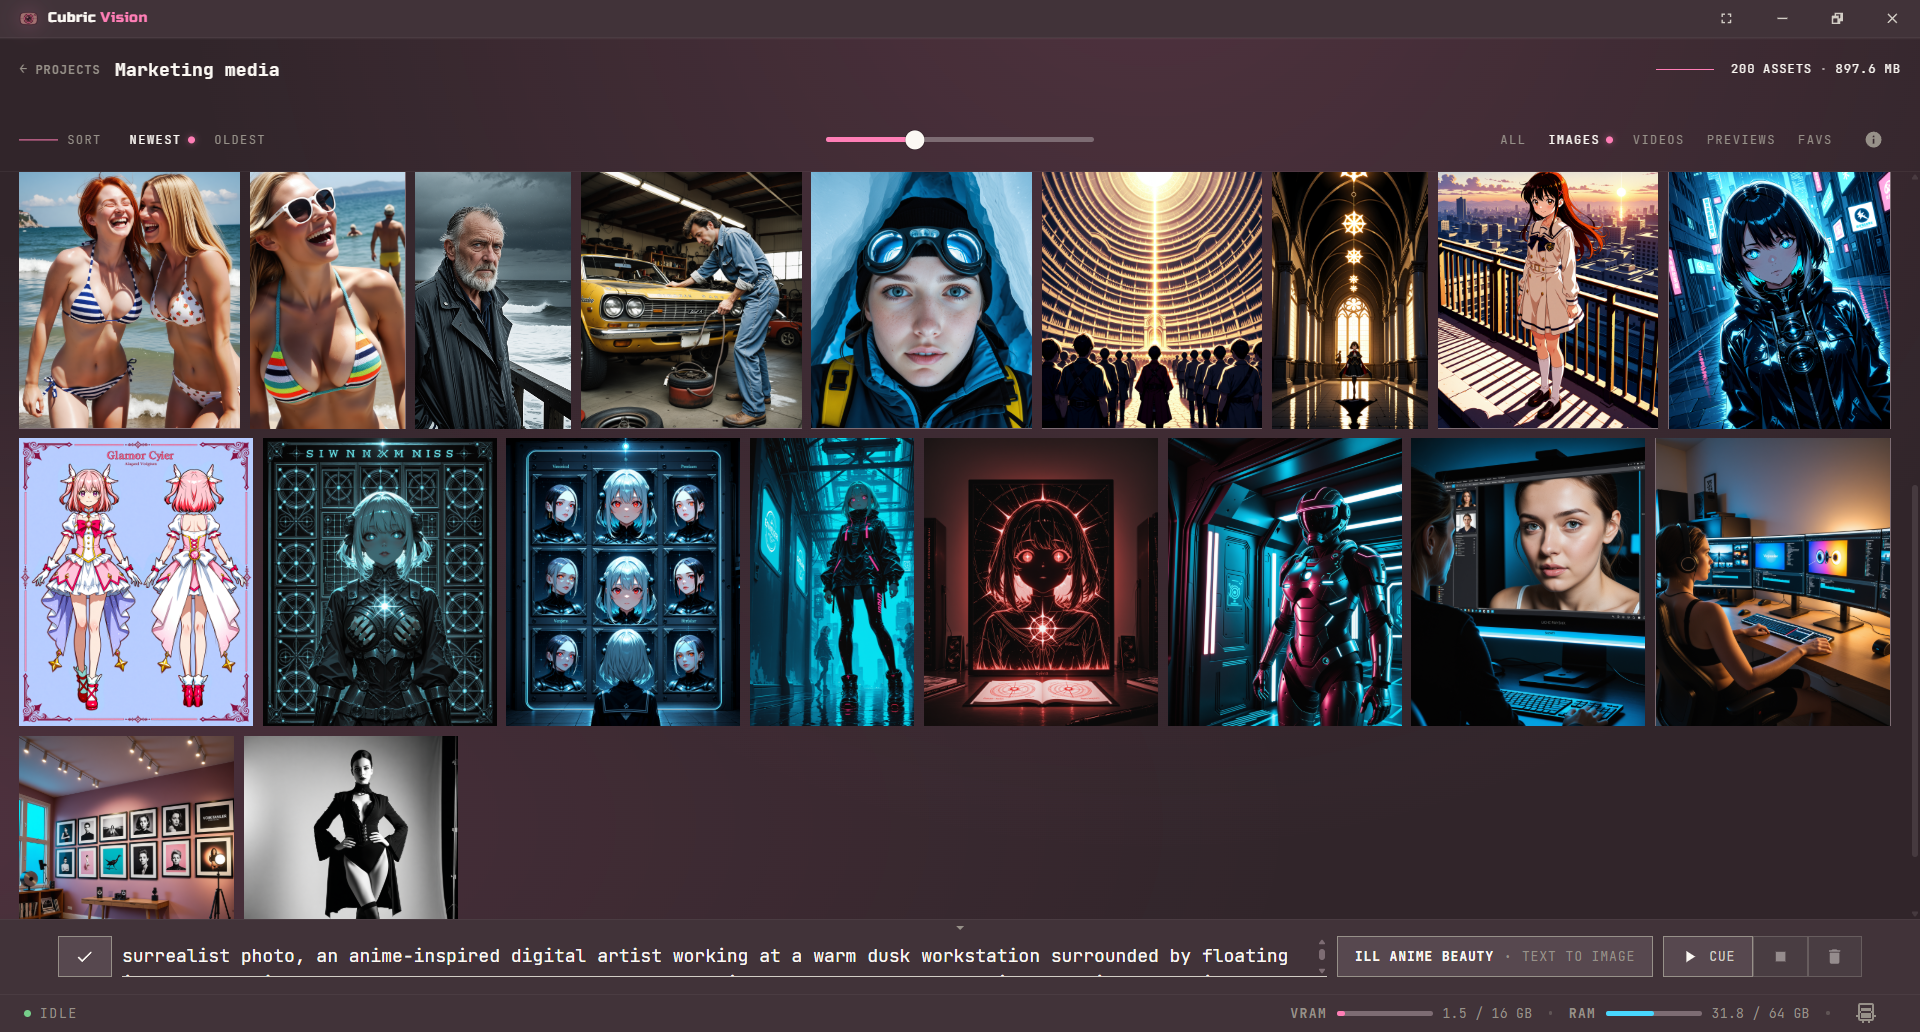
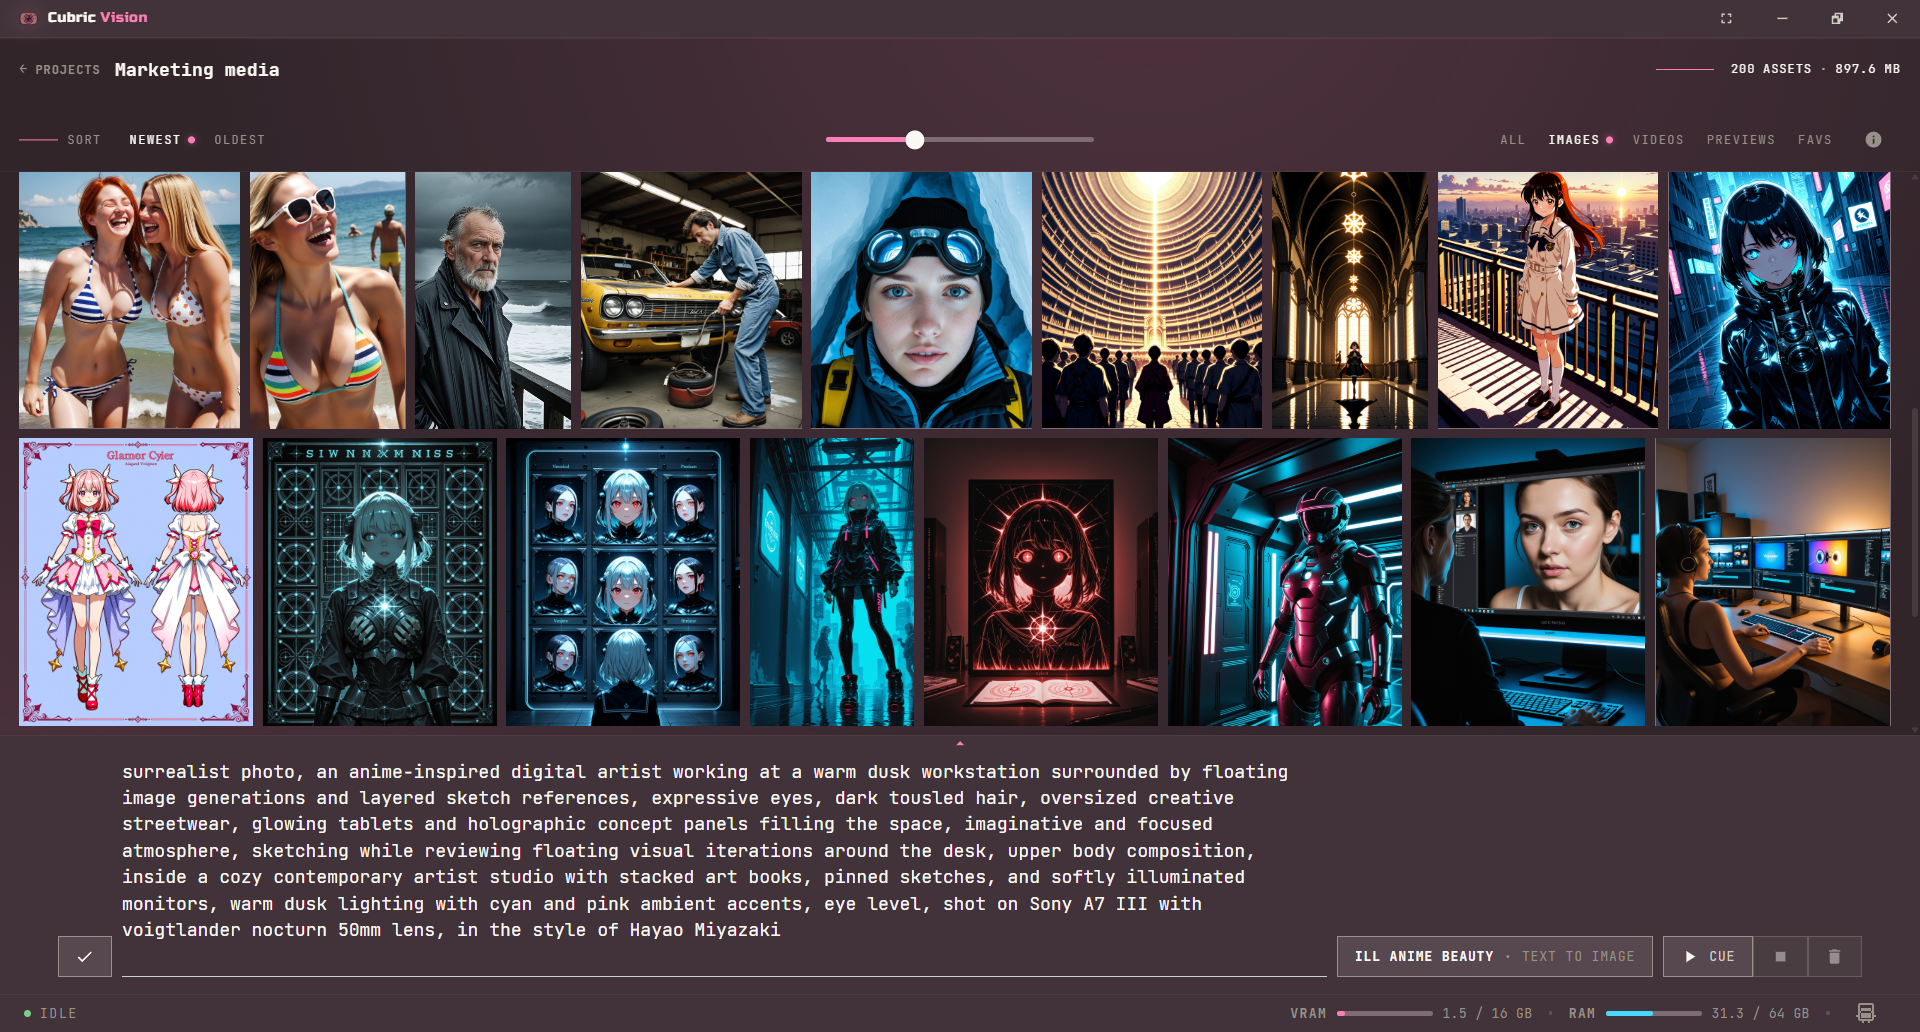
The Prompt Box opens in its compact mode by default. Compact mode keeps one prompt line visible so the Gallery can stay focused on media.

Use the small arrow at the top center of the Prompt Box to switch to expanded mode. When expanded mode is active, the arrow is rose-pink and the prompt field gives you more room for longer text.
Your prompt draft survives navigation within a session, and each surface keeps its own draft, so moving between the Gallery and History does not lose unsent text.

Cubric Vision Prompt Box in compact mode at the bottom of the Gallery
Compact mode keeps the Prompt Box present without taking over the Gallery.
Cubric Vision Prompt Box in expanded mode with a larger prompt text area
Expanded mode is useful when you are writing or editing longer prompts.

Positive and negative prompts

The default text field is the positive prompt. Use the prompt mode button on the left side of the text field to switch to the negative prompt, then describe what the model should avoid.
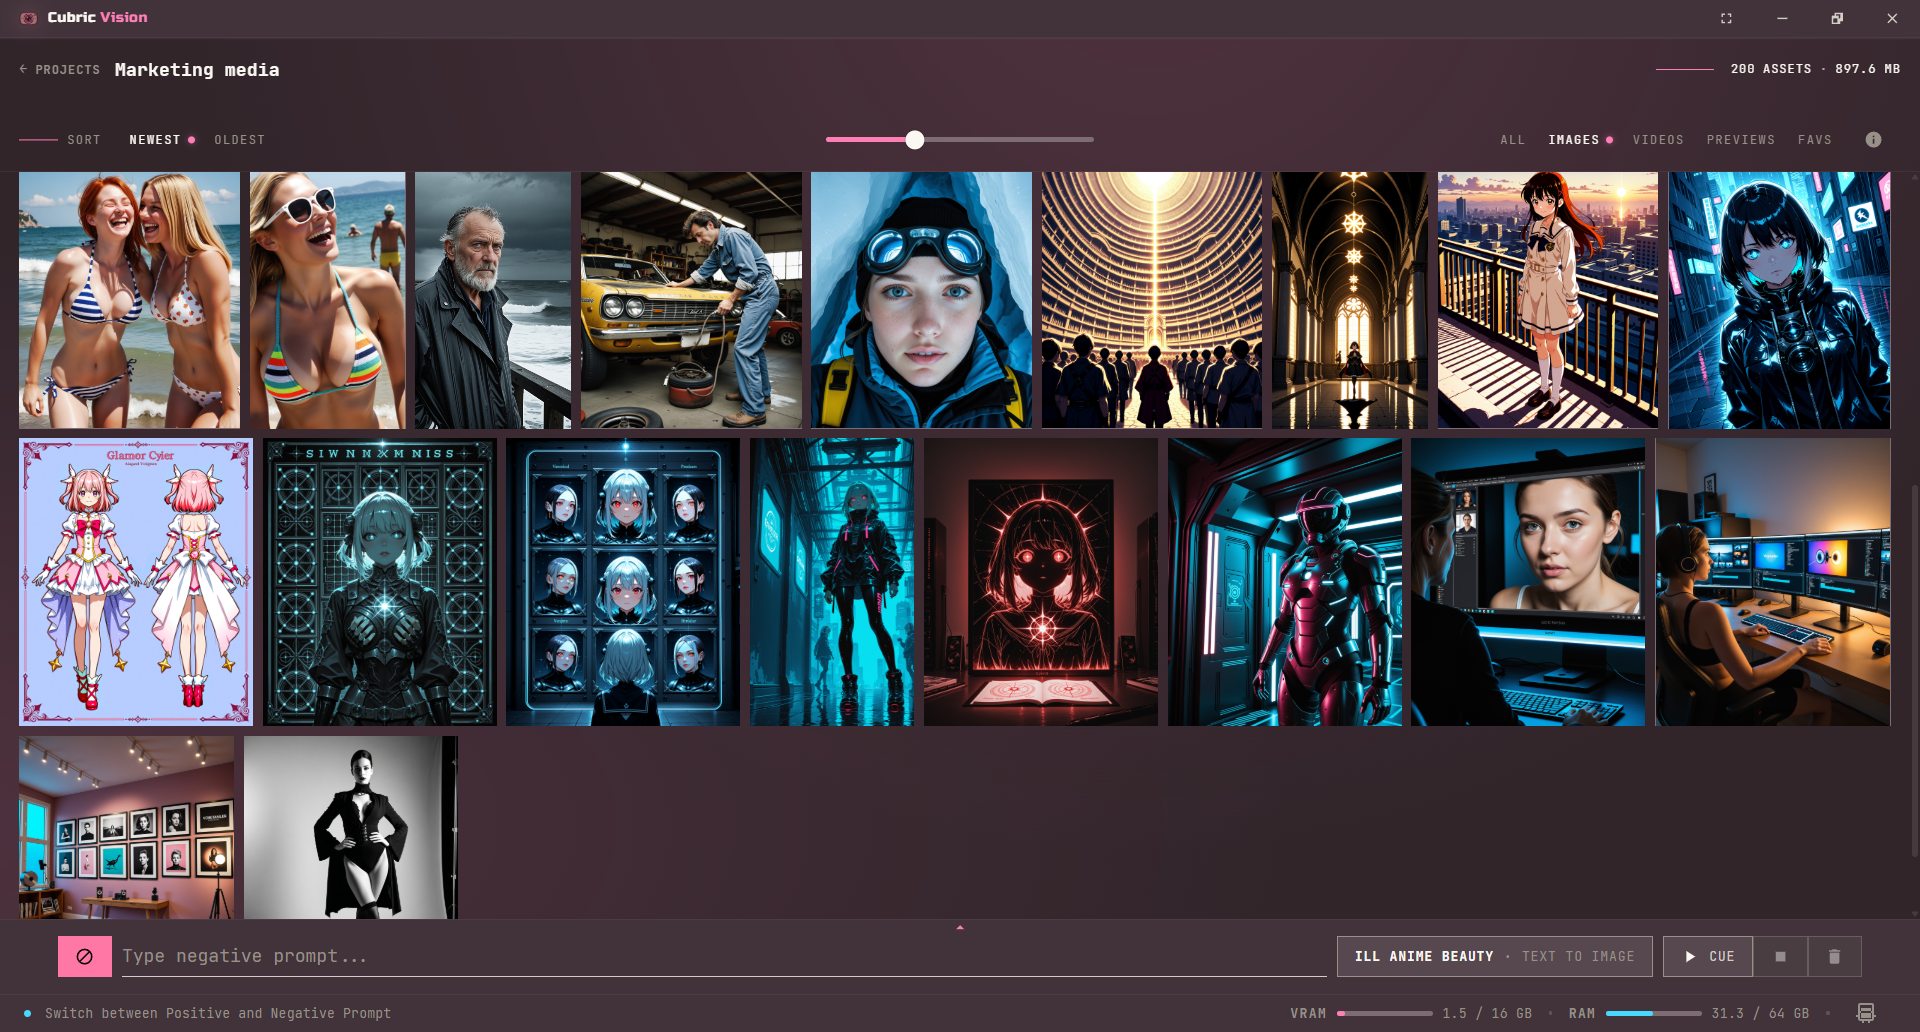
Not every model reads a negative prompt; the field only appears on the ones that do. On LTX 2.3 it was being ignored until 1.4 — anything you typed there did nothing. It works now, and leaving the box empty switches it off cleanly.

Prompt Box with negative prompt mode active and the negative prompt field visible
Negative prompt mode uses the same text area, but stores separate negative prompt text for the generation.

Add media from the Gallery

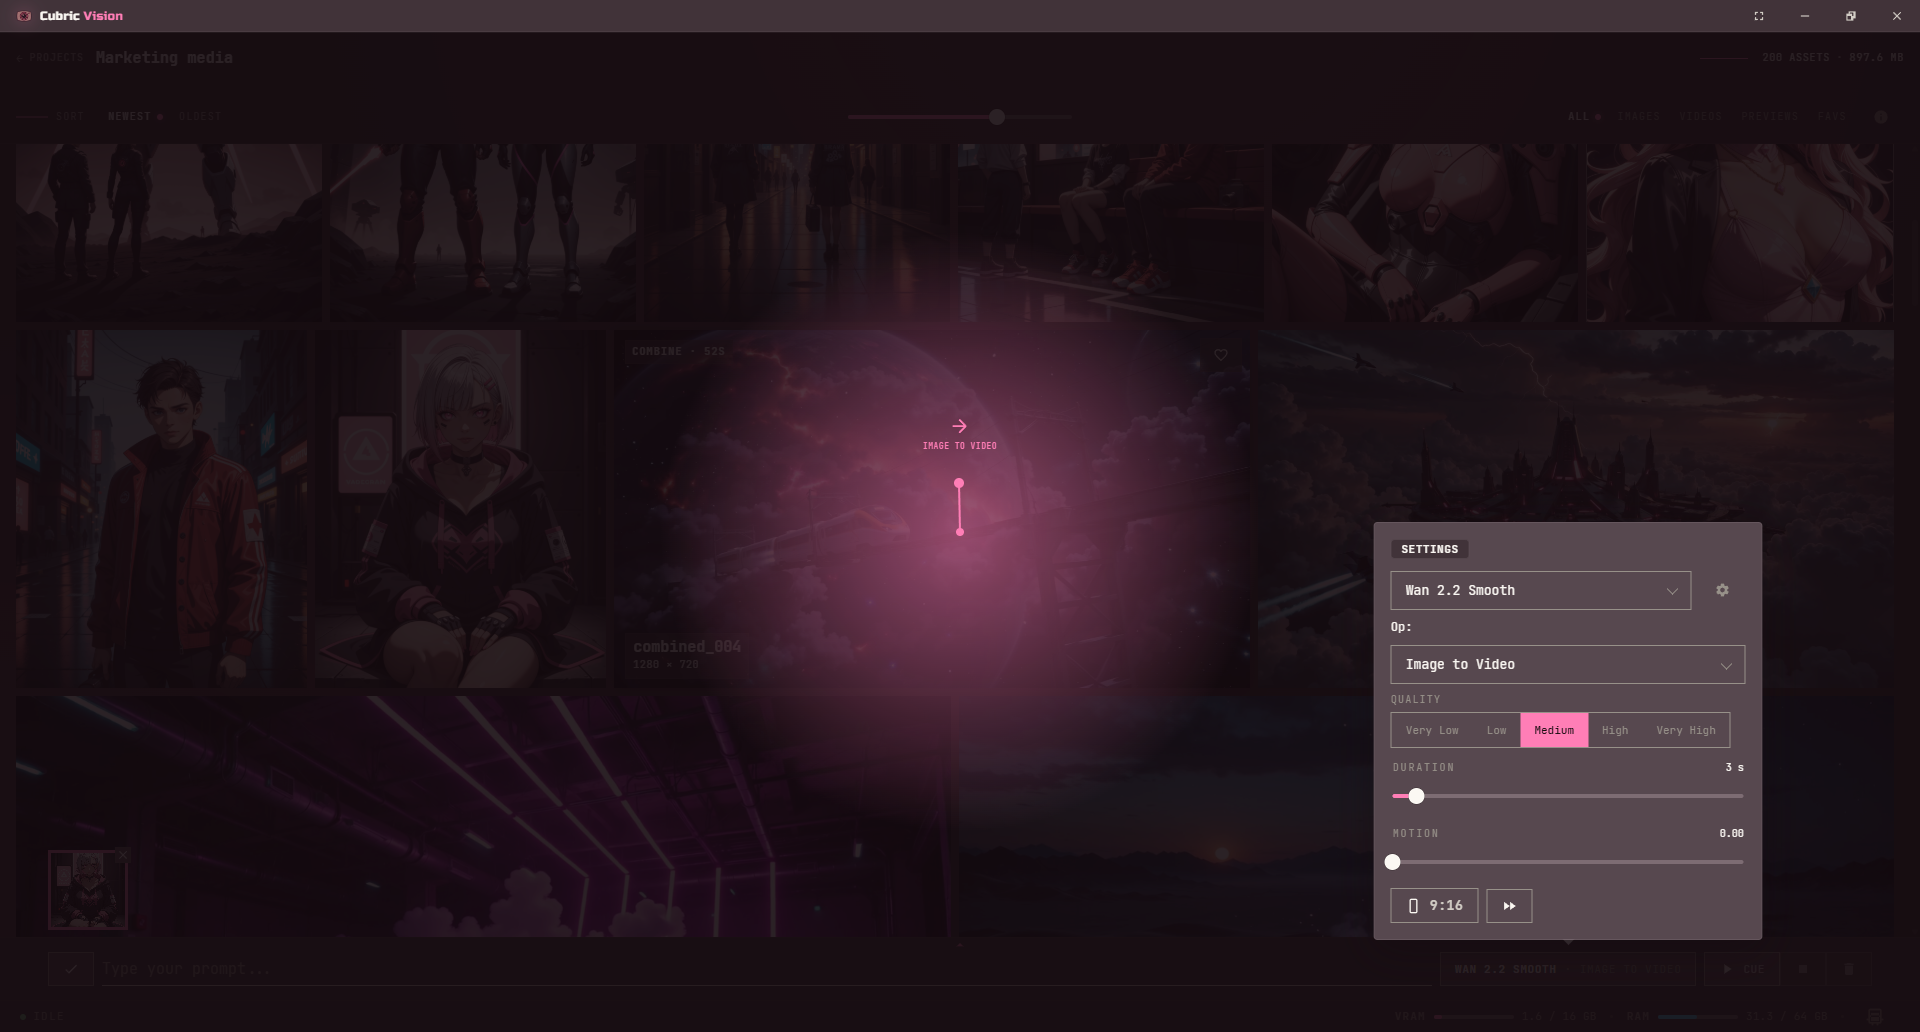
Drag a Gallery image or video onto the Prompt Box when you want to use that media as the source for a prompt operation. The Prompt Box adds the dropped item as a media input, then filters the available operations to the ones that can run with that media type.

For example, an image input can unlock image-to-image, upscale, or masked detail operations when the selected model supports them. A video input can unlock video operations such as extend or video-oriented tools when those operations are available.
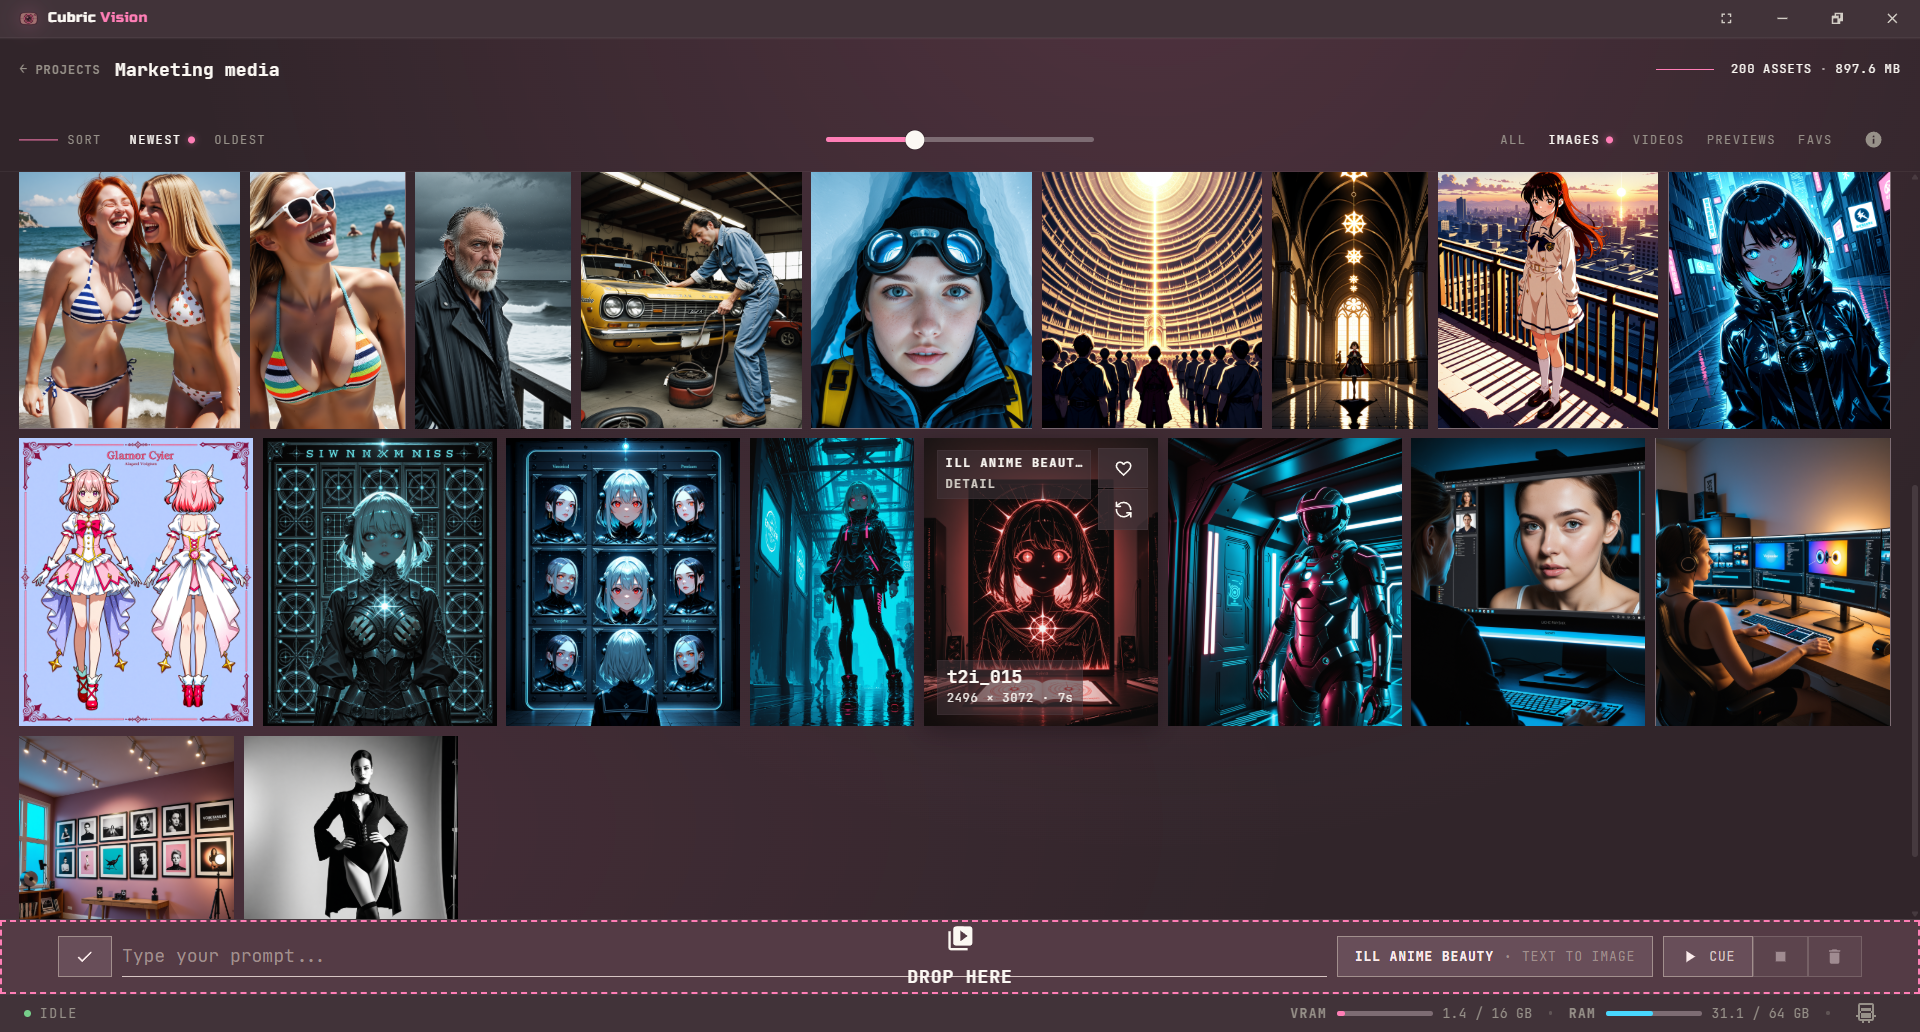
Gallery card being dragged over the Prompt Box drop target
Dropping Gallery media onto the Prompt Box adds it as the current operation input.

When an operation takes more than one image, the image chips are numbered. Drag them to change the order. Models that refer to images by position follow the order you set — for example Krea 2's identity Edit (scene first, subject second), Qwen Image Edit's combine-by-number, and Control on Krea 2 and FLUX.2 Klein (pose first, subject second). See Models for those usage notes.

First frame, last frame, or both

Drop a single image into the prompt box on a video model and it becomes the clip's first frame. The label along the bottom of the thumbnail is a button: click it and it reads Last frame, so the clip ends on that image instead of starting from it, and the model invents everything leading up to it.

Drop two images and you get both ends — first and last, in strip order.

This is useful for closing a loop, landing on a specific pose, or joining two shots you already have. LTX 2.3, Wan 2.2, and both MiniMax H3 models take it, including the end-frame-only case where the single image you give is the one the clip finishes on.

References on MiniMax H3 Reference

MiniMax H3 Reference works from references rather than from a frame, and takes up to nine images, three videos, and three audio clips at once.

Point at a specific one in your prompt by typing @. It lists what you have staged and drops in that item's tag — "the woman from <Picture 1> walking through <Picture 2>". Each thumbnail wears the tag it became, so there is nothing to memorise.

Reference detail decides how much of each reference the model reads. Match is the fast default. Max keeps more and is the one to use for a character sheet, but it costs time on every step.

Reuse previous prompts

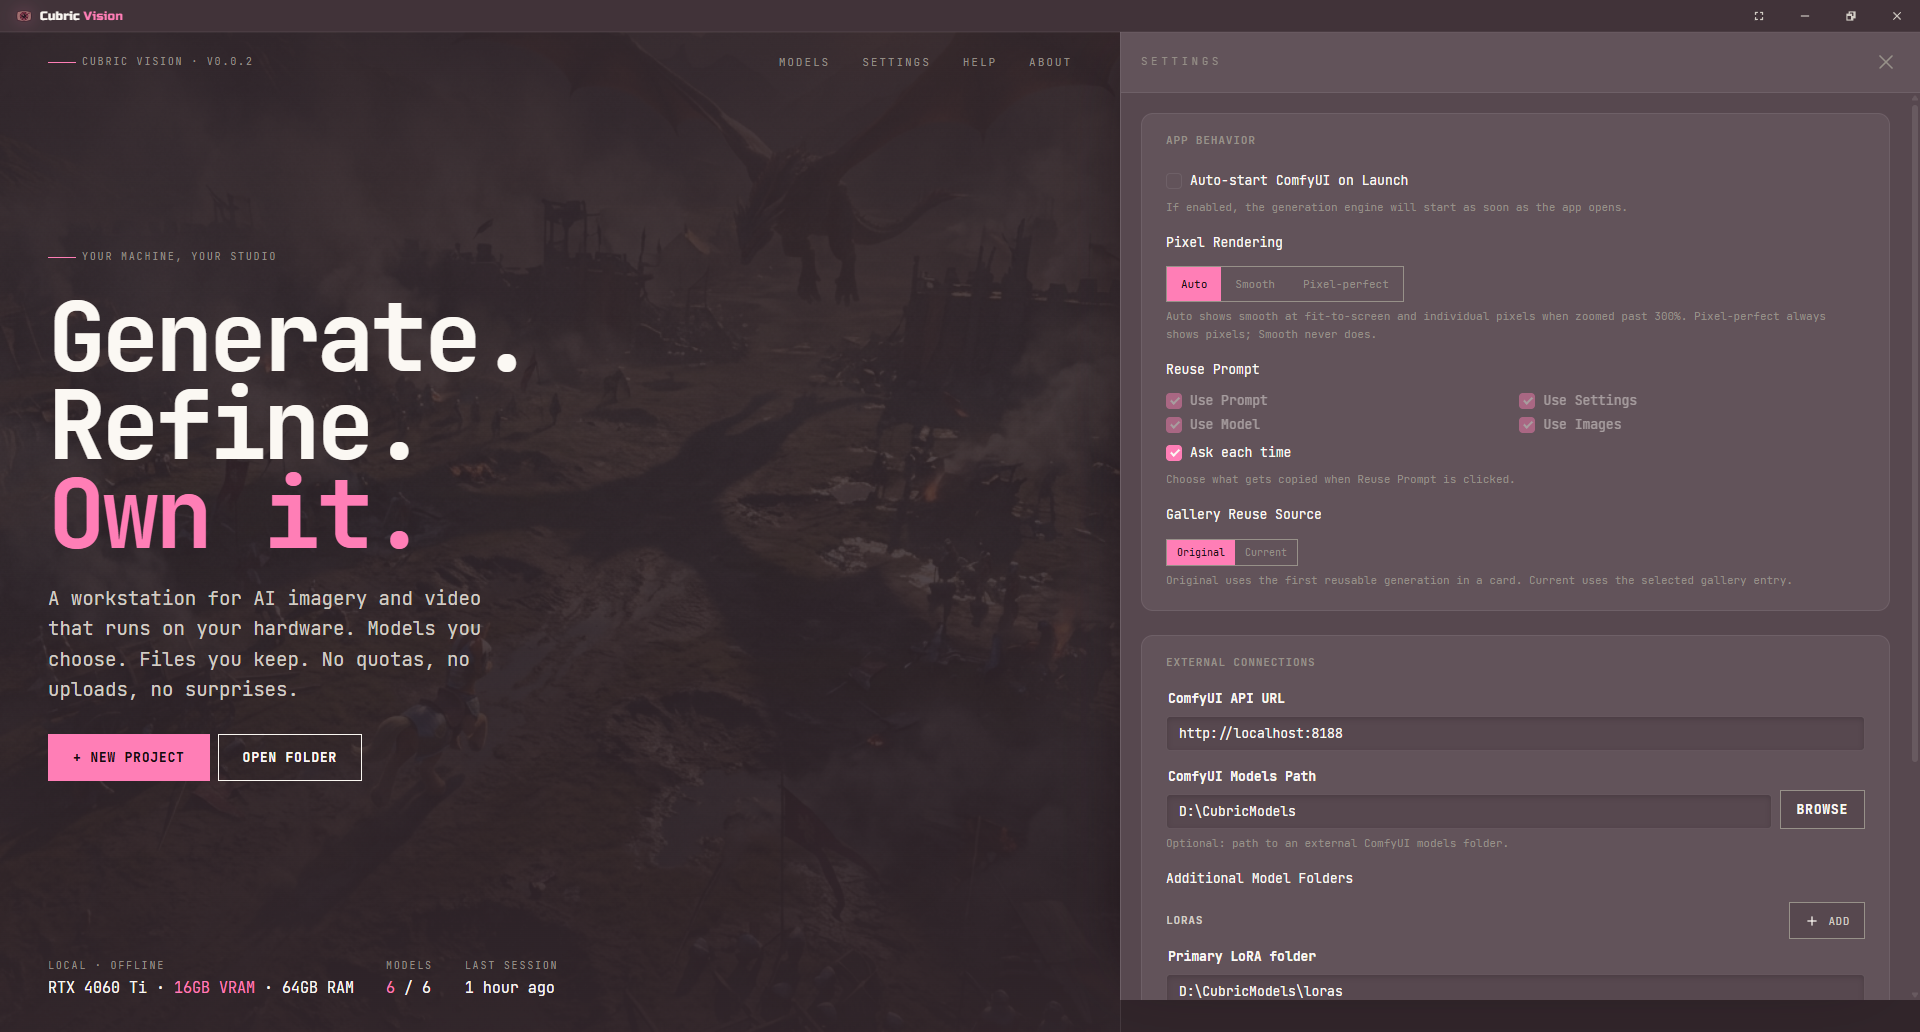
Use Reuse Prompt when you want to continue from a previous generation without rebuilding the Prompt Box by hand. Reuse Prompt can copy prompt text, generation settings, model choice, images, video, and audio from an earlier Gallery card or History entry. Choose which parts carry over in Settings.

The default reuse behavior is controlled from Settings. Turn on Ask each time when you want Cubric Vision to show a chooser before it transfers anything into the Prompt Box.
Since 1.4, every control a generation used is recorded, whether you touched it or not — so reusing a run puts a setting you have since nudged back to what that run actually used. Generations made before 1.4 cannot be repaired: those values were never written down.

Cubric Vision Settings with Reuse Prompt Ask each time enabled
Ask each time makes each reuse action explicit, so you decide what should be copied into the Prompt Box for that run.

In the Gallery, use Reuse Prompt from the card controls when you want to start a new Cue from an existing card. If Ask each time is enabled, the chooser opens before the Prompt Box is updated.
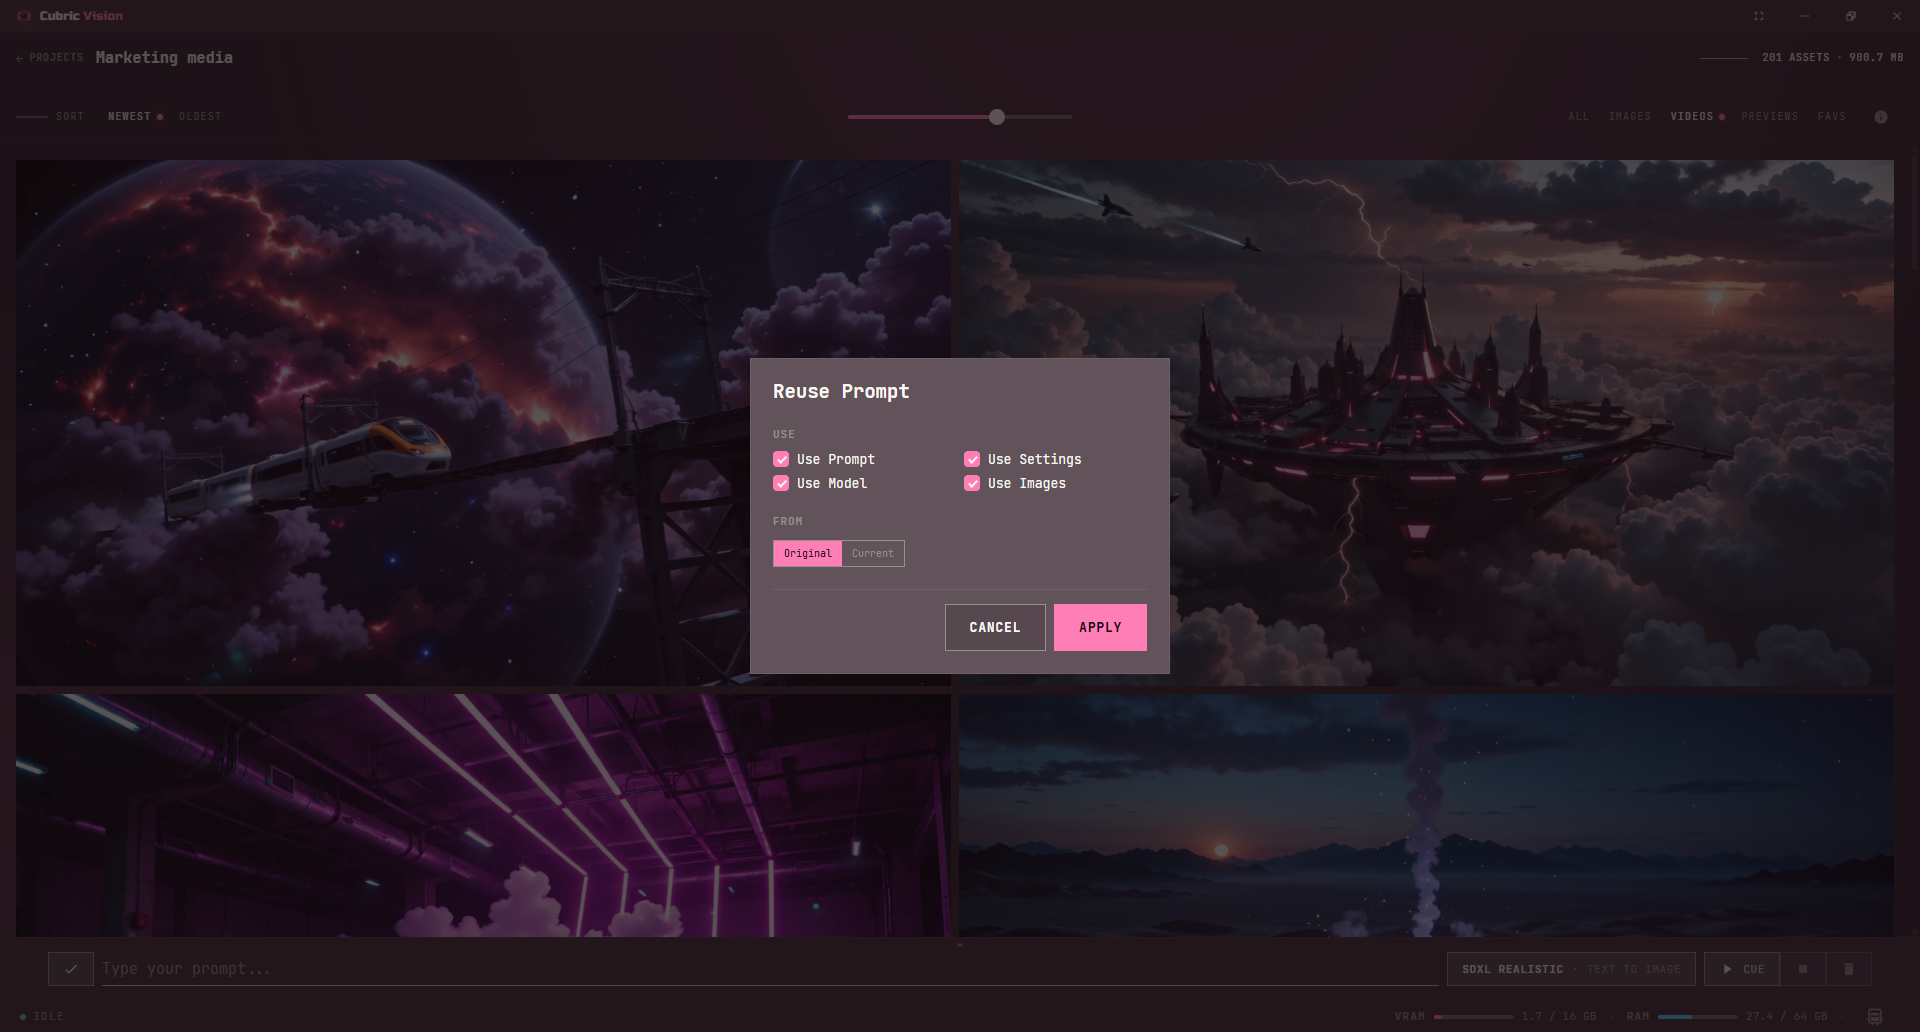
Gallery workspace showing the Reuse Prompt chooser for choosing what to transfer into the Prompt Box
The Gallery chooser lets you decide which parts of the selected card should become the next Prompt Box state.

In History, hover an entry to access Reuse Prompt for that exact output. This is useful when a later branch is not the one you want to continue from.
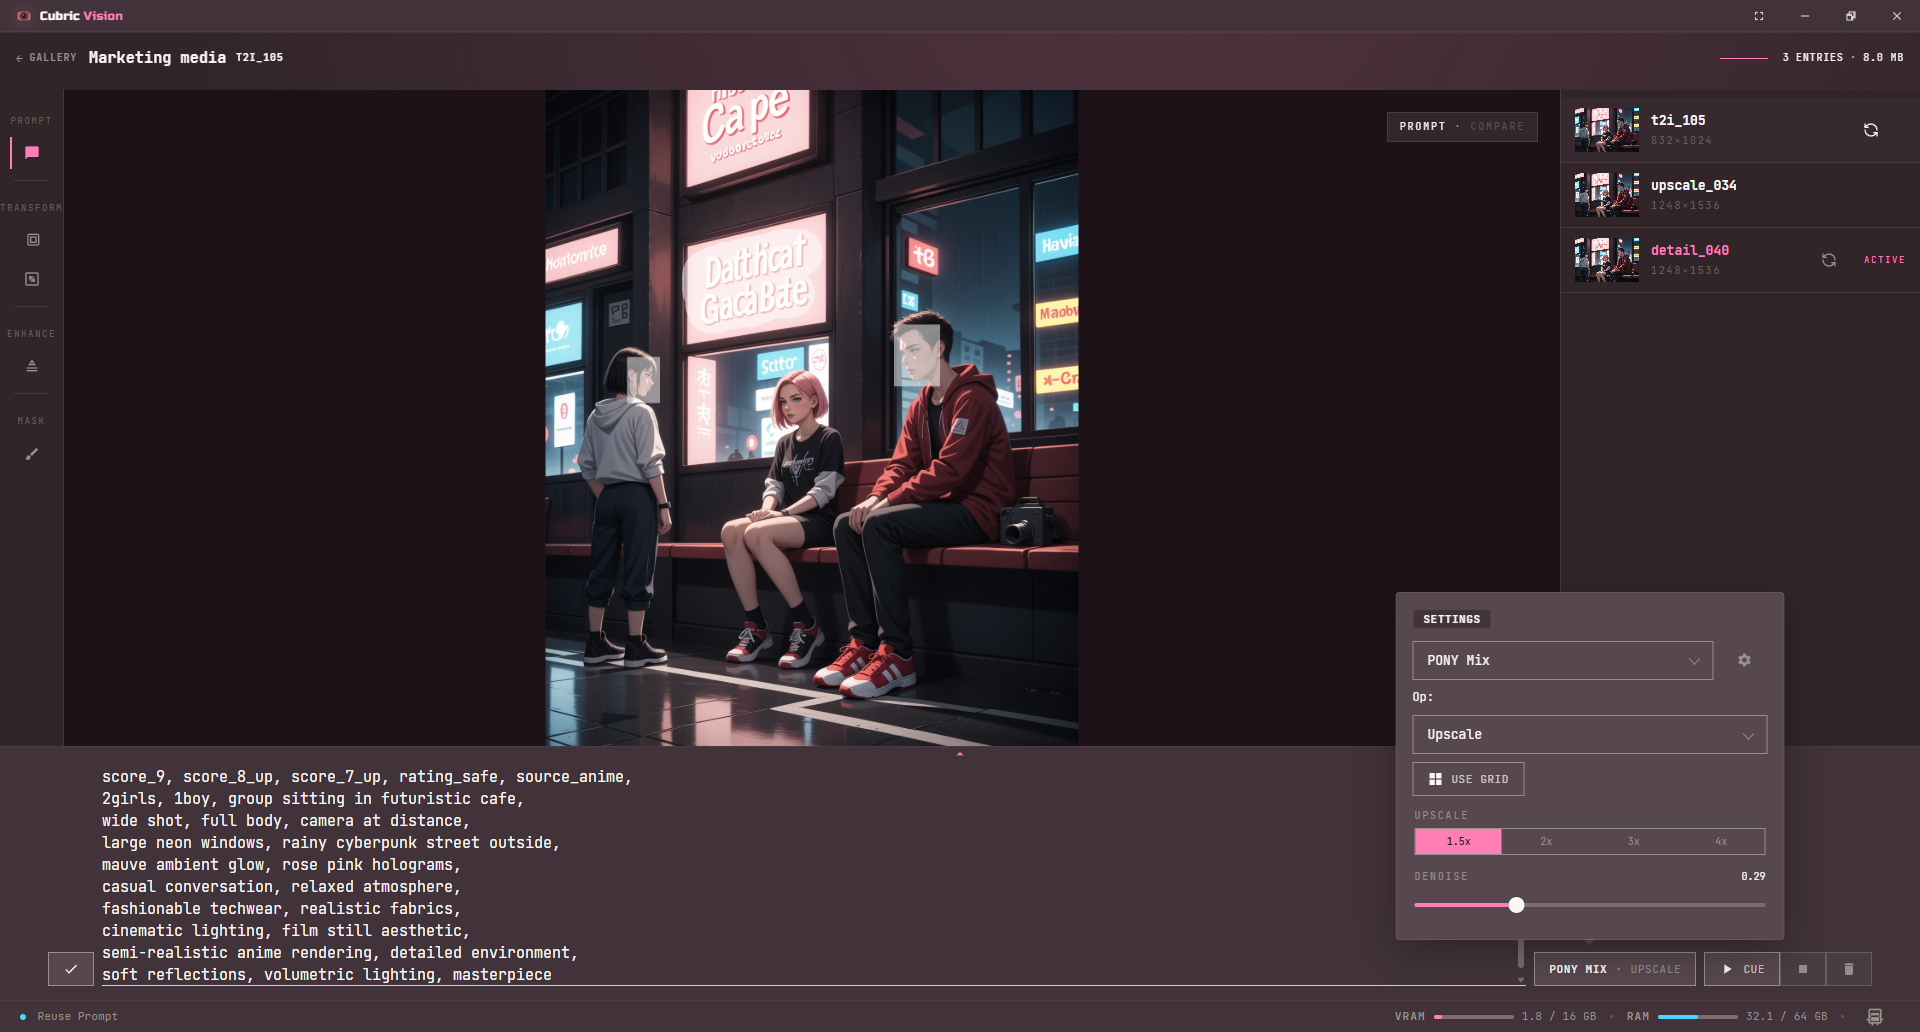
History workspace with an entry hover control exposing Reuse Prompt
History Reuse Prompt targets the hovered entry, not just the current Gallery card.
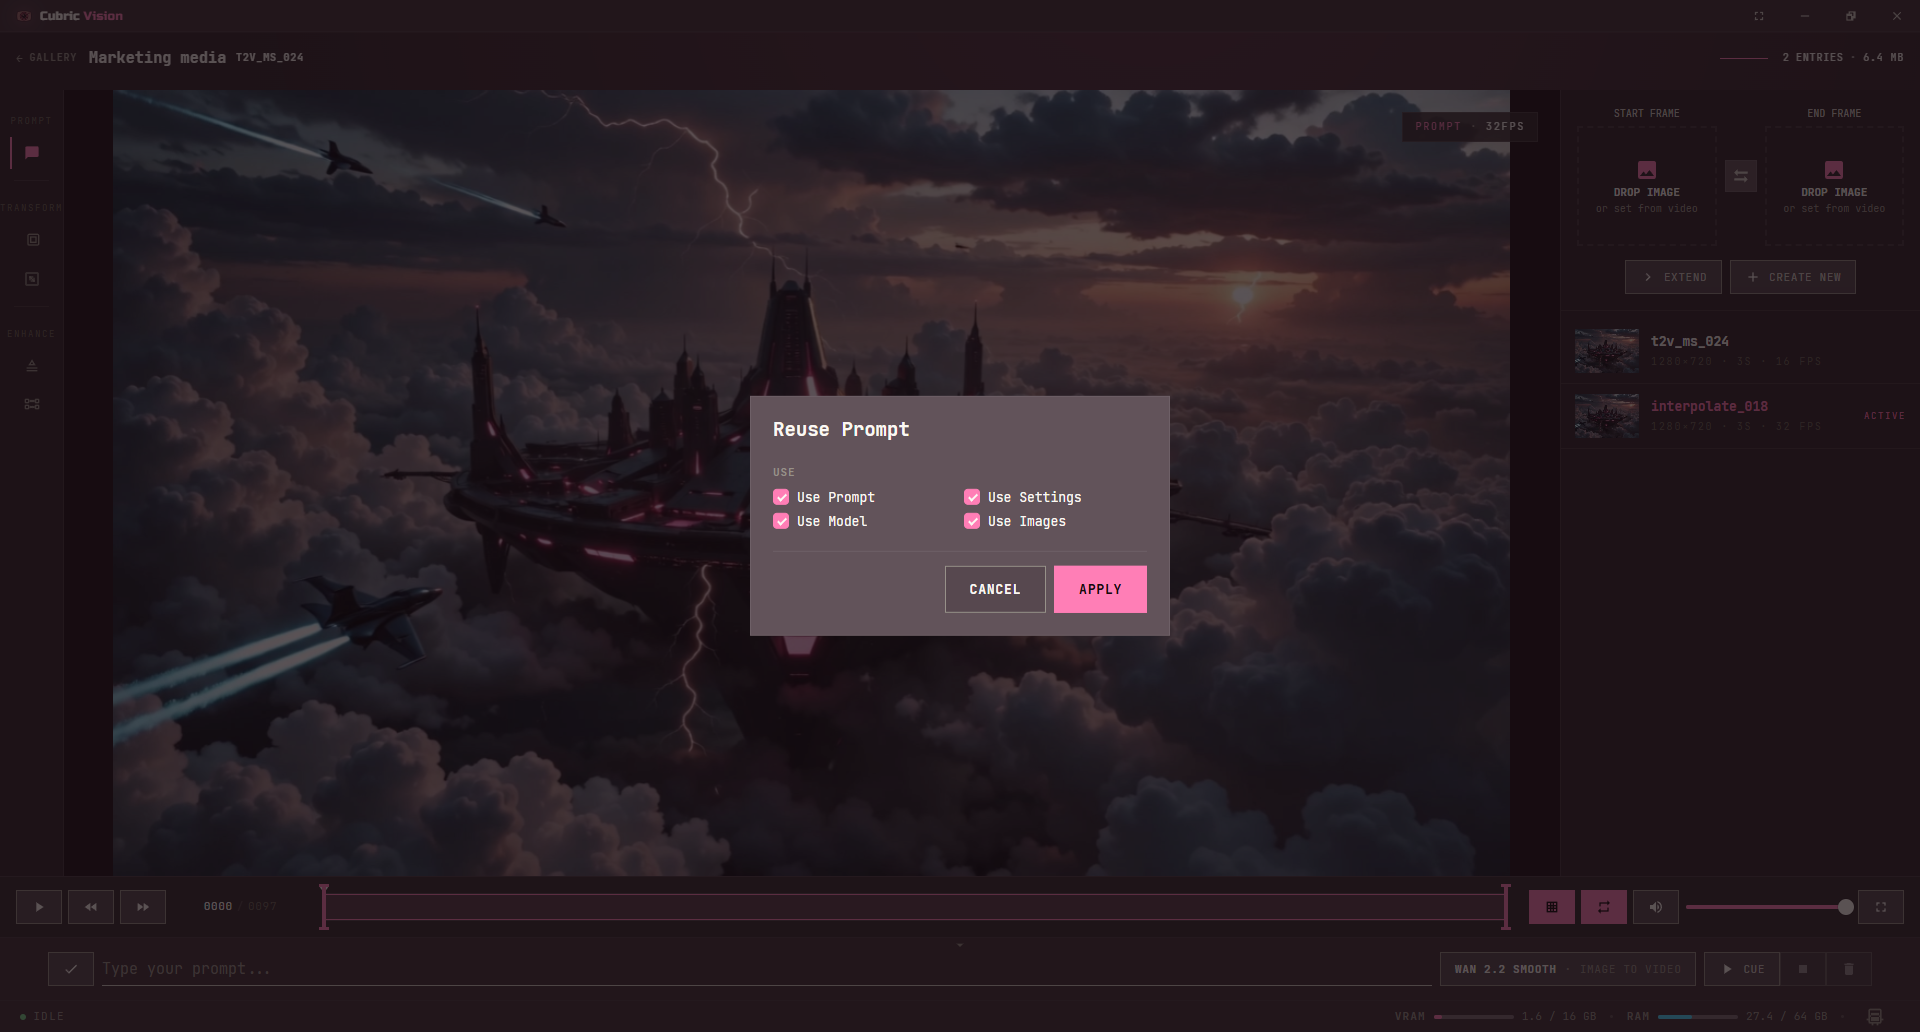
History workspace showing the Reuse Prompt chooser for a selected history entry
The History chooser uses the same transfer choices, but applies them from the selected history entry.

Choose model and operation

Every operation your model can do sits above the prompt box as a row of chips, with the current one lit. Click a chip to switch operation. The same strip appears inside the parameters popup, so you can change operation without closing it.

An operation you cannot run right now stays visible but dimmed, and hovering it says exactly what is missing — needs 1 image, paint a mask first, takes at most 2 images. Nothing disappears from the strip, so it doubles as a checklist of what the current setup can run.
Clearing the last image drops you back to text-to-image on its own, and the operation you chose returns the moment you add an image again.

The Cubric Vision operation strip above the prompt box showing t2i lit and i2i, depth, edit, and upscale dimmed, beside the model button and Cue
The operation strip sits above the prompt box. The current operation is lit; the rest stay visible rather than disappearing from a list.

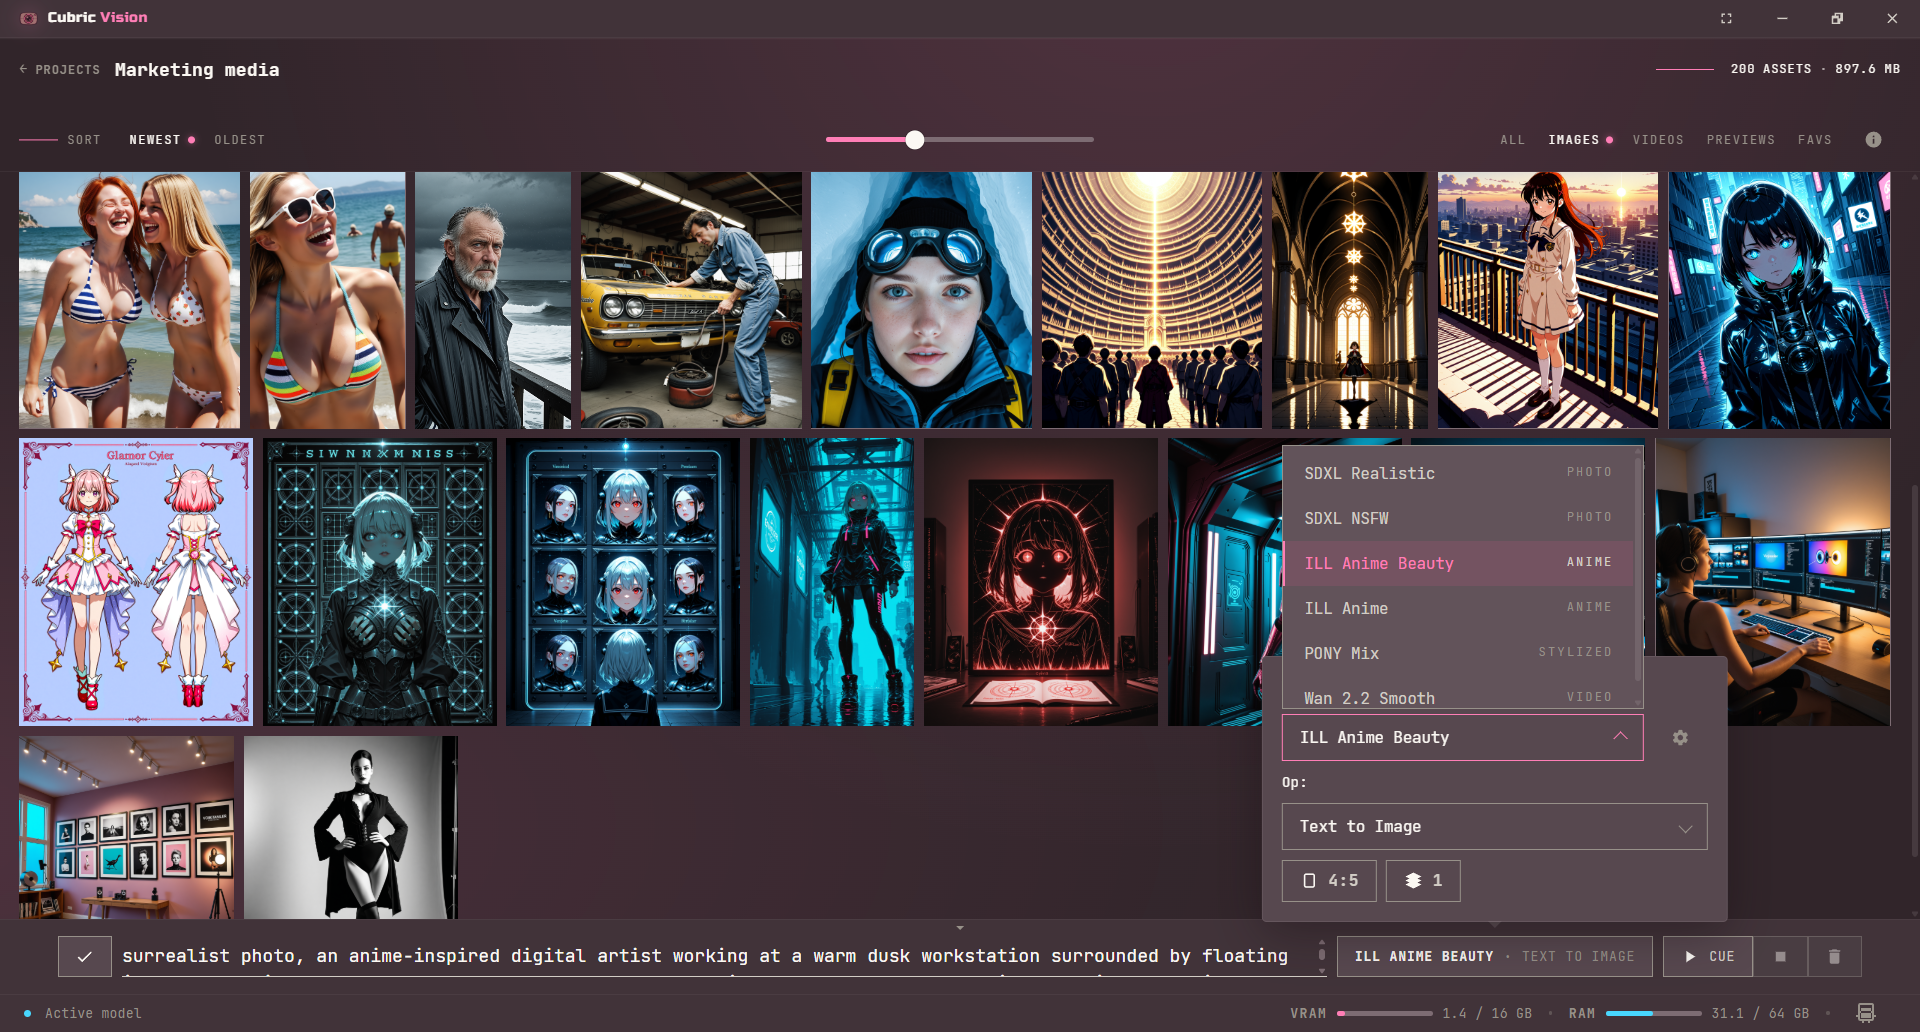
Click the model button above the prompt to choose a model. It opens a full-screen grid of preview tiles, like the Model Library, so you pick by looking at the work rather than reading names. LoRA and upscale settings open from the model's own tile.

The Cubric Vision model picker as a full-screen contact sheet of preview tiles for the installed image models, each showing its name, kind and size tier plus a LoRA and Upscale button, with Krea 2 NSFW selected
The model picker is a full-screen contact sheet, so you choose by looking at the work. LoRA and upscale settings open from the tile.

How to prompt each operation

Operations want completely different prompts. Inpaint erases the masked area when you leave the prompt empty and generates what you describe when you fill it in. Upscale is usually best with no prompt at all. Edit wants an instruction rather than a description.

Open the parameters popup and use the ? above the operation strip. It opens a short guide for whichever operation you are on: what the prompt is for, a couple of examples, and the mistake people usually make.

The Cubric Vision parameters popup showing quality, style, stylization, ratio, the question-mark button, and the same operation strip repeated inside the popup
The strip repeats inside the parameters popup, so you can change operation without closing it. The ? sits just above it.
The How to prompt guide open on Text to Image, explaining what the operation does and showing a good example prompt alongside a struck-through bad one with the reason it fails
Each guide gives a working example and a struck-through one, with the reason it fails.

The guide follows your model as well as your operation, so the SDXL family is pointed at comma-separated tags while the newer models are pointed at plain sentences.

Model settings

Use the cog beside the model selector to open model settings. This is where model-wide choices such as upscale models and LoRAs are selected for the active model.

LoRA and upscale model folders are configured from Settings. Once Cubric Vision knows those folders, the model settings overlay lets you pick from the installed files while you work.
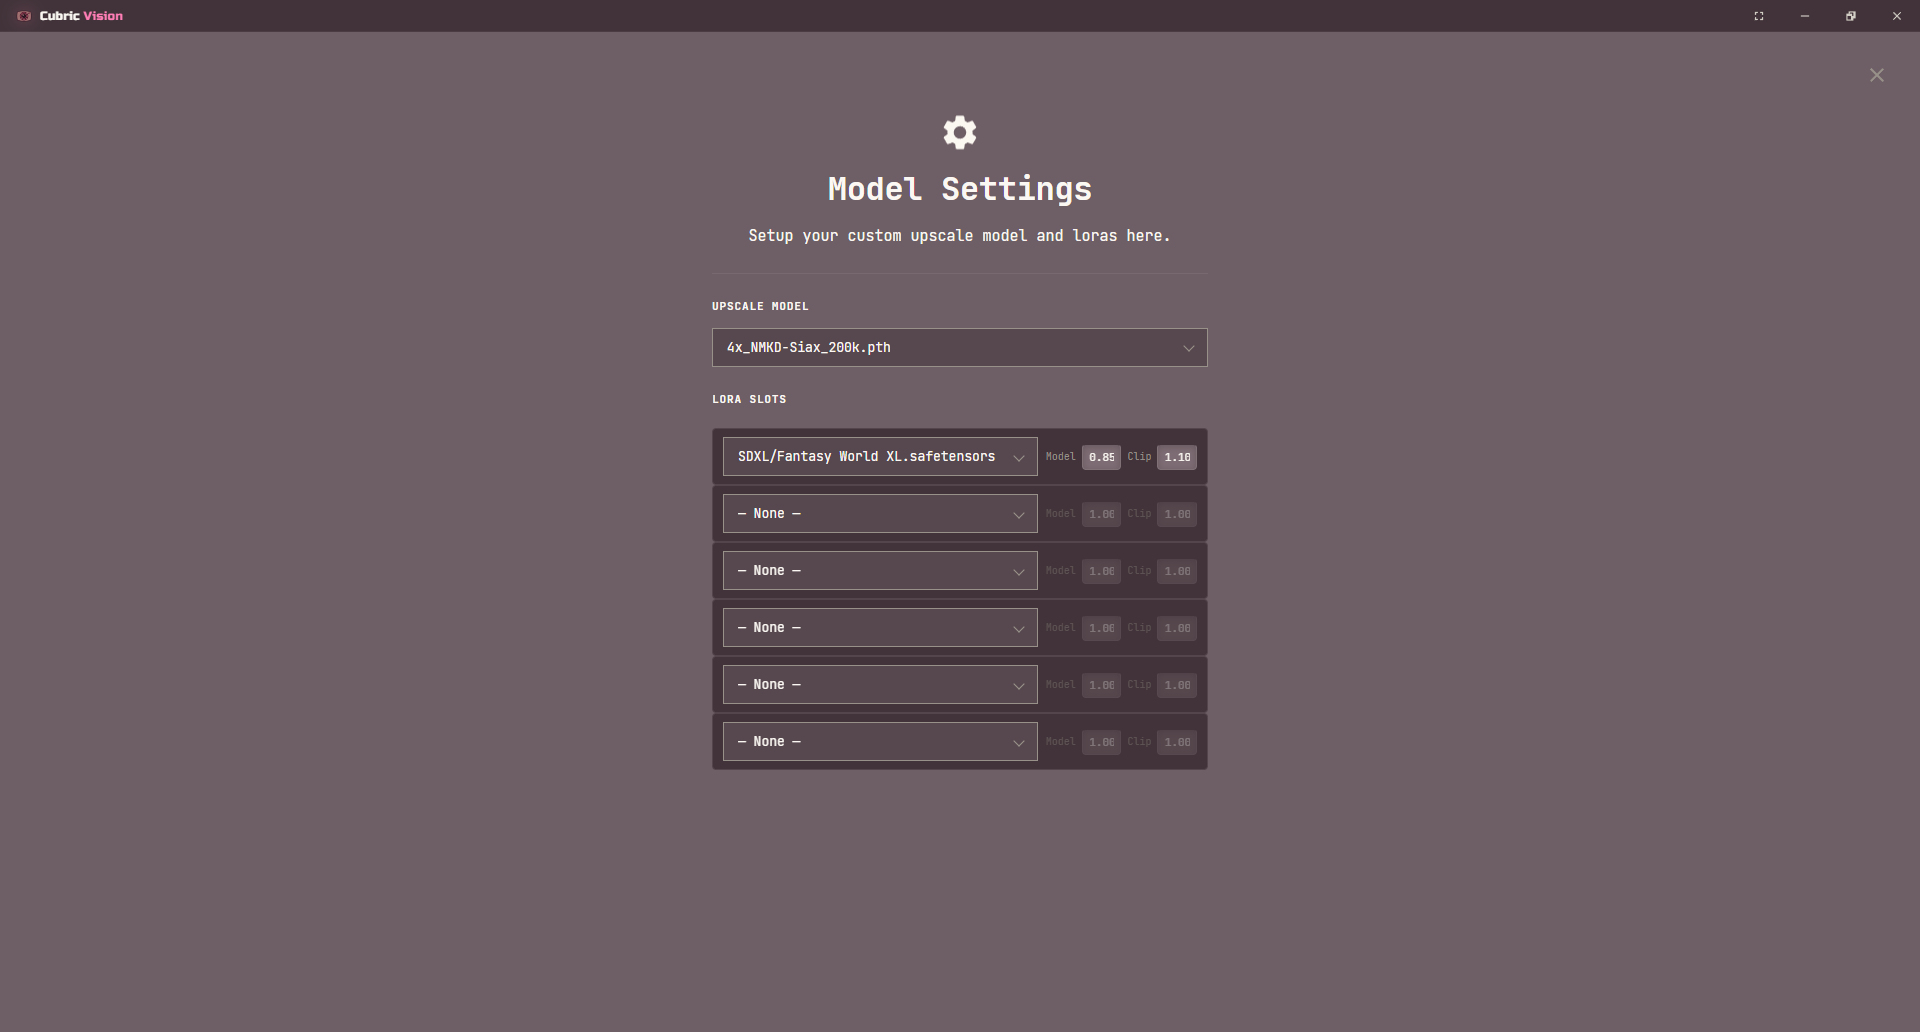
Model settings overlay showing upscale model and LoRA selectors
Model settings apply to the active model and are saved with the project settings.

The LoRA picker is a searchable, collapsible folder tree, so long or nested names are easy to find without clipping. Each LoRA slot also has a bypass toggle that zeroes its strength without removing it — handy for A/B comparisons.

Prompt controls

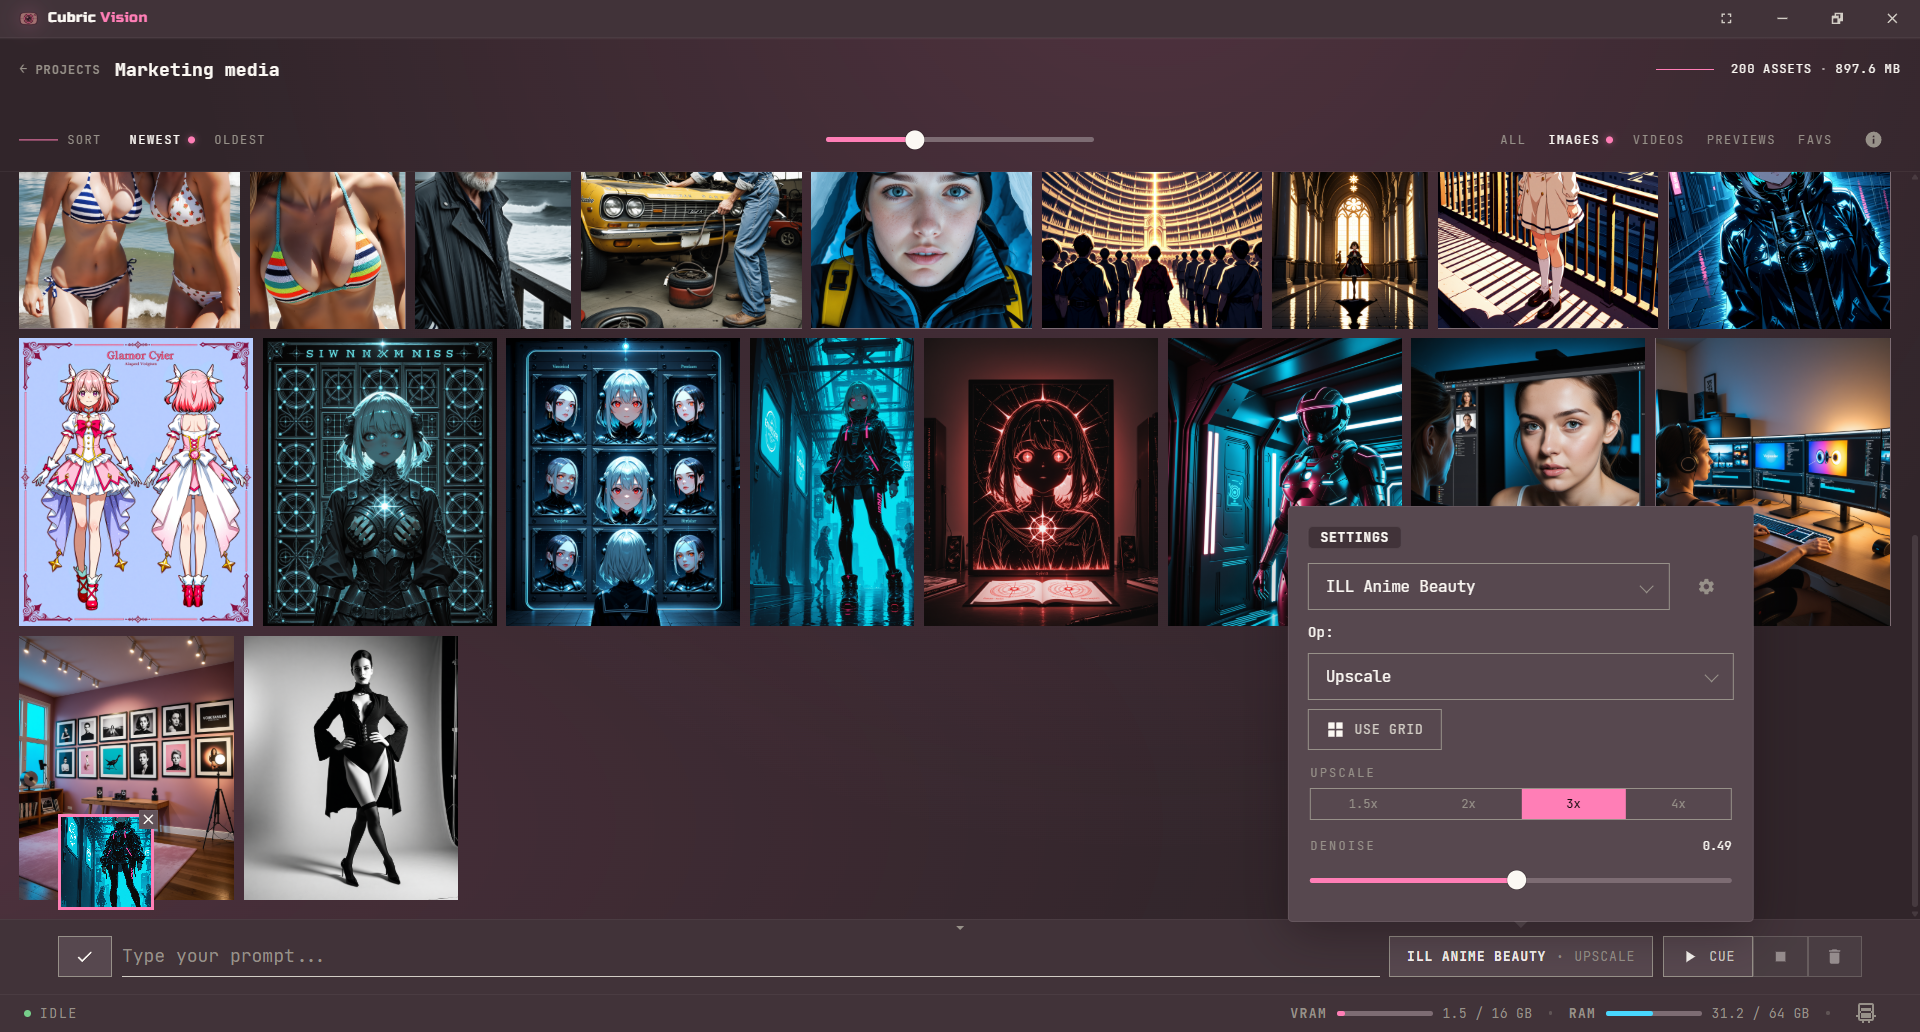
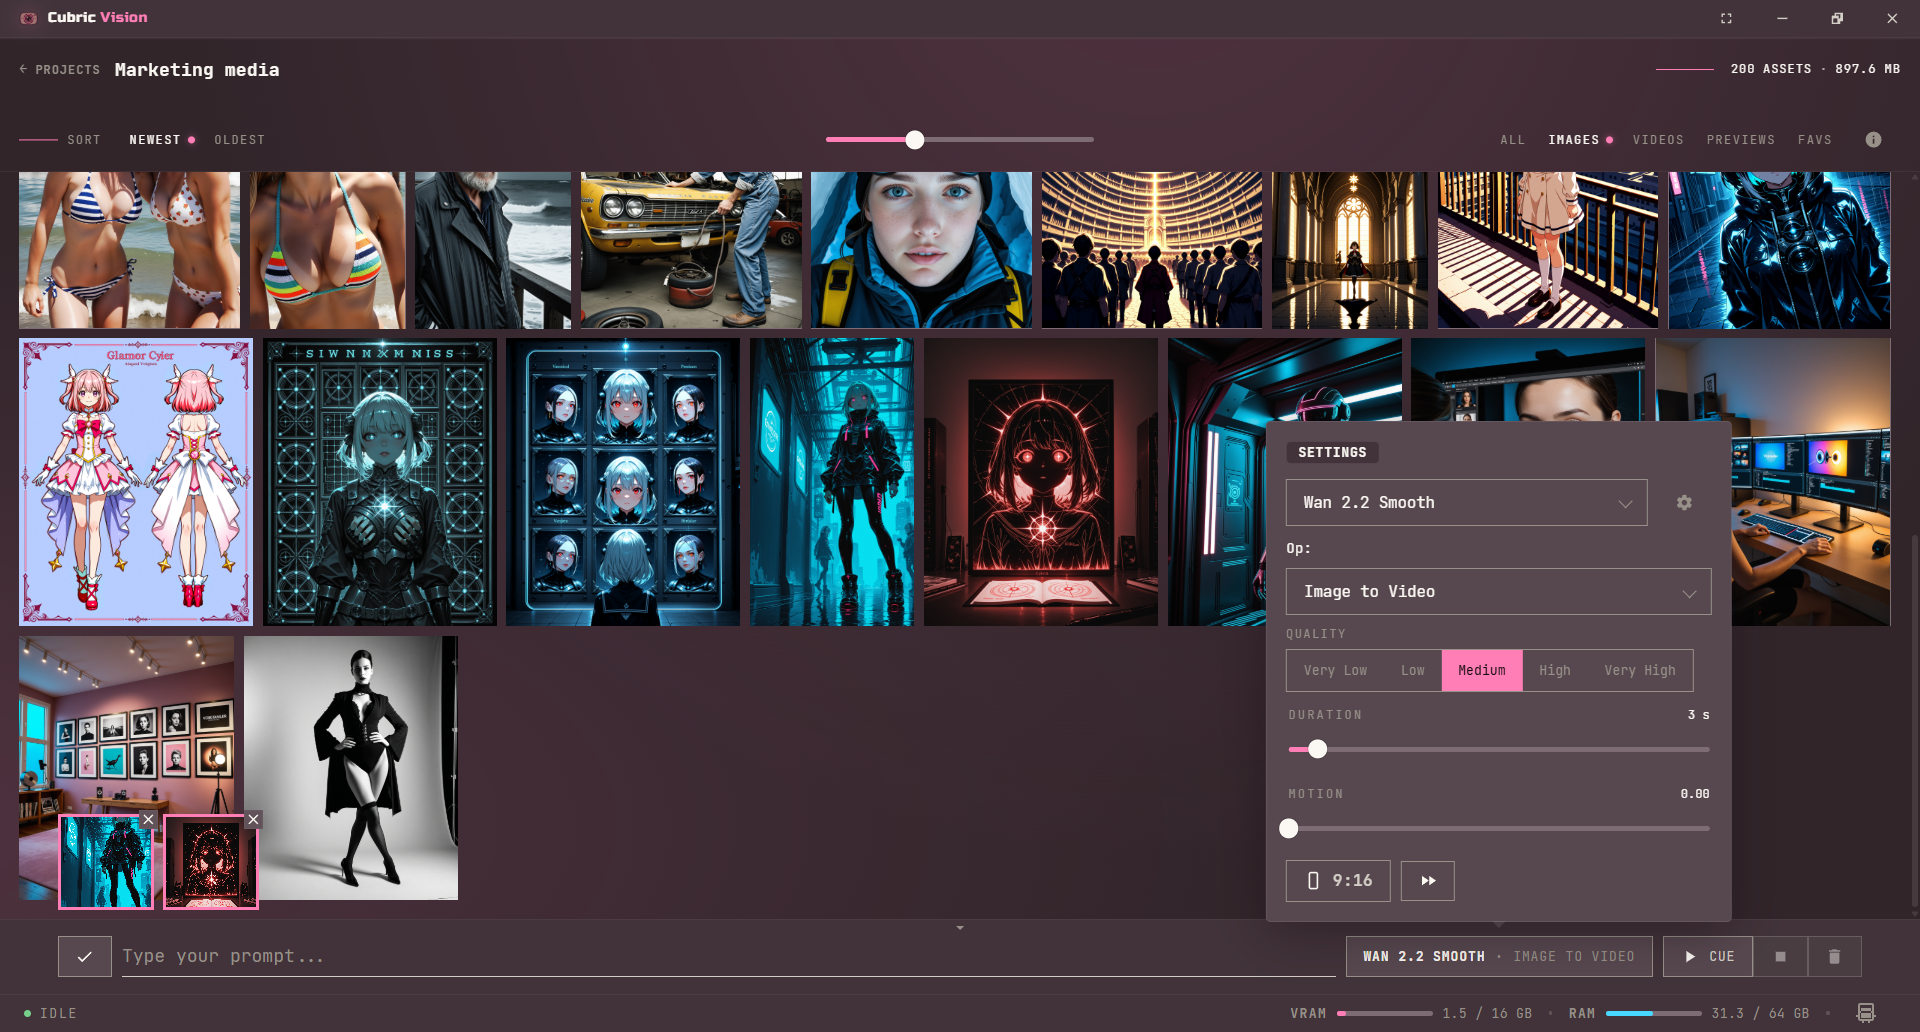
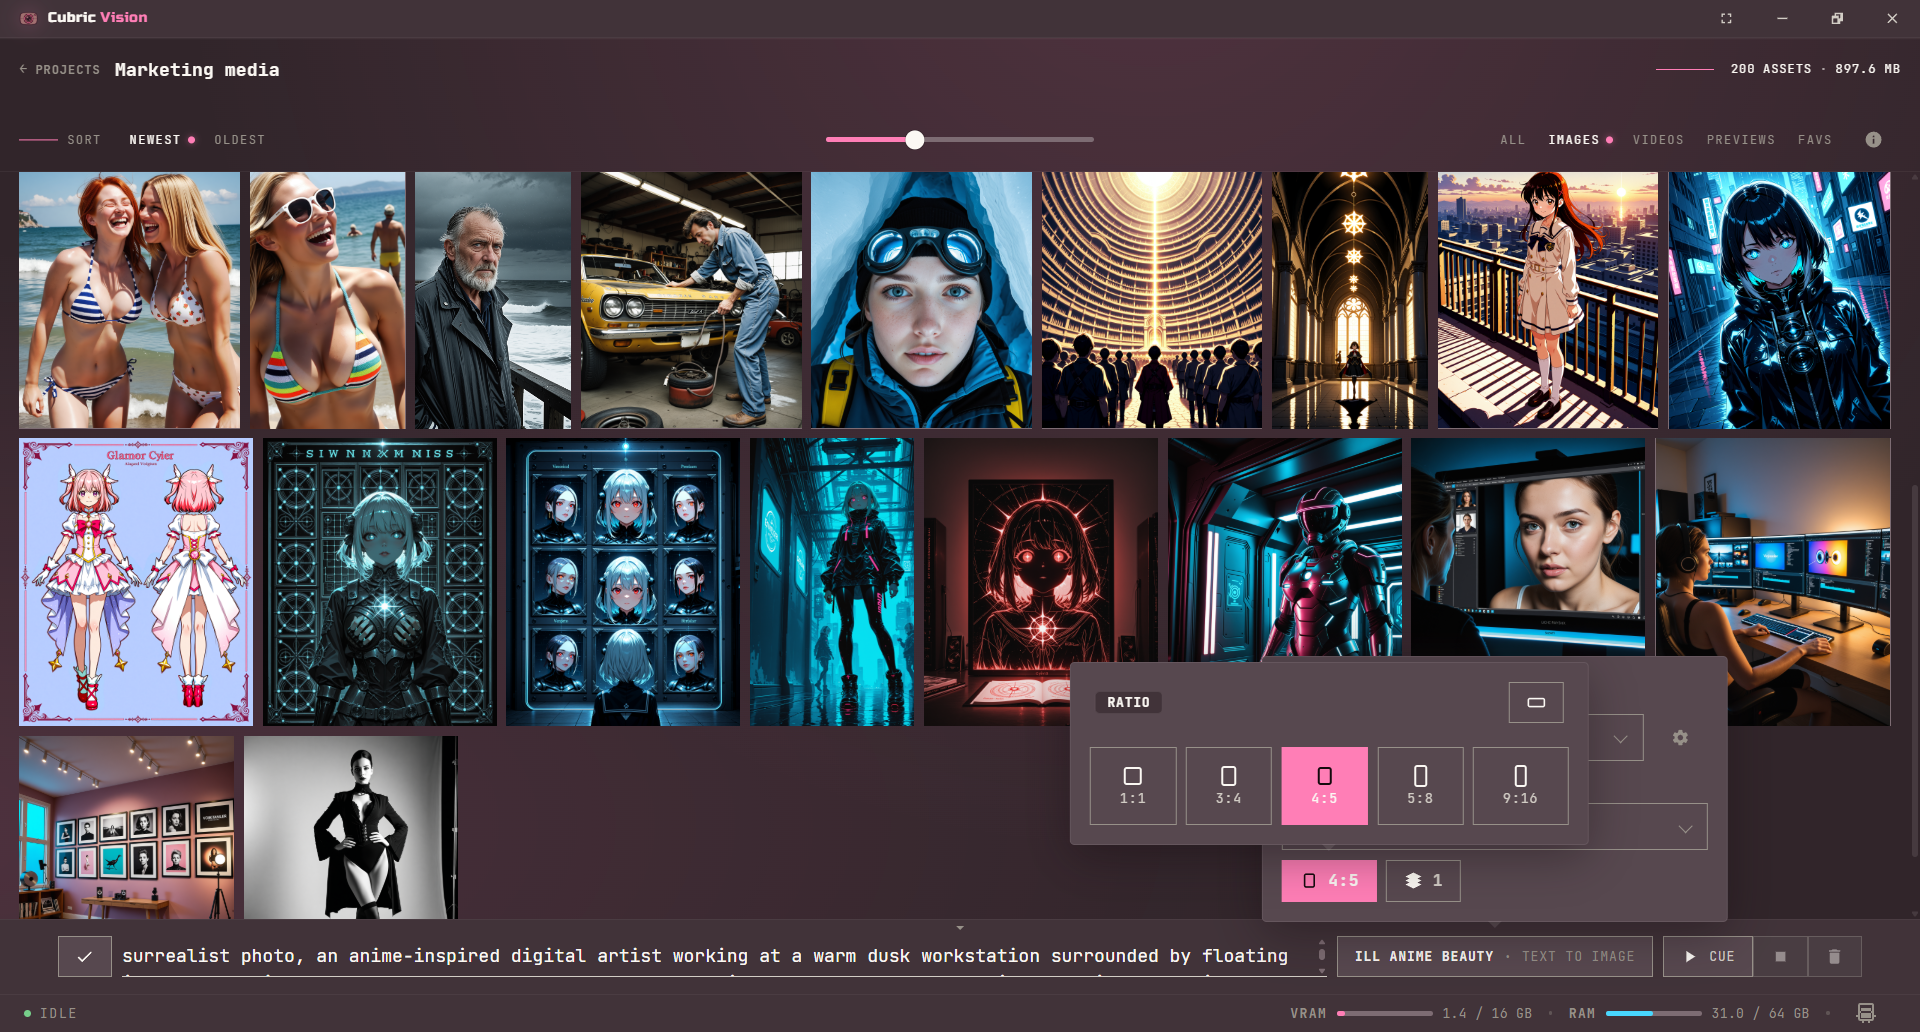
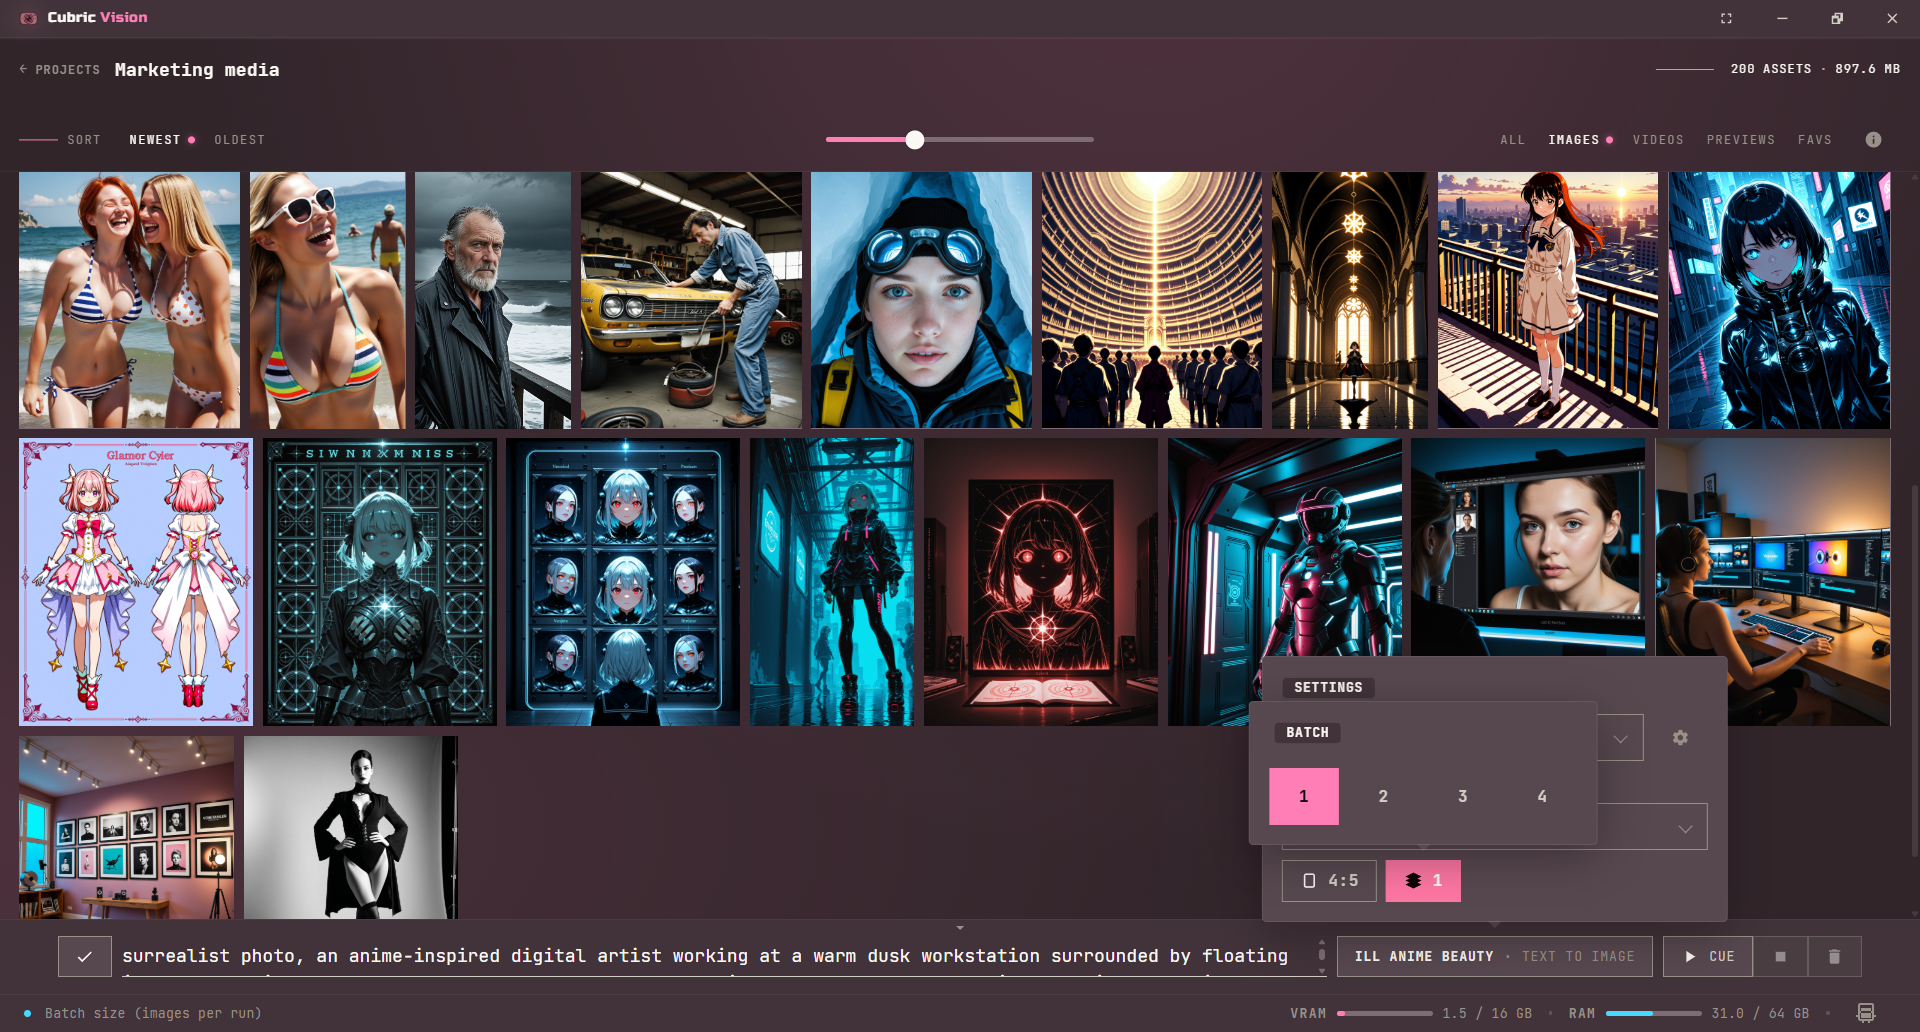
The lower controls in the options panel change with the selected model and operation. Image operations can show ratio and batch controls. Upscale can show upscale factor, grid, and denoise controls. Video operations can show quality, duration, motion, ratio, and resumable video controls.
Control adds a Control Type picker on models that offer more than one kind of structure, and a Control Strength slider on Krea 2, FLUX.2 Klein, Chroma, and the SDXL family. See Models.

A control that would do nothing is hidden rather than shown doing nothing. The ratio picker disappears on operations that take their shape from the input image — every Krea 2 operation except Text to Image and Image to Image, Chroma's Control, Detail, and Upscale, and Klein's Control and Edit. Batch is hidden on SDXL's Image to Image and Control, which only ever return one image.

Prompt Box ratio selector with image ratio choices
Ratio controls define the output shape for operations that generate a new image or video frame size.
Prompt Box batch selector for choosing how many images to create per run
Batch controls set how many outputs one Cue creates for operations that support batches.
Prompt Box upscale operation controls
Upscale controls appear when an upscale-capable operation is selected.
Prompt Box video generation controls including duration and video-specific options
Video models expose video-specific controls such as duration, motion, quality, and ratio.

Models that ship built-in styles — such as Krea 2 and Qwen Image Edit — show a style strip of preview cards plus a Stylization slider for how strongly the style applies. On image-to-image, a Denoise slider controls how far the result moves from your input image.

Prompt Box options with a style strip of preview cards, a Stylization slider, a Denoise slider, and a ratio control
Style-capable models add a style strip and Stylization slider; image-to-image adds a Denoise slider.

Cue and Loop

Click Cue to add the current Prompt Box state to the in-app queue. Cubric Vision snapshots the prompt, model, operation, media inputs, and current controls when you Cue the job.

Hold the Cue button for about a second to arm Loop. Loop keeps triggering generations from the latest Prompt Box state while it is active, so you can keep editing the prompt, switching settings, or trying model options as outputs arrive. Click the Loop button again to turn Loop off.

Use the separate Queue page for the Cue side panel, job review, stop, cancel, and clear controls.
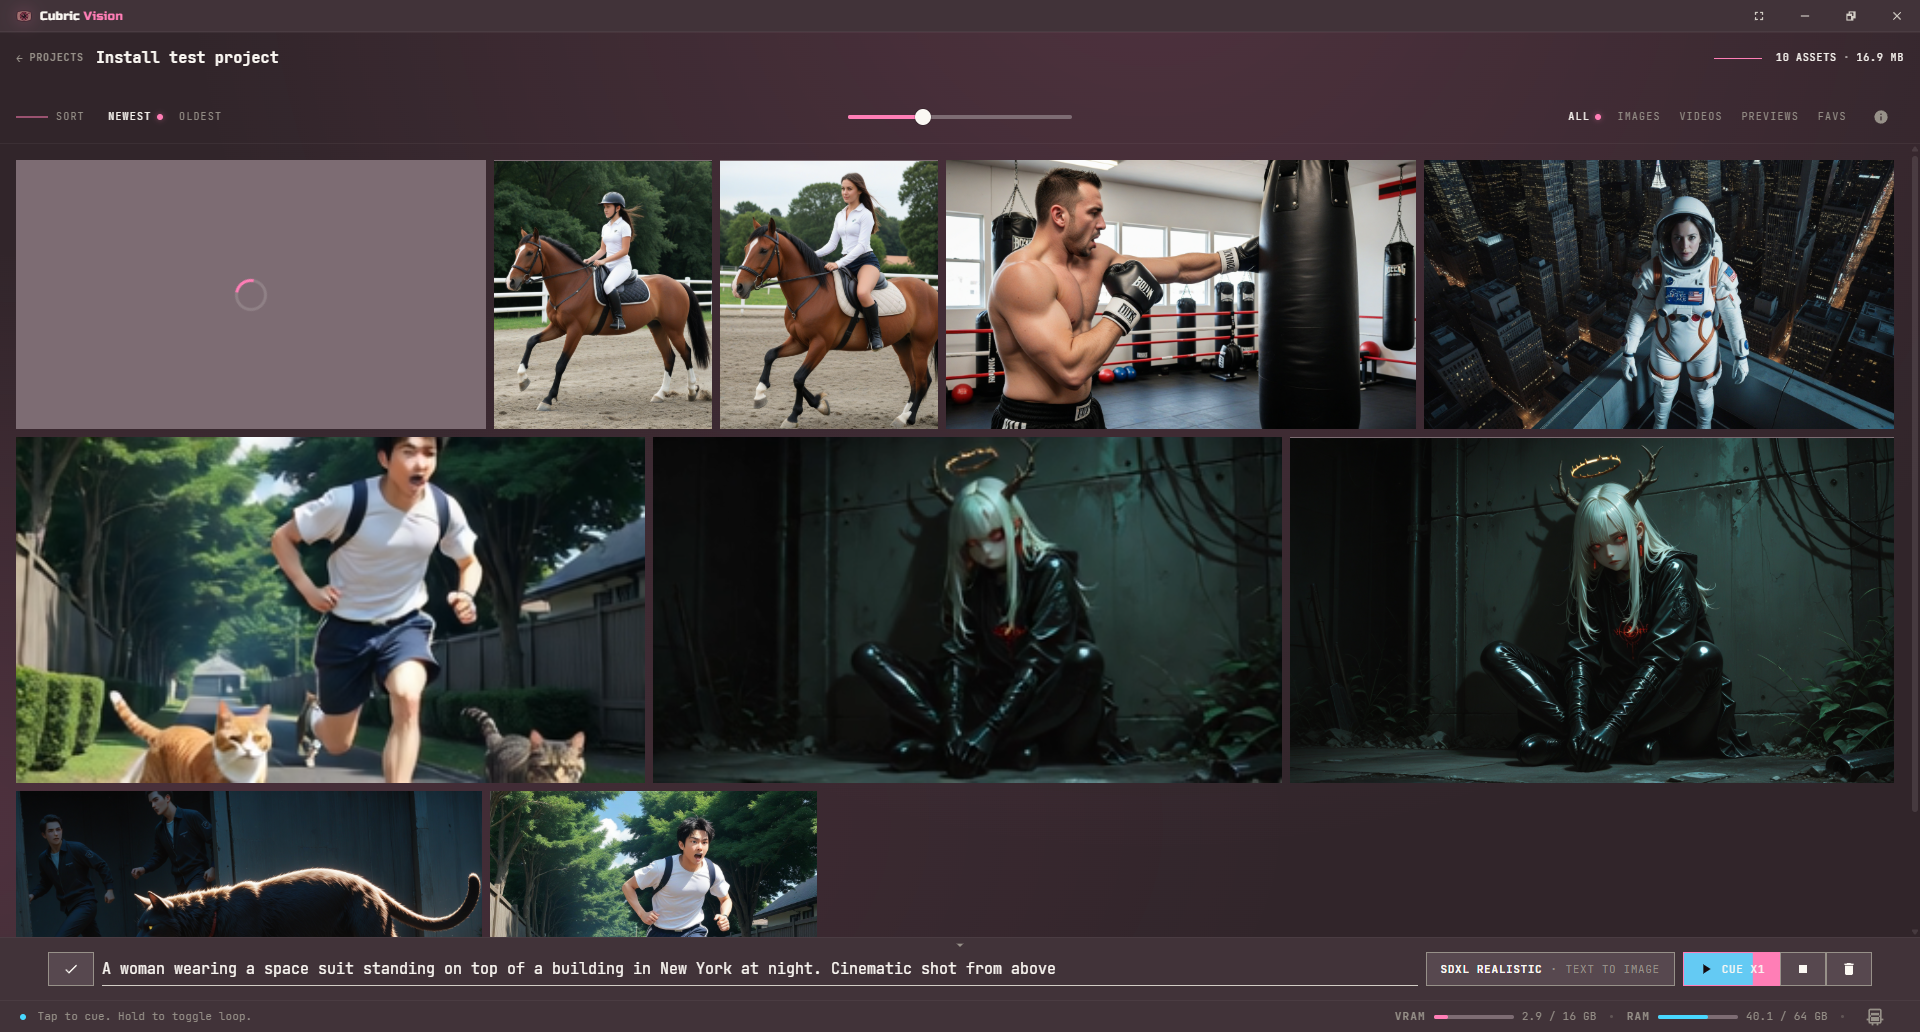
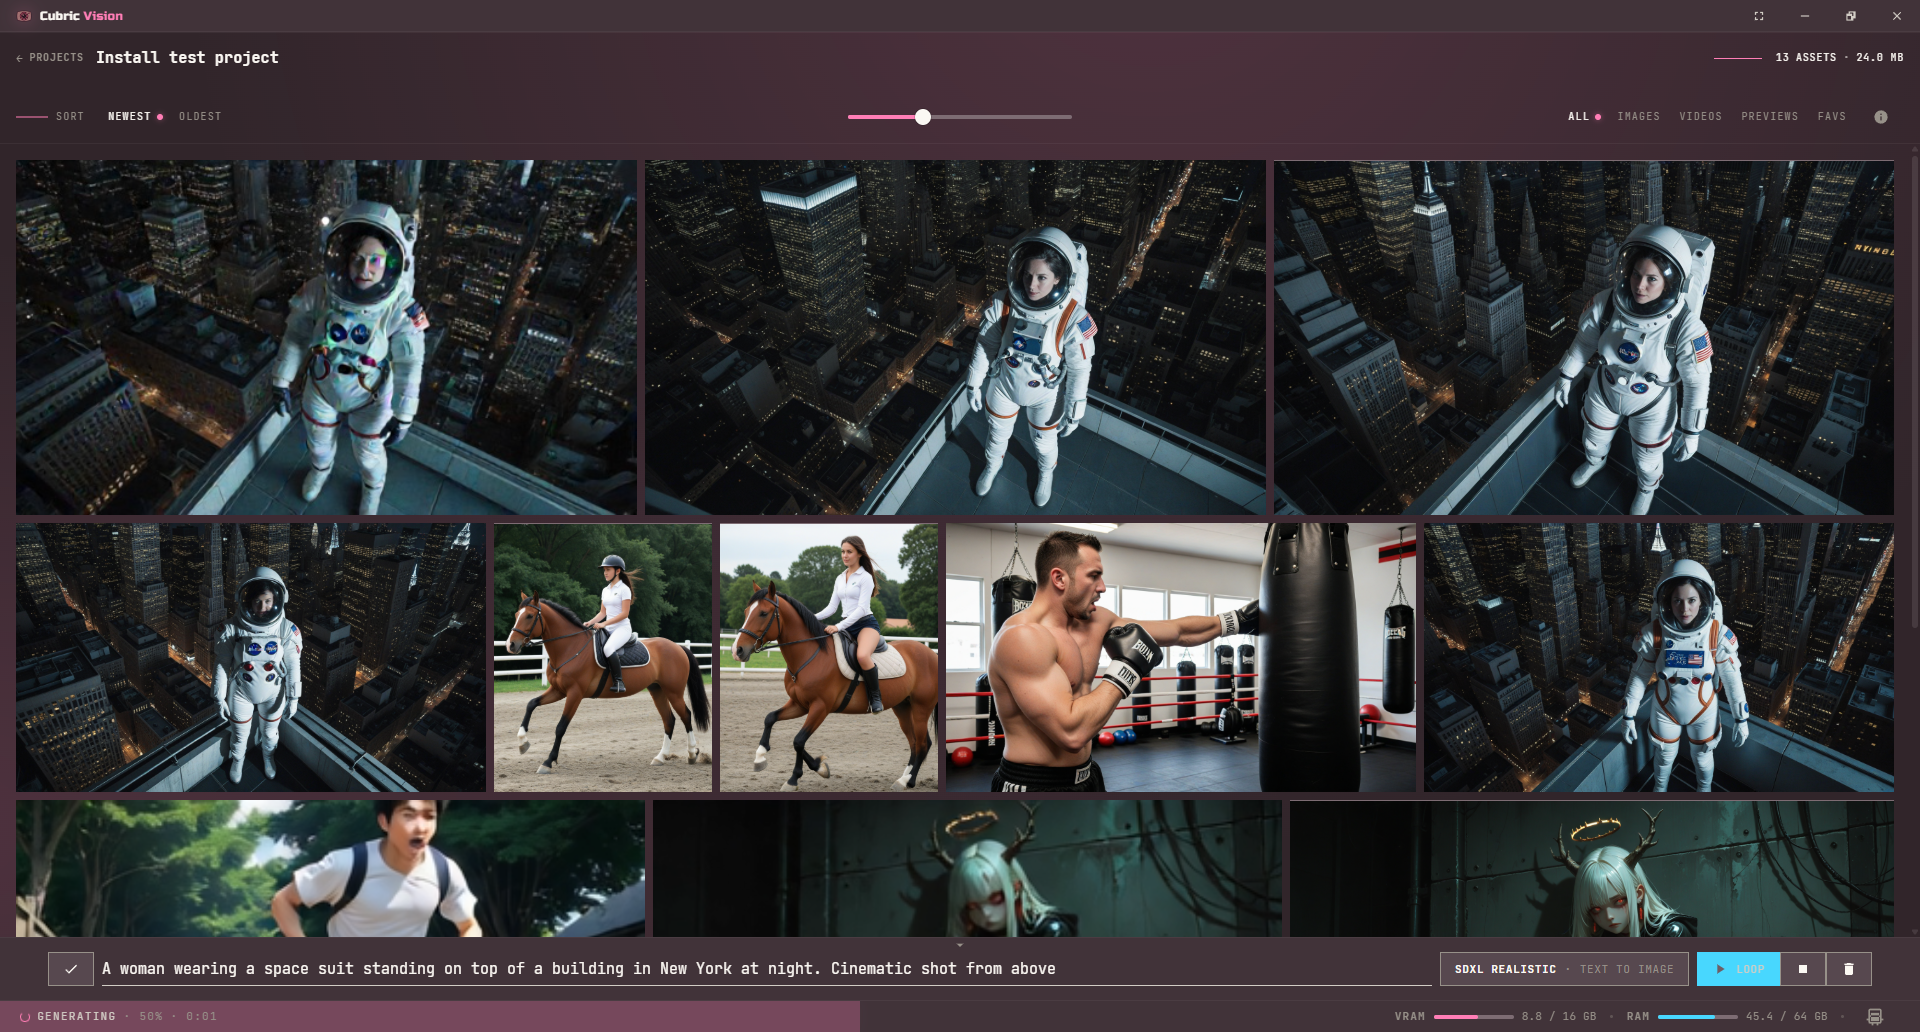
Prompt Box Cue button being held to arm Loop mode
Hold Cue to arm Loop mode.
Prompt Box with Loop mode active
When Loop is active, the Prompt Box keeps firing new generations until Loop is turned off.

Resumable videos

Some video operations can run in a resumable two-stage mode. Turn on the resumable video control before you Cue the video. The first stage creates a lower-resolution preview card so you can review the motion before committing to the final pass.

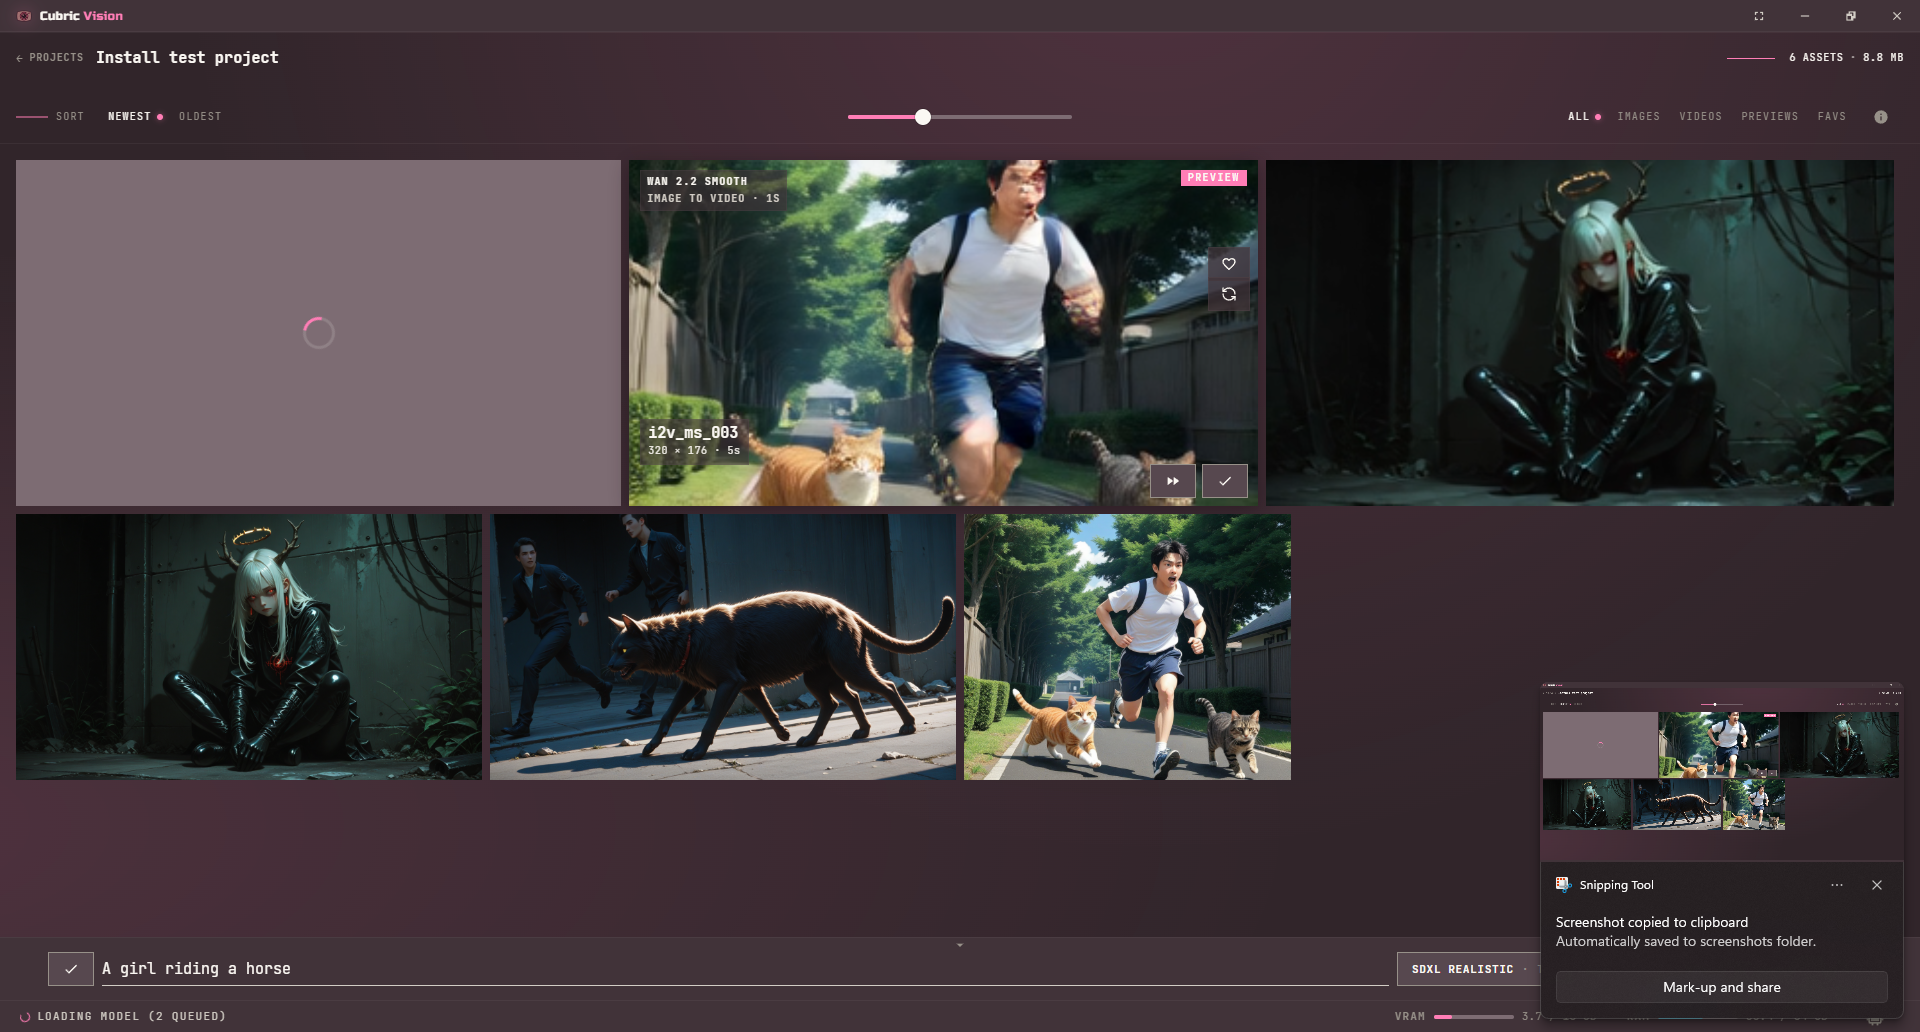
A preview card is not a finished video, so opening it does not take you to the History page. Use the check button to finish the video in place, continuing from the preview stage. Use the branching button to create a separate final card while keeping the preview available for another second-stage attempt.

Branching is useful when you want to change LoRAs or other model settings after seeing the motion preview, then compare several final-stage results from the same first stage.
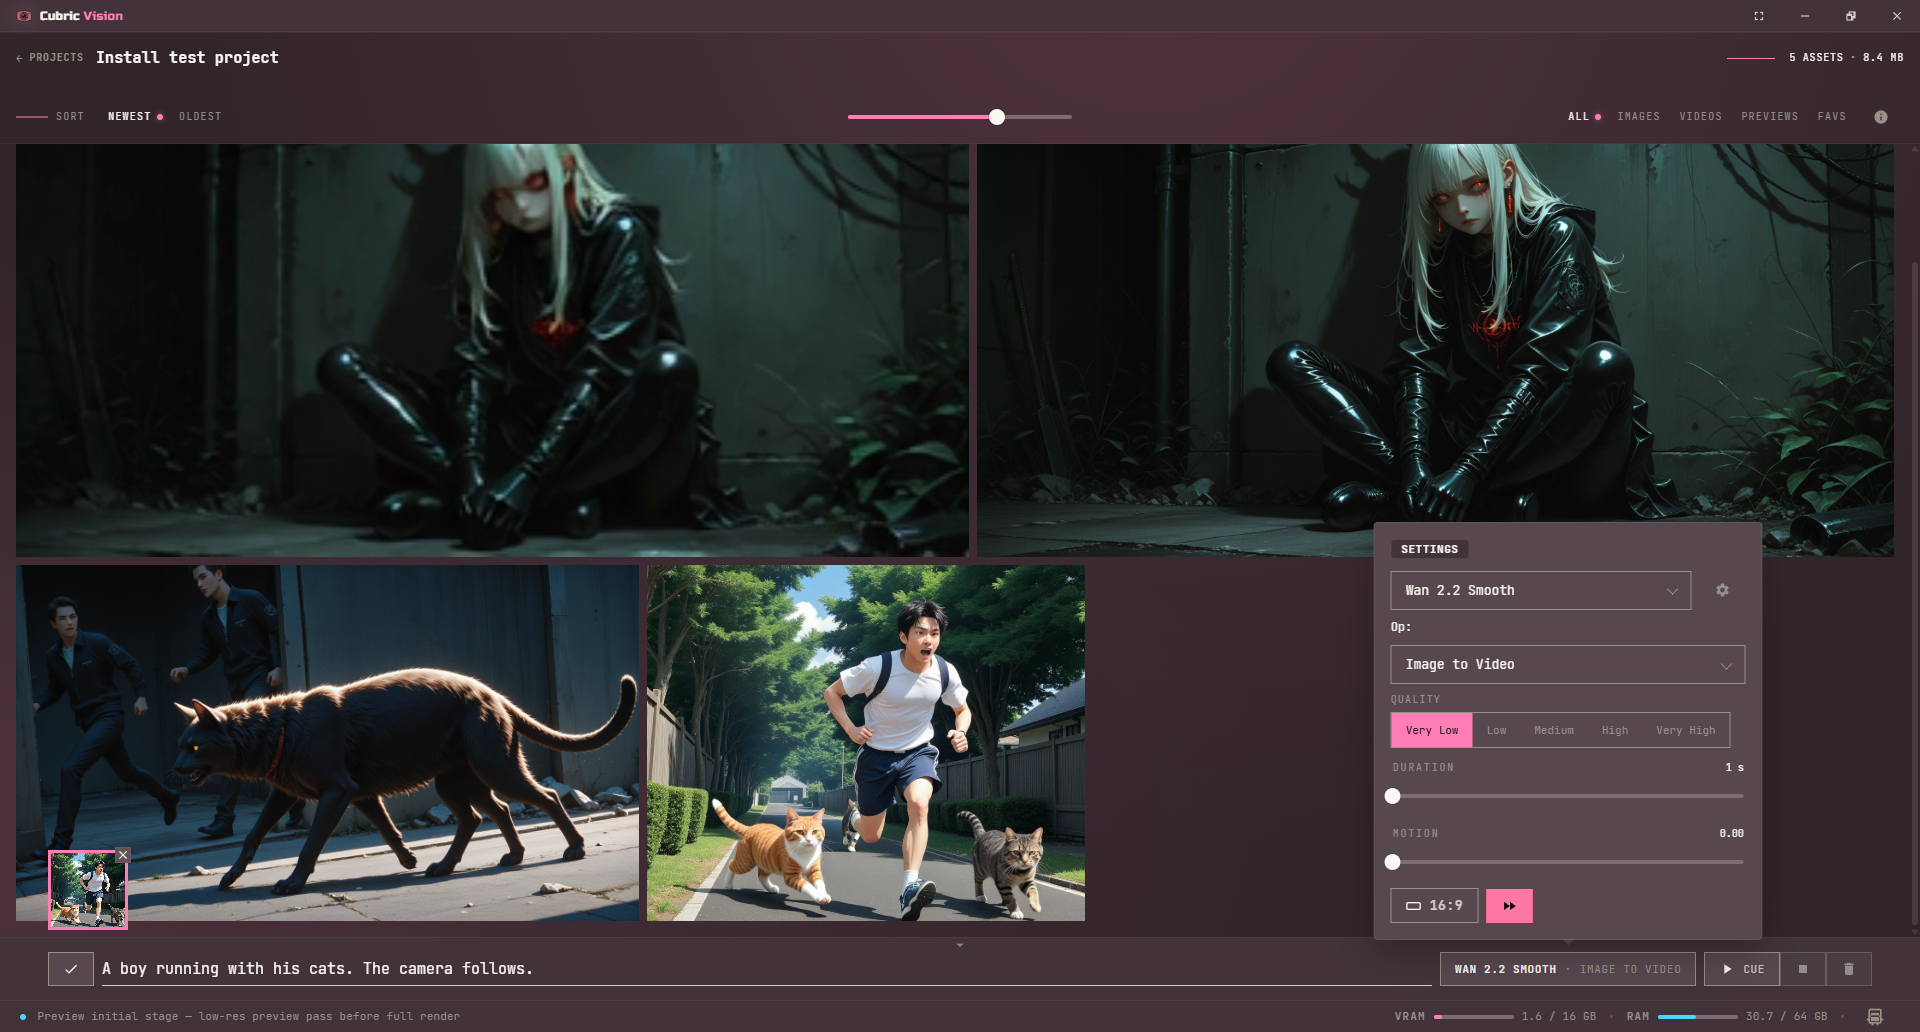
Prompt Box video options with resumable video mode toggled on
Enable resumable video mode from the video options before Cueing the generation.
Gallery preview card from a resumable video generation with finish and branching controls
The preview card exposes controls for finishing in place or branching into a new final card.
Resumable video preview card showing final generation in progress
While the second stage runs, the preview card shows that the final batch is being generated.