
Installation
Download the portable release, extract it to a folder you control, and launch from there. No installer wizard, no package manager.
Portable release
Cubric Vision releases are portable. Download the compressed release file from the official GitHub releases page, extract it to a folder you control, then launch the app from the extracted folder. There is no separate installer wizard.
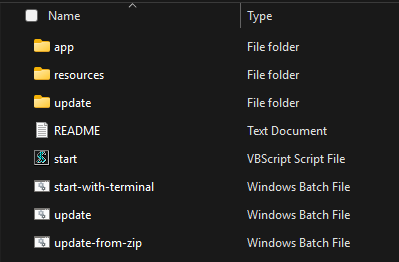
Open the README first if you want the short file-by-file explanation. The main files are:
| File | Use it for |
|---|---|
start |
Launches Cubric Vision normally. |
start-with-terminal |
Launches Cubric Vision with a separate terminal window so you can see background logs while the app runs. |
update |
Updates the app by pulling the latest version from GitHub. |
update-from-zip |
Updates from an update package ZIP that is already on your system. |
Cubric Vision runs on Windows, macOS, and Linux. Windows and Linux launch directly from the extracted folder. macOS needs one extra step the first time, described below.
macOS - first launch
macOS - one-time setup
Cubric Vision for macOS is open-source and runs in place, so it is not signed or notarized by Apple. macOS marks the download as quarantined and blocks it on first launch with a message like:
"start.command" Not Opened - Apple could not verify "start.command" is free of malware that may harm your Mac.
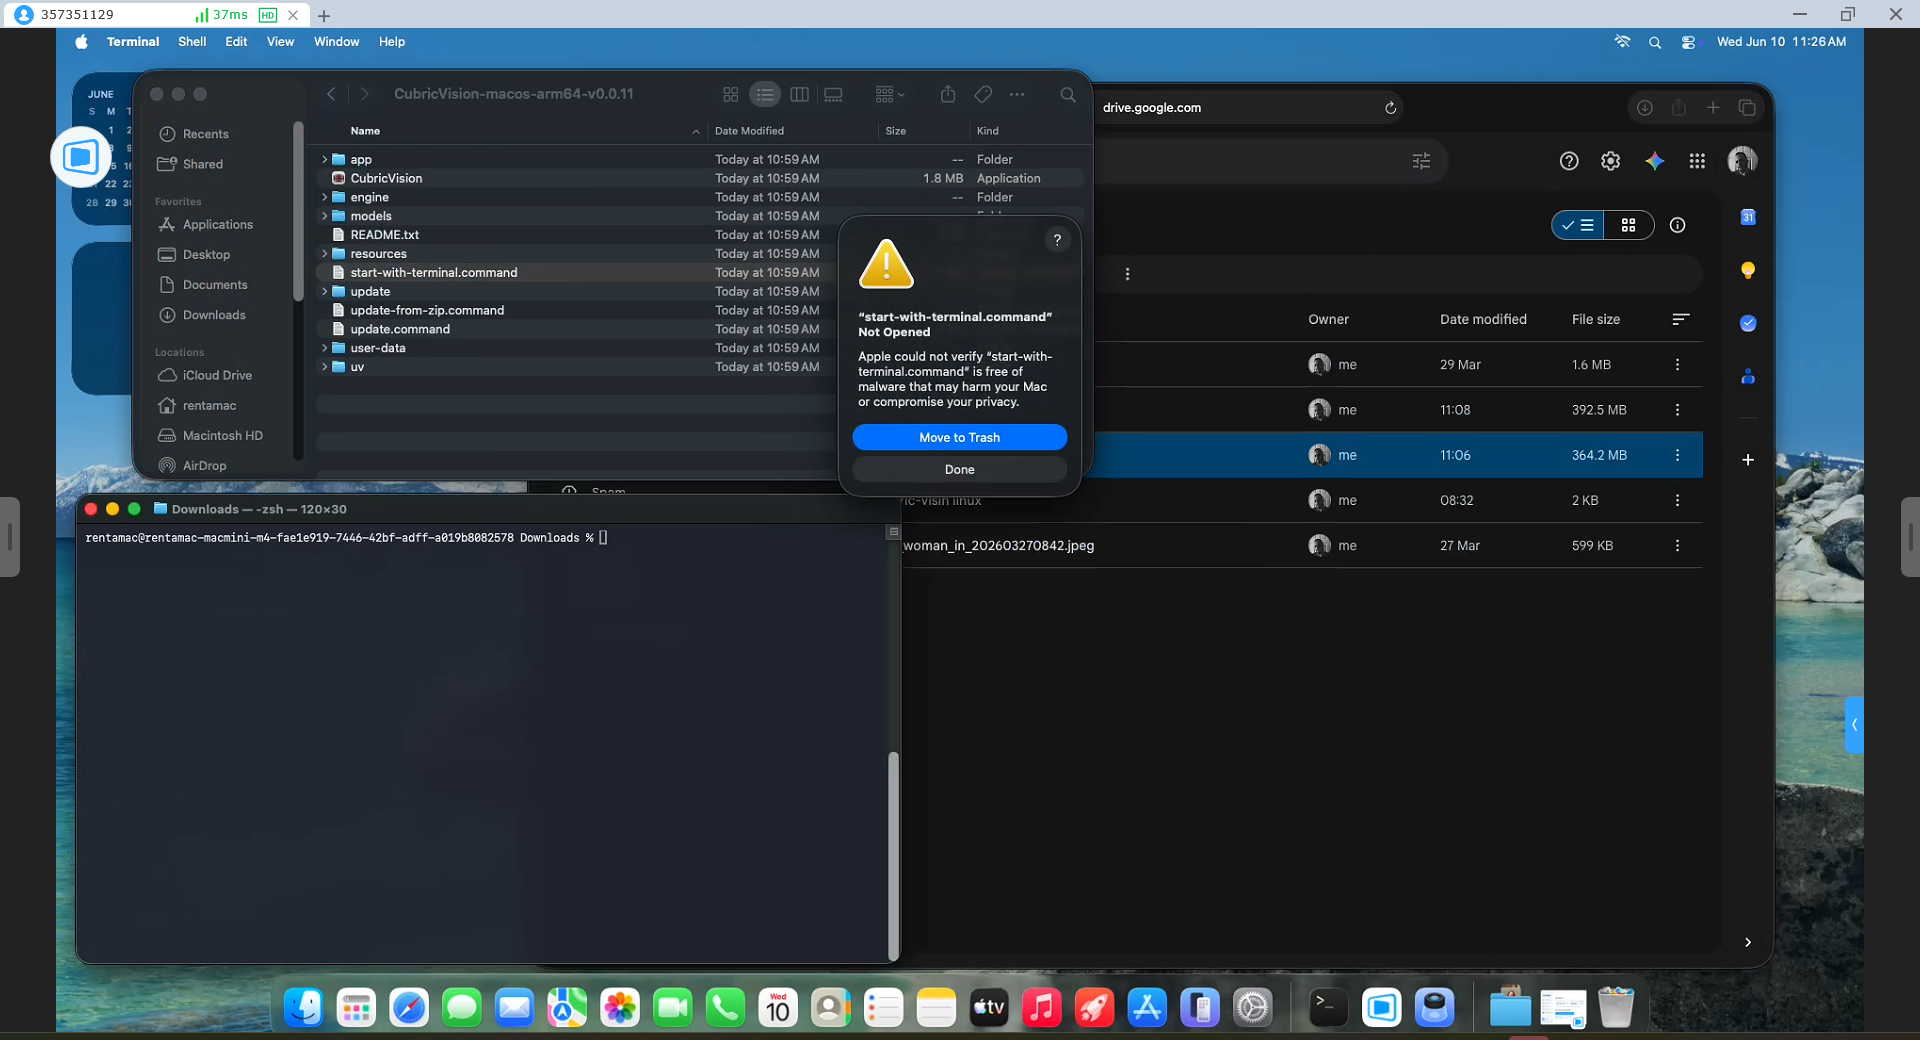
This is expected. You only need to clear it once, from Terminal. Right-clicking and choosing Open produces the same block, so it does not help here.
Clear the quarantine in Terminal
- Unzip the download.
- Open Terminal (Applications → Utilities, or Spotlight search for "Terminal").
- Type
xattr -dr com.apple.quarantinefollowed by a space, then drag the unzipped Cubric Vision folder onto the Terminal window to fill in its path. The full command looks like this (the folder name varies by version):xattr -dr com.apple.quarantine "/path/to/CubricVision-macos-arm64" - Press Return to run it, then double-click
start.commandto launch Cubric Vision normally.
Why is this needed?
Notarizing a macOS app requires a paid Apple Developer account. Until Cubric Vision is notarized, this one-time step is how macOS lets you run unsigned open-source software you trust. Windows and Linux have no equivalent step - they run directly.
This applies to fresh installs only. After an online update (update.command), there is no re-quarantine: the updater runs locally and the files are not re-downloaded by the browser.
Once the app launches for the first time, continue with Getting Started to choose where models live and finish setup.