GIF Workspace
Make GIFs from selected cards or a video clip, then retime, trim, crop, duplicate frames, and cut the subject out onto transparency in the GIF workspace.
Make a GIF
There are two ways to start a GIF, depending on what you already have.
From selected cards
- In Gallery, hold Ctrl (or Cmd) and click two or more still-image cards, in the order you want them to play. See Selection mode.
- Click Make GIF on the selection bar. It stays disabled until every selected card is a still image: a video, audio, 3D Scene, GIF, or stacked card blocks it.
- Cubric Studio builds the GIF right away, no dialog and no prompt, and opens it in the GIF workspace.
Each still holds for one second. Frames are fit inside the first selected image's size; a smaller or differently shaped frame is padded with transparency rather than stretched or cropped.
From a video clip
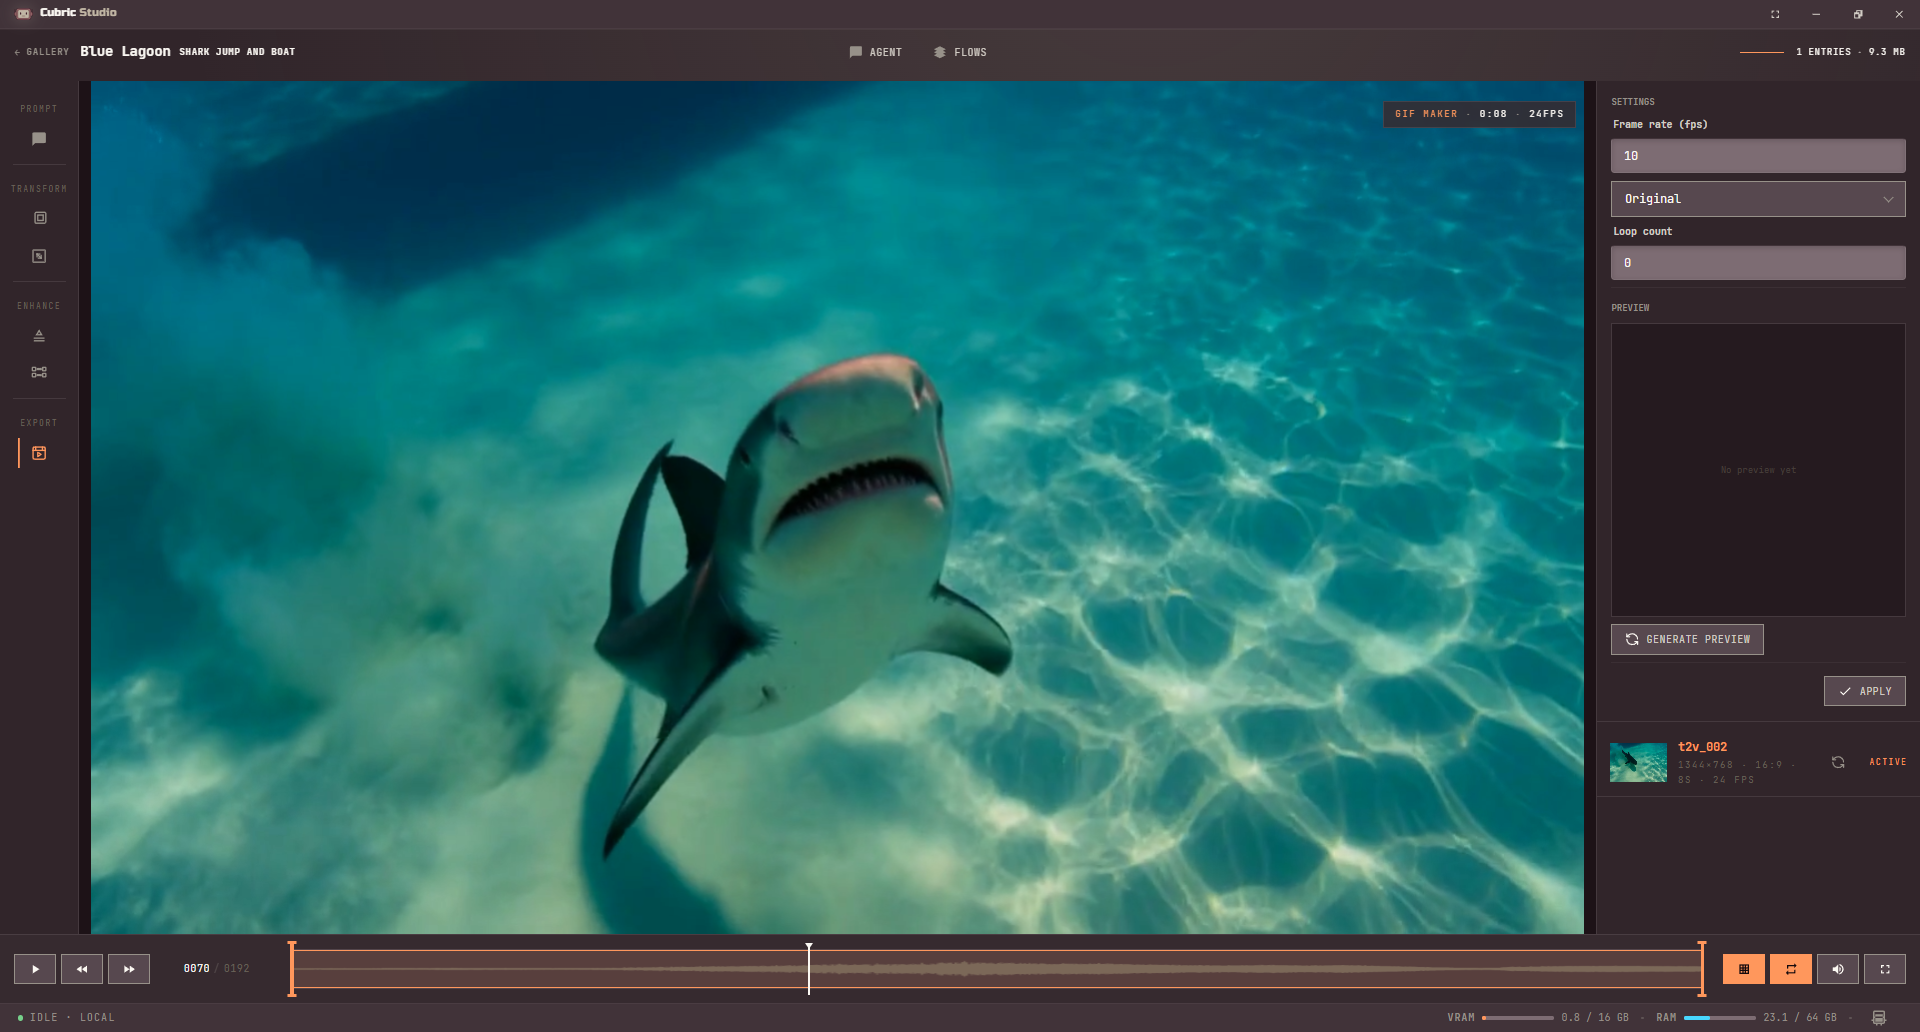
- Open a video card into History, then choose GIF Maker from the Export group of the video tool rail.
- Set the frame rate, a size (original, or a width/height preset), and the loop count. GIF Maker uses the video's current trim range.
- Click Generate preview to see a real GIF and its file size before you commit to anything.
- Click Apply to build a new GIF card from the full-resolution frames. The source video's own history is untouched.
GIF Maker is the tool that used to be called Export GIF: same panel, same saved settings, new name and a new home on the video tool rail's Export group. An old link to Export GIF in Video Tools points at this same tool.

The GIF workspace
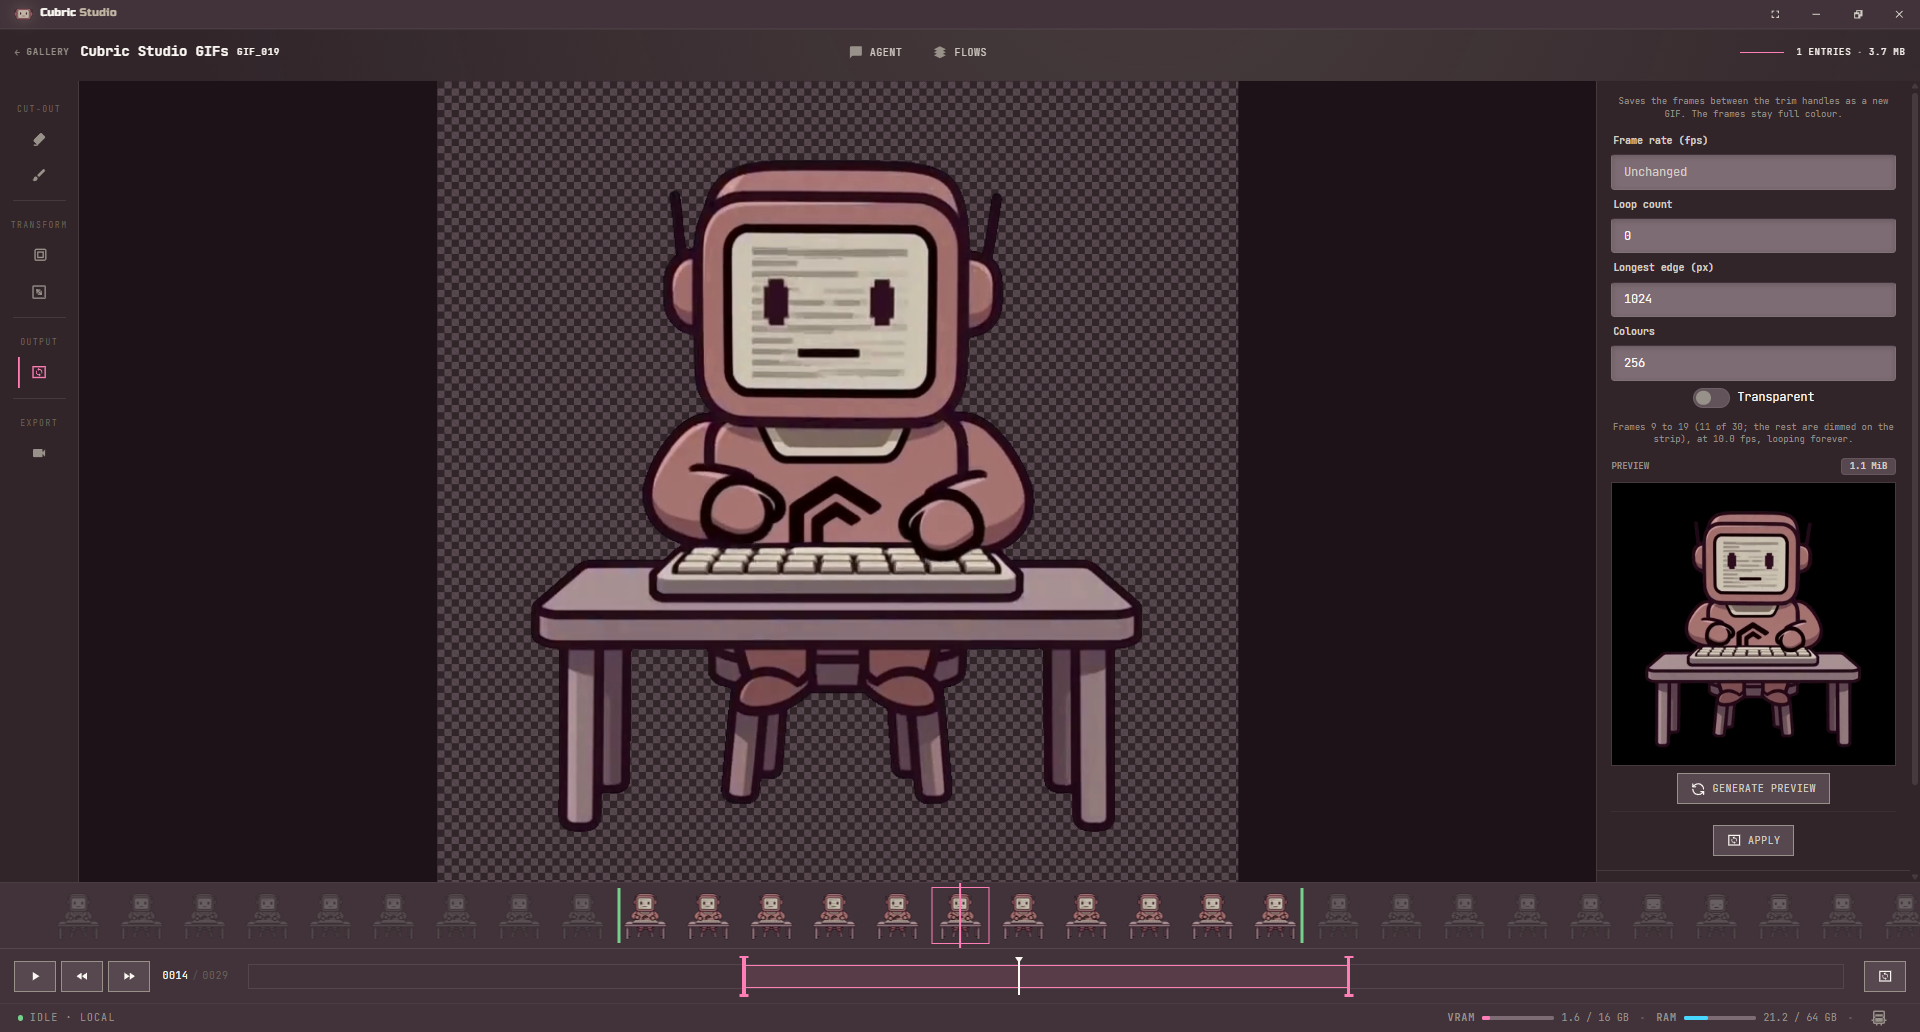
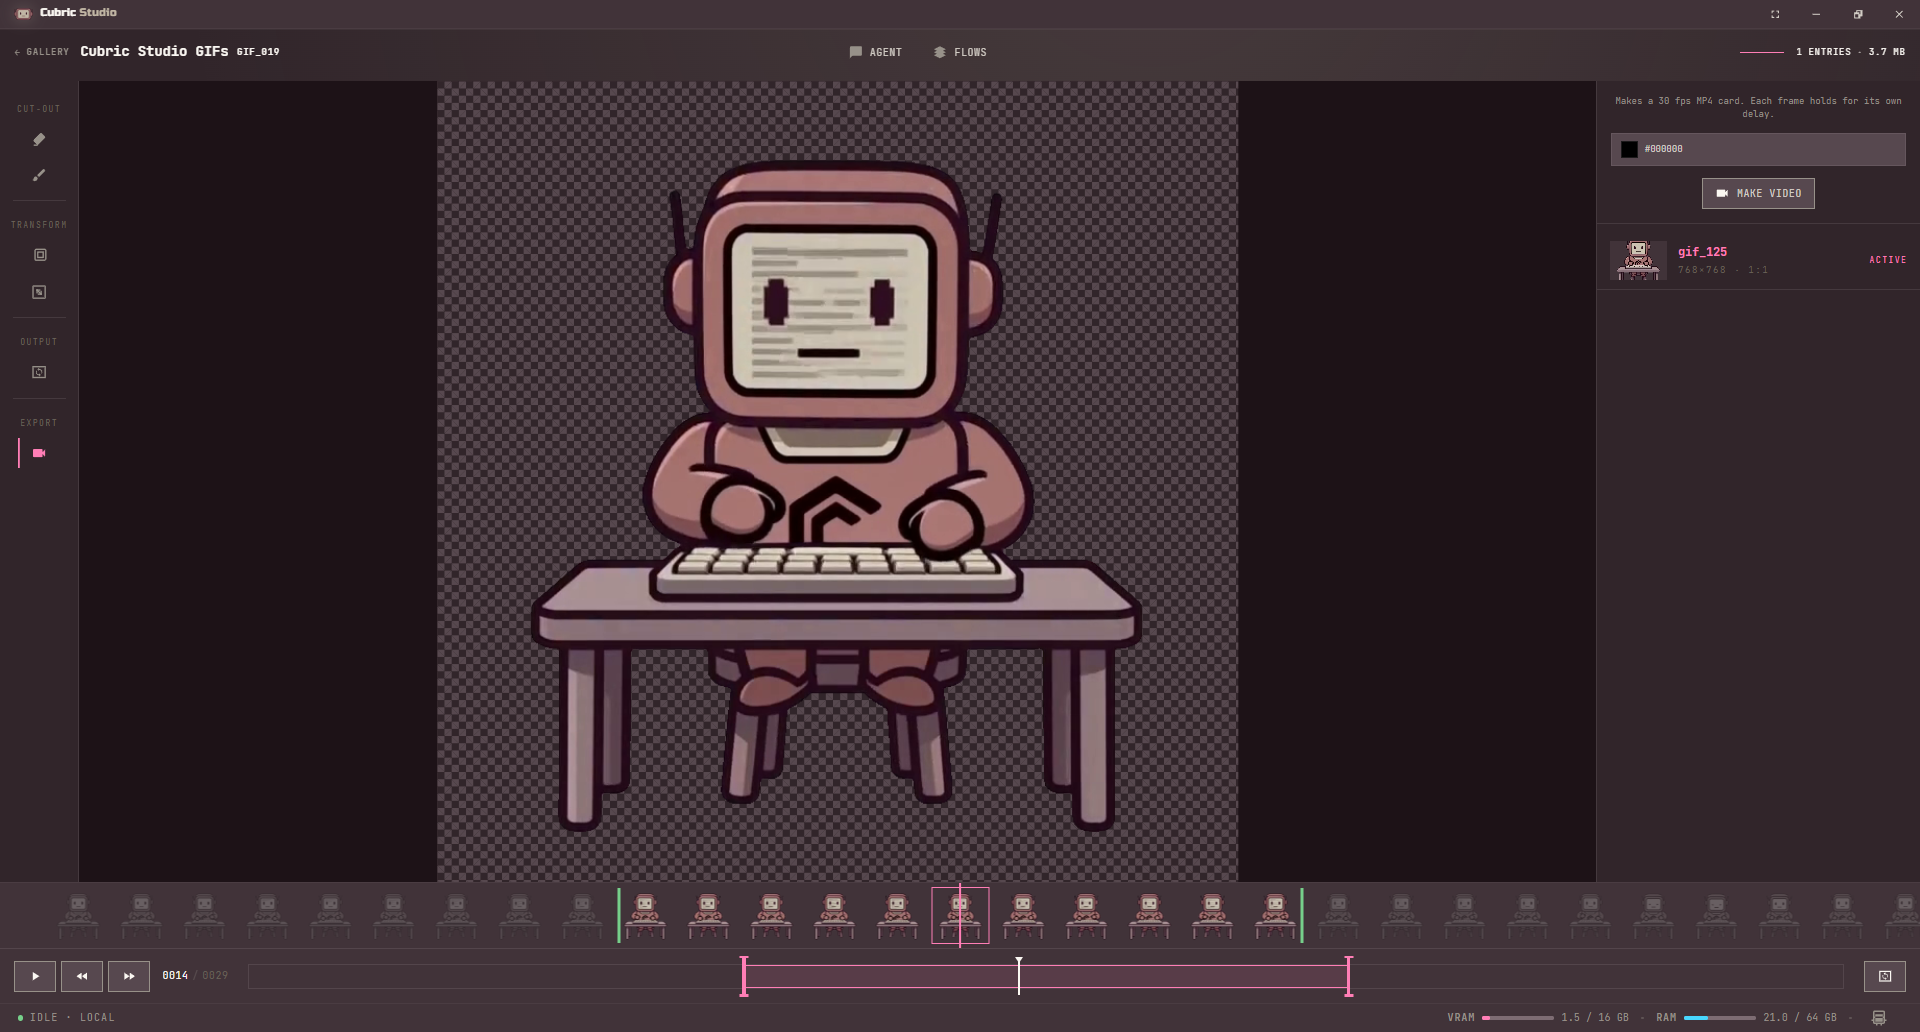
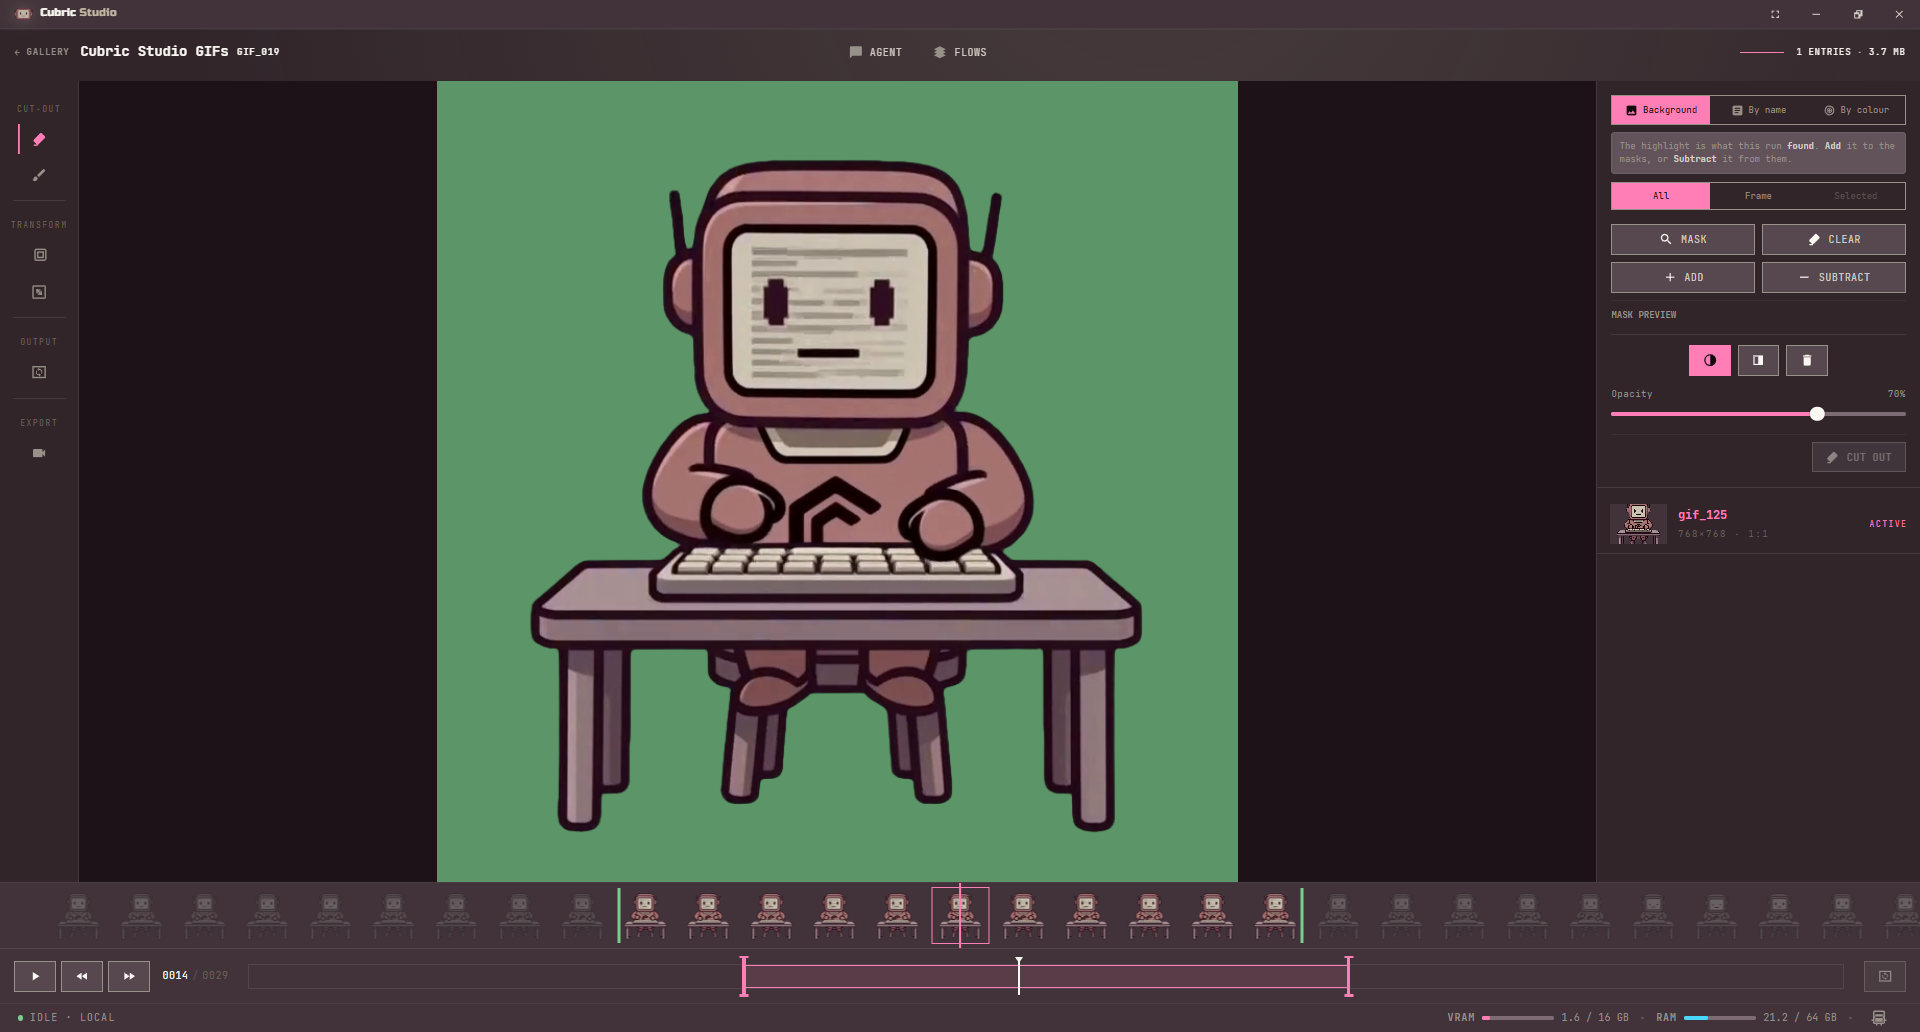
A GIF card opens in the History workspace's GIF mode: the frame strip runs under the stage with the transport controls and trim range below it, and the tool rail down the left holds Cut-out, Transform, Output, and Export. Each tool's settings open on the right.
The frame strip
The frame strip is where you retime and reorder a GIF by hand.
- Click a frame to jump to it.
- Drag across the strip to scrub through frames.
- Press and hold a frame for about a third of a second, then drag, to reorder it.
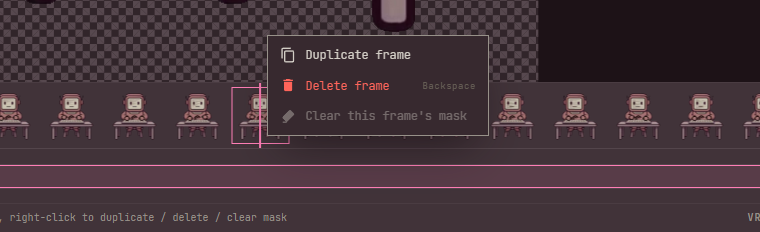
- Right-click a frame, or a selection of frames, for Duplicate frame, Delete frame, and Clear this frame's mask. Delete also answers to Ctrl-click plus Backspace.
Duplicating a frame is free: Cubric Studio stores each unique frame once, so a repeated frame costs no extra file size, and the duplicate carries its source frame's cut-out mask with it.
Trim range
The strip also shows the current trim range, dimming everything outside it. Drag the in and out handles, or set them from the keyboard: I snaps the in point to the frame on screen, O snaps the out point, Home and End jump to them, and X clears the range back to the whole clip.
Every GIF operation reads this range: GIF output and its preview, Crop, Resize, Reverse, GIF to Video, and Cut-out all work only on the frames inside it.
Crop and resize
Crop works like image Crop, over the GIF stage. Resize scales every frame to a new size you type in. Both create a new entry in the GIF's own history and respect the current trim range; the card itself does not change.
Cropping or resizing a GIF never builds it smaller than 2048px on the long edge, even if GIF output was set to something smaller. Reopen GIF output and set the size again if you want a small file after cropping.
Cut-out: subject onto transparency
Cut-out removes everything except your subject from every frame, leaving transparency behind. It has three methods, and none of them needs a separate install: their models come down automatically with the engine.
- Background finds the background on its own, no typing needed (BiRefNet).
- By name tracks whatever you type, for example mascot or logo, across every frame (SAM3). Up to four tracked objects show as numbered chips.
- By colour keys one colour out of the frame. Click Pick to choose it from the image; this method runs in the app itself and needs no model.
Choose a scope first: All frames, just the current Frame, or a Selected set (Ctrl-click frames in the strip). A run proposes a region rather than cutting right away: press Add to fold it into the frame's mask, or Subtract to take it out, then Cut out to apply. Runs from different methods combine, so you can, for example, track by name and then subtract a stray colour.
Grow / Shrink, Fill Holes, and Invert adjust the result across every frame at once. For a single frame that needs a hand fix, switch to Mask Brush, right below Cut-out on the rail, and paint or erase directly.
Output and saving
Output builds a new GIF from the frames inside the trim range, as a new entry on the same card.
- Frame rate (fps) is blank by default, which keeps each frame's own timing. Type a number to retime every ranged frame to that rate.
- Loop count sets how many times the GIF plays: 0 for forever.
- Longest edge (px) caps the built file's longest side, and Colours sets the palette size.
- Transparent builds onto transparency instead of a solid background, with an edge colour that soft edges blend into before the cut.
Click Generate preview to build and view a real GIF at the current settings before applying. Changing a setting marks the preview stale until you generate it again.
Right-click the stage for two more exports: Reverse flips the playback order, and Save frame saves the frame on screen as a new still-image card.
GIF to Video, in the Export group, writes the frames out as a 30fps MP4 and adds it as a new video card; the GIF's own history is untouched. Its panel has a background colour, which fills any transparent pixels, since video has no transparency, and a Make video button.