
Video Tools
Video operations for trimming, cropping, resizing, upscaling, interpolating, and prompting from clips in History.
Video workspace
Video tools run from the History workspace after you open a video card. The center viewer shows the selected clip, the right panel changes to match the selected video tool, and the transport and trim controls sit below the Prompt Box, so they stay in reach whatever the Prompt Box is showing above them.
Most video tools respect the current trim range. Set the range by dragging the handles or by pressing I and O at the playhead.
Playback and range
The transport controls are Play, Previous Frame, and Next Frame. The time readout can display frames or seconds, depending on the frames toggle beside the scrub bar.
Playback is frame-accurate: stepping, scrubbing, and trimming land on the exact frame, and the player shows the true decoded frame when paused or stepping. Loop is off until you turn it on, and then loops only inside the selected range. Loop, volume, and fullscreen controls sit with the same transport row: the speaker button opens a volume slider rather than showing one all the time. M mutes, and Home / End jump to the first and last frame.
If the clip has sound, the trim bar draws its waveform behind the handles, so you can cut an in or out point on a word or a beat instead of guessing. A silent clip's trim bar looks exactly as it did before.
Prompting from a video
A video card's Prompt Box works like an image card's. The + at the start of the media strip adds a picture, and every installed model with an operation that takes media is offered. The card opens on the model's first such operation, usually Image to Video, so a picture you add is the new clip's first frame unless you pick another operation; its label switches it to the last frame, as in first frame, last frame, or both. To use a frame of the clip itself, right-click the video and choose Set as start frame or Set as end frame: the frame under the playhead joins the strip.
On a reference operation, on MiniMax H3 Reference, Seedance 2.0 or Wan 3.0, the open clip is a pinned Video 1 chip in the strip. Click its label to swap it for the frame under the playhead as a picture, and back. Image to Video never sends the clip.
The video viewer context menu can also reverse a clip: reverse both tracks, just the video, or just the audio.
To continue a clip past its last frame, make the next shot, then select both clips and Combine them, or let the Extend Video flow do it in one go. The Extend and New shot buttons are gone in 2.0. Add Foley (giving a silent clip a soundtrack) is a flow too. Open the Flow Library for both.
Crop tool
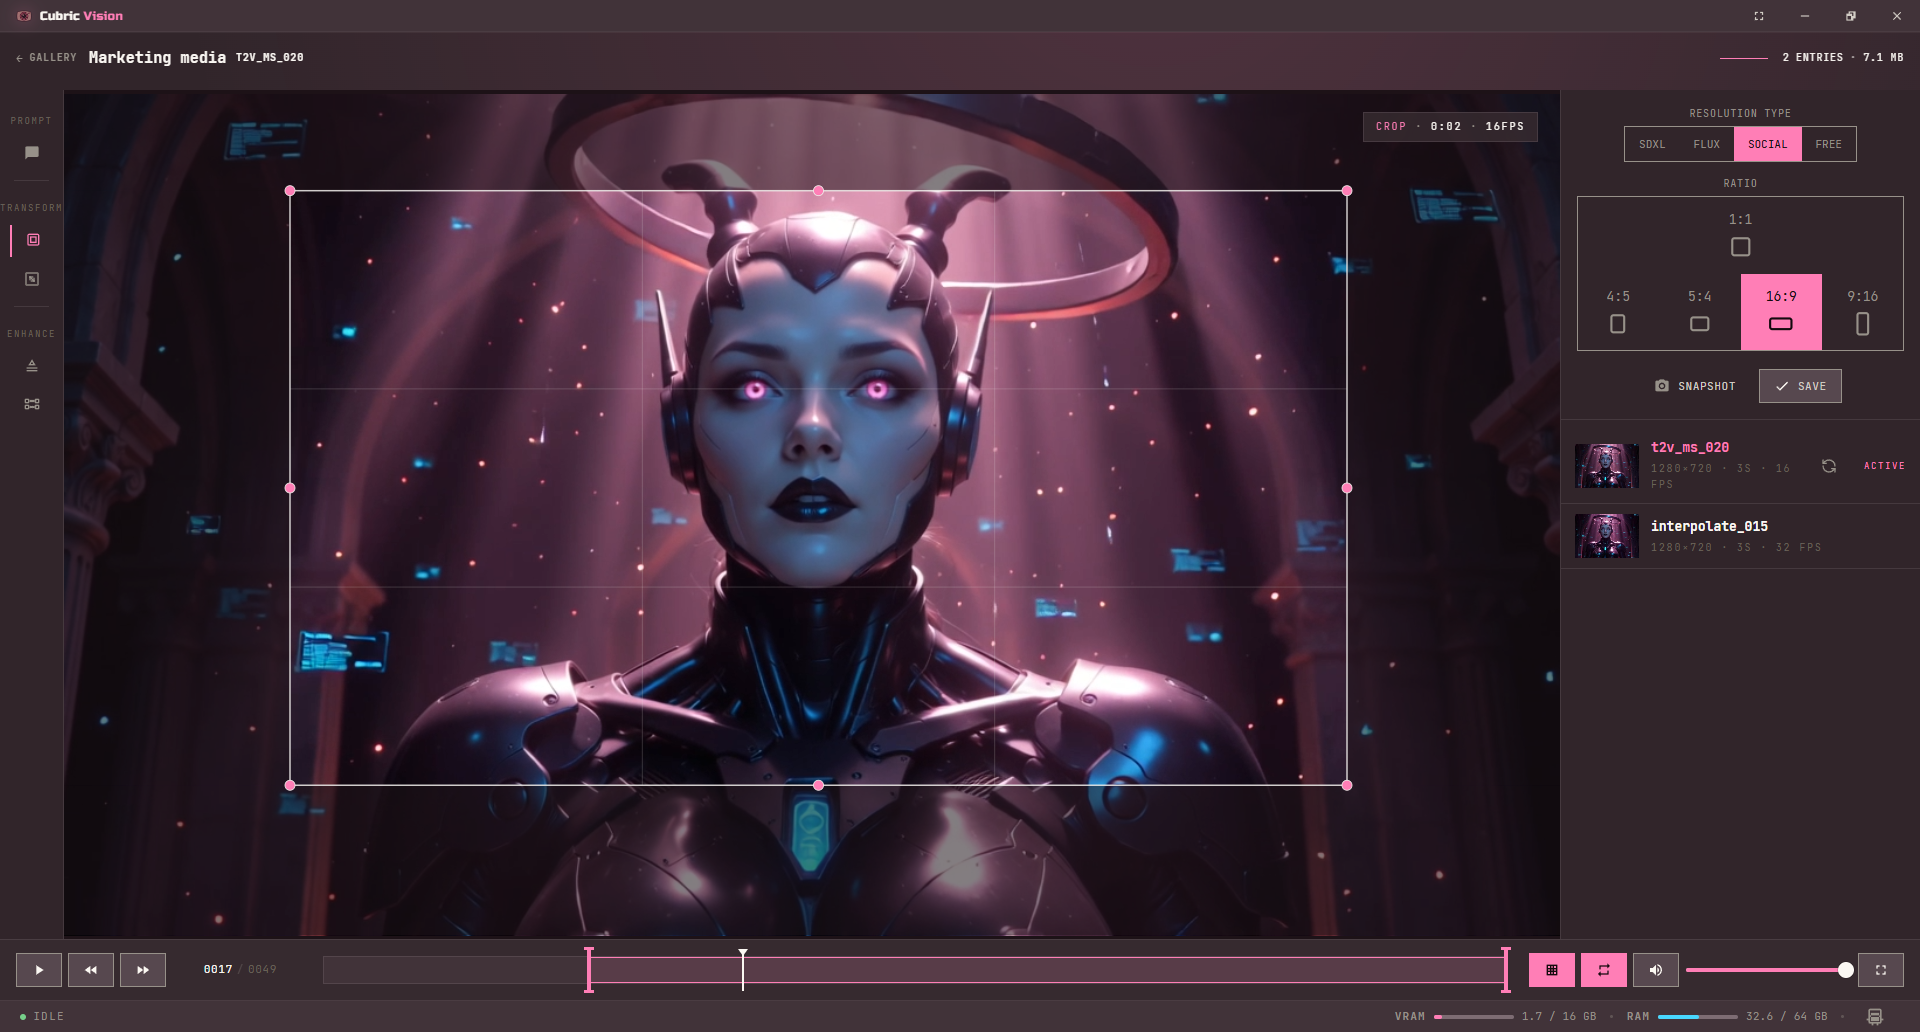
Video Crop works like image Crop, with one extra control: Snapshot creates a still image from the current frame and respects the crop area. The crop save action creates a new cropped video and respects the current trim range.
Resize tool
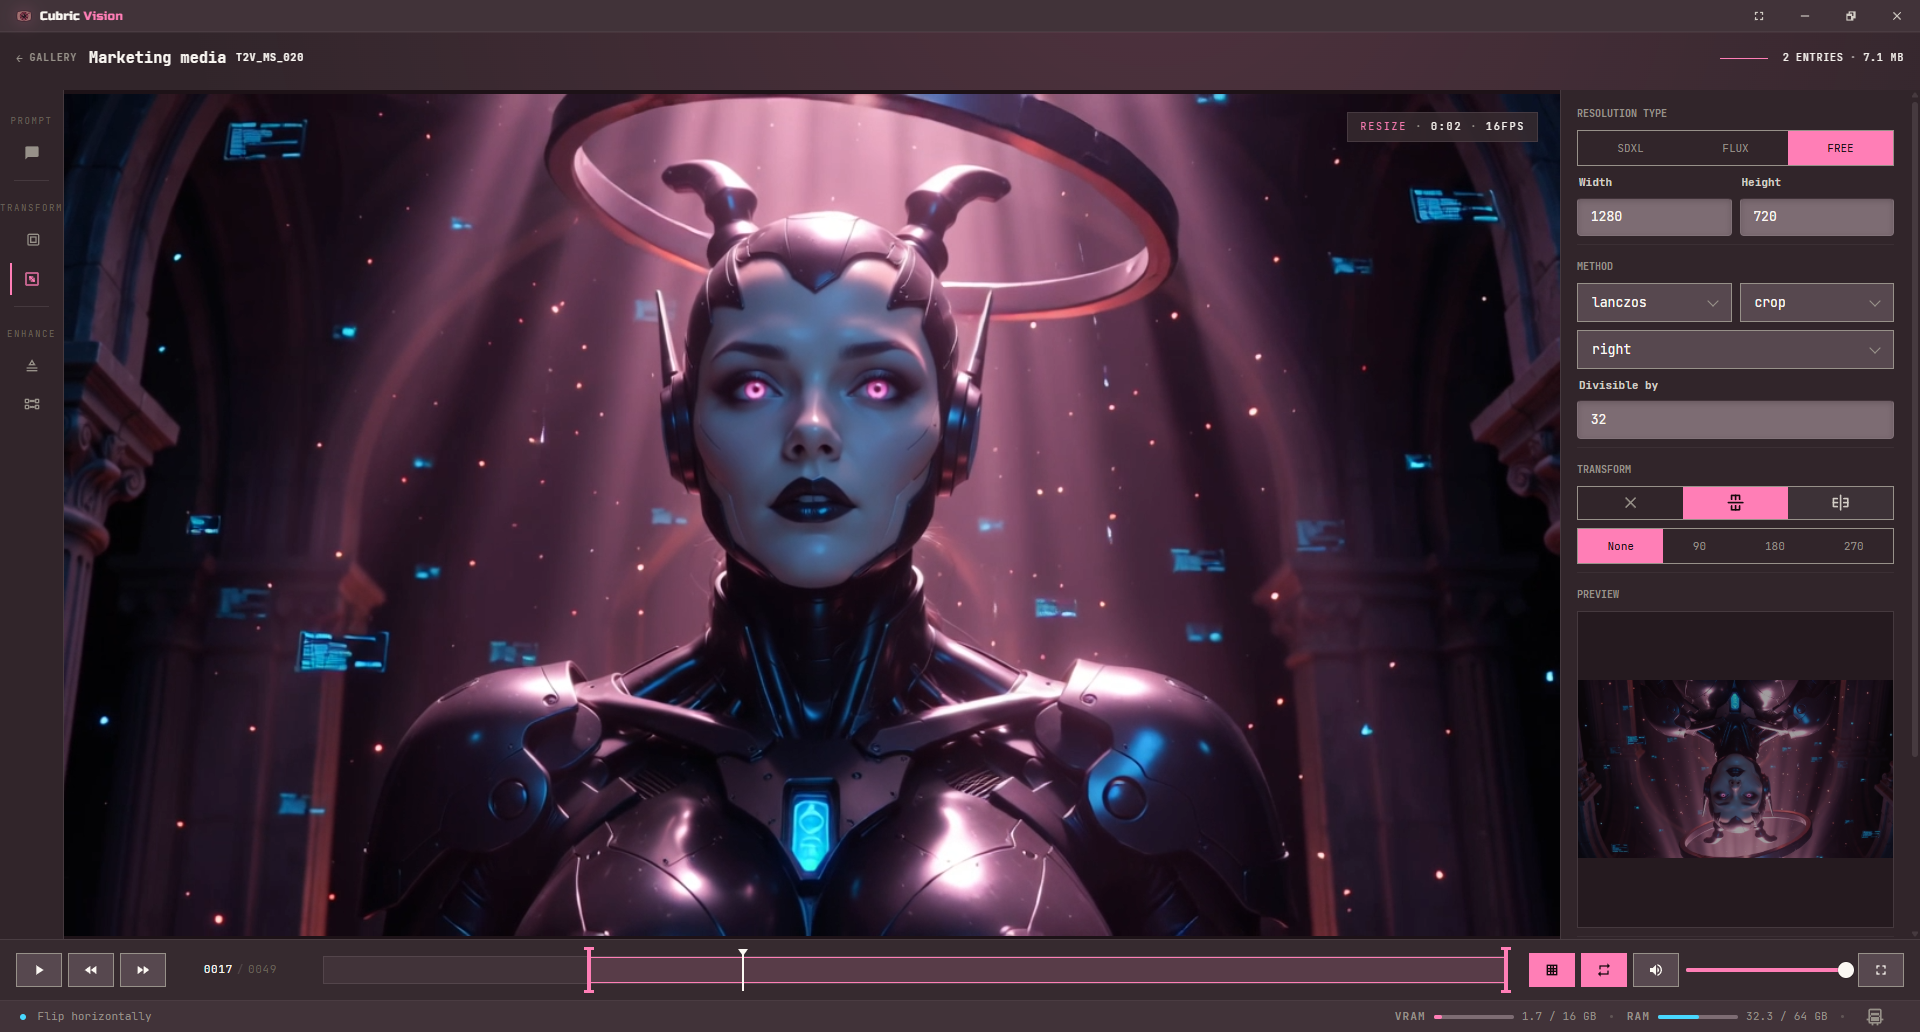
Use Video Resize to create a new clip at a different size. Like image Resize, the tool provides a live preview while you change settings. Applying the resize creates a new video entry and respects the selected range.
Upscale tool
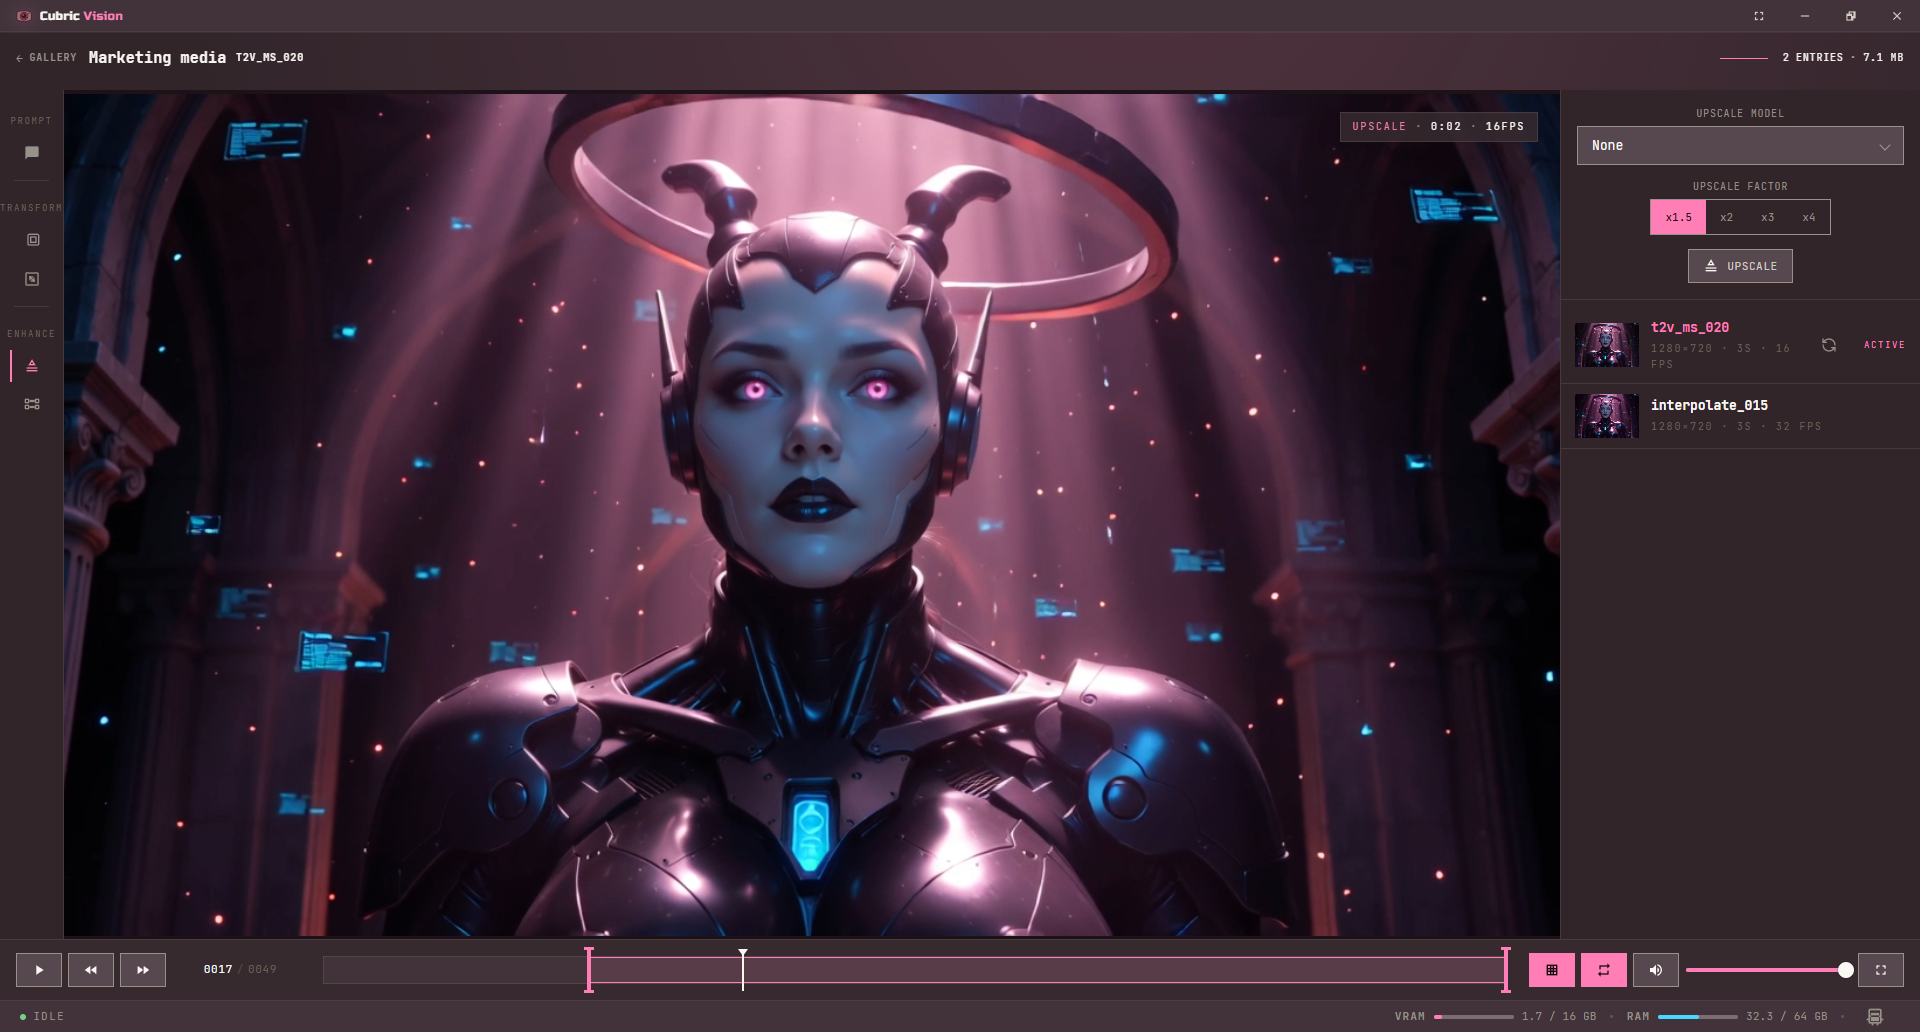
Use Video Upscale to enlarge the selected video. With no upscale model selected, the tool performs a simple enlargement. With a selected upscale model, Cubric Studio uses that model for the upscale pass when available.
Install the LTX Video upscaler plugin and it joins the model dropdown here. It doubles the clip's resolution and rebuilds detail with LTX 2.3, and the audio passes through untouched. Because its own graph always doubles the size, it replaces the Upscale Factor control with its own optional prompt and two sliders. Short clips first: cost grows with length, and a long clip can exhaust your graphics memory. The same upscaler is also in the Flow Library as Upscale Video, if you would rather work from there.
Interpolate tool
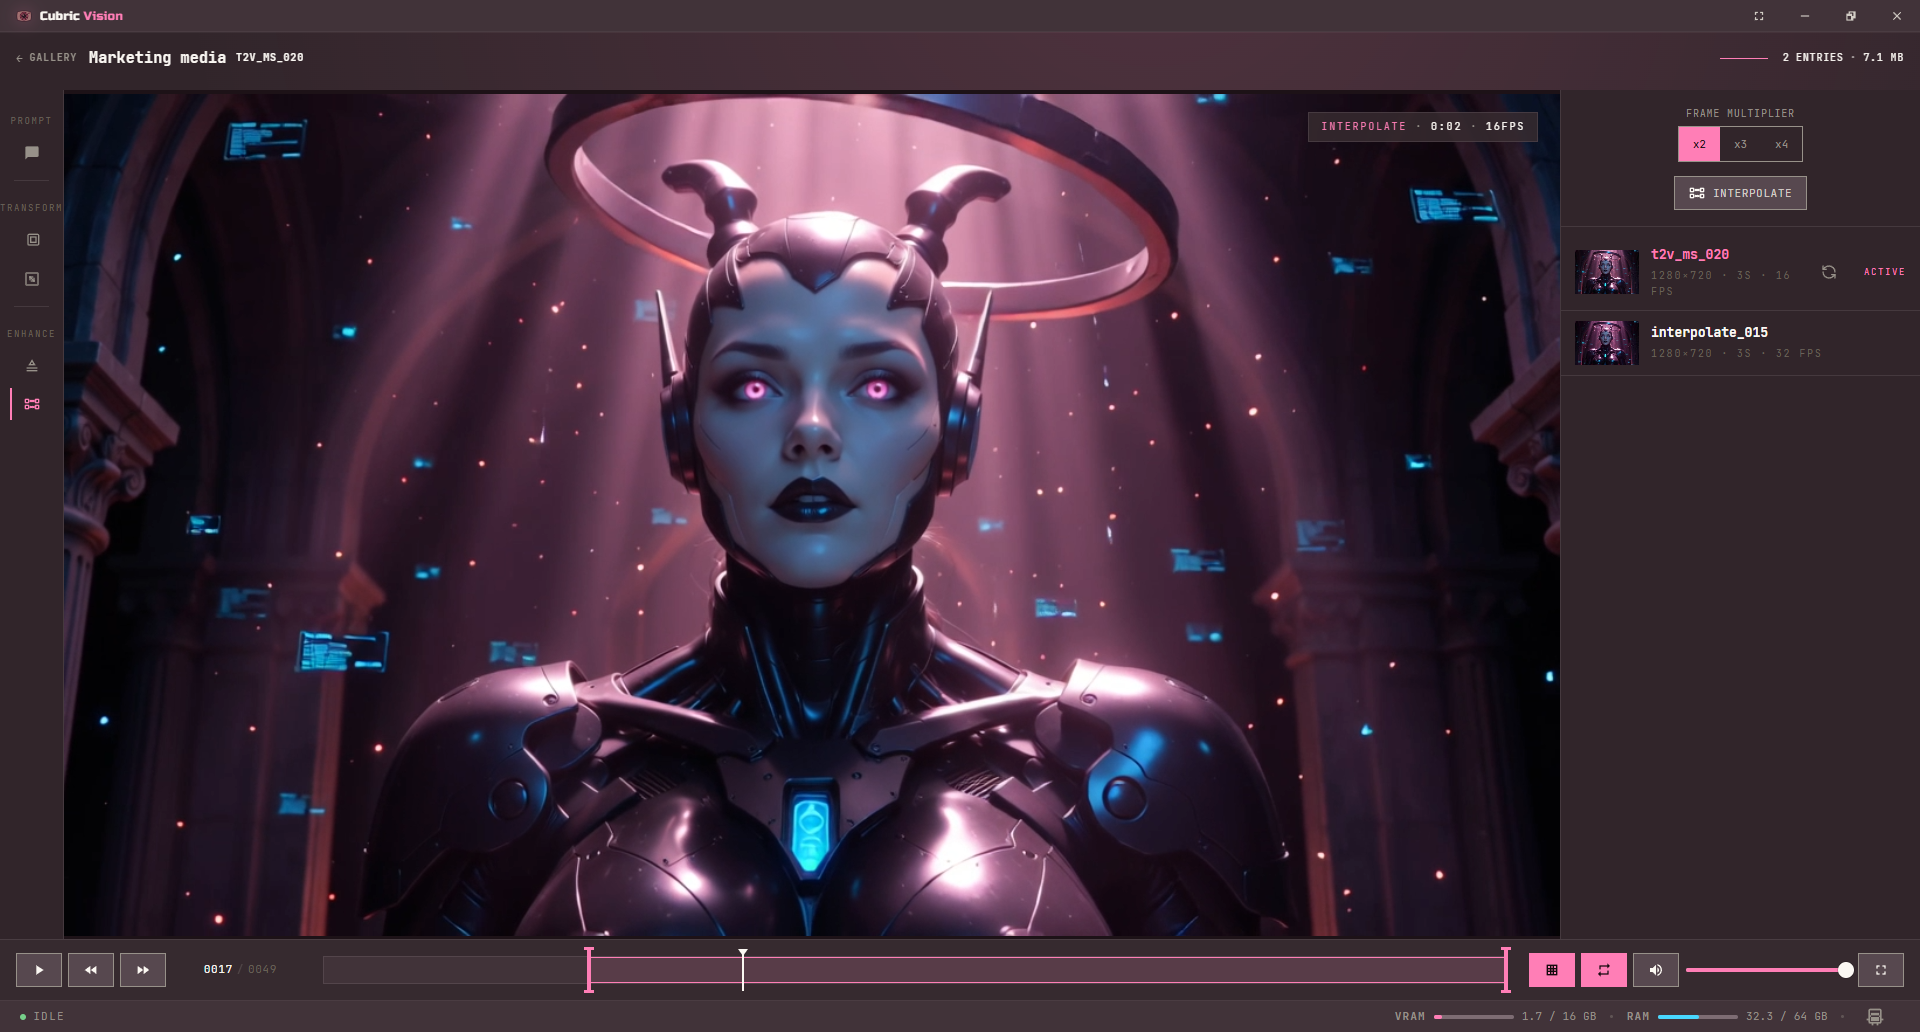
Use Interpolate when you want to create smoother motion by generating additional frames between existing frames. Choose the interpolation amount, then apply the tool to create a new video entry.
GIF Maker
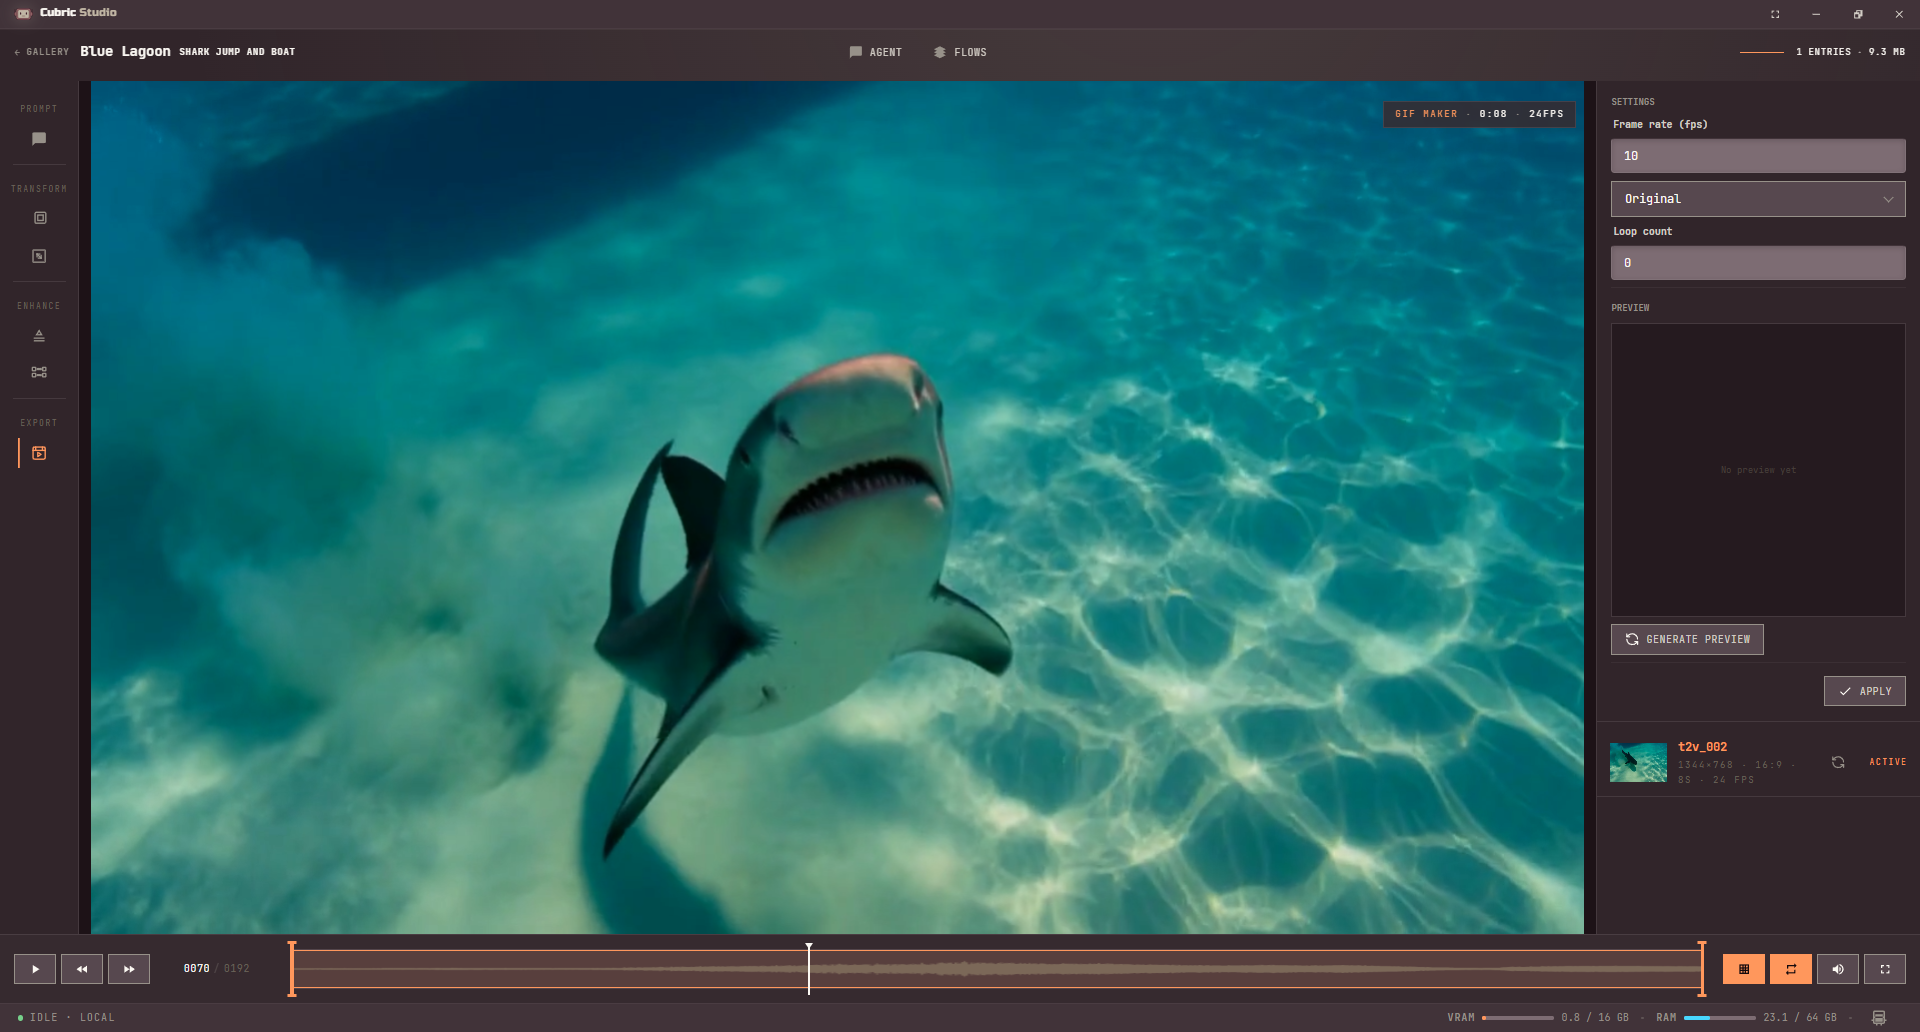
Use GIF Maker (an Export tool, video only) to turn a clip into an animated GIF. Pick the frame rate, output size, and loop count, use Generate preview to check the result and its file size, then Apply. Apply does not add a History entry to this video: it makes a new GIF card in the Gallery.
GIF Maker only turns a video clip into a GIF. For everything else GIFs can do (retiming, trimming, cropping, duplicating a frame, or cutting the subject out onto transparency), see the GIF workspace.
Common video operations
- Text to Video. Create a short clip from a prompt. On LTX 2.3, MiniMax H3, and Wan 2.2 5B.
- Image to Video. Animate a still image into motion, as the clip's first frame, last frame, or both.
- Reference to Video. MiniMax H3 Reference, Seedance 2.0 and Wan 3.0: keep a character, place, or voice across clips without training.
- Combine. Merge selected videos from Gallery or History context menus in selection order.