
History
The workspace for reviewing an asset's branches, selecting entries, and continuing work from a specific image or video result.
Image history
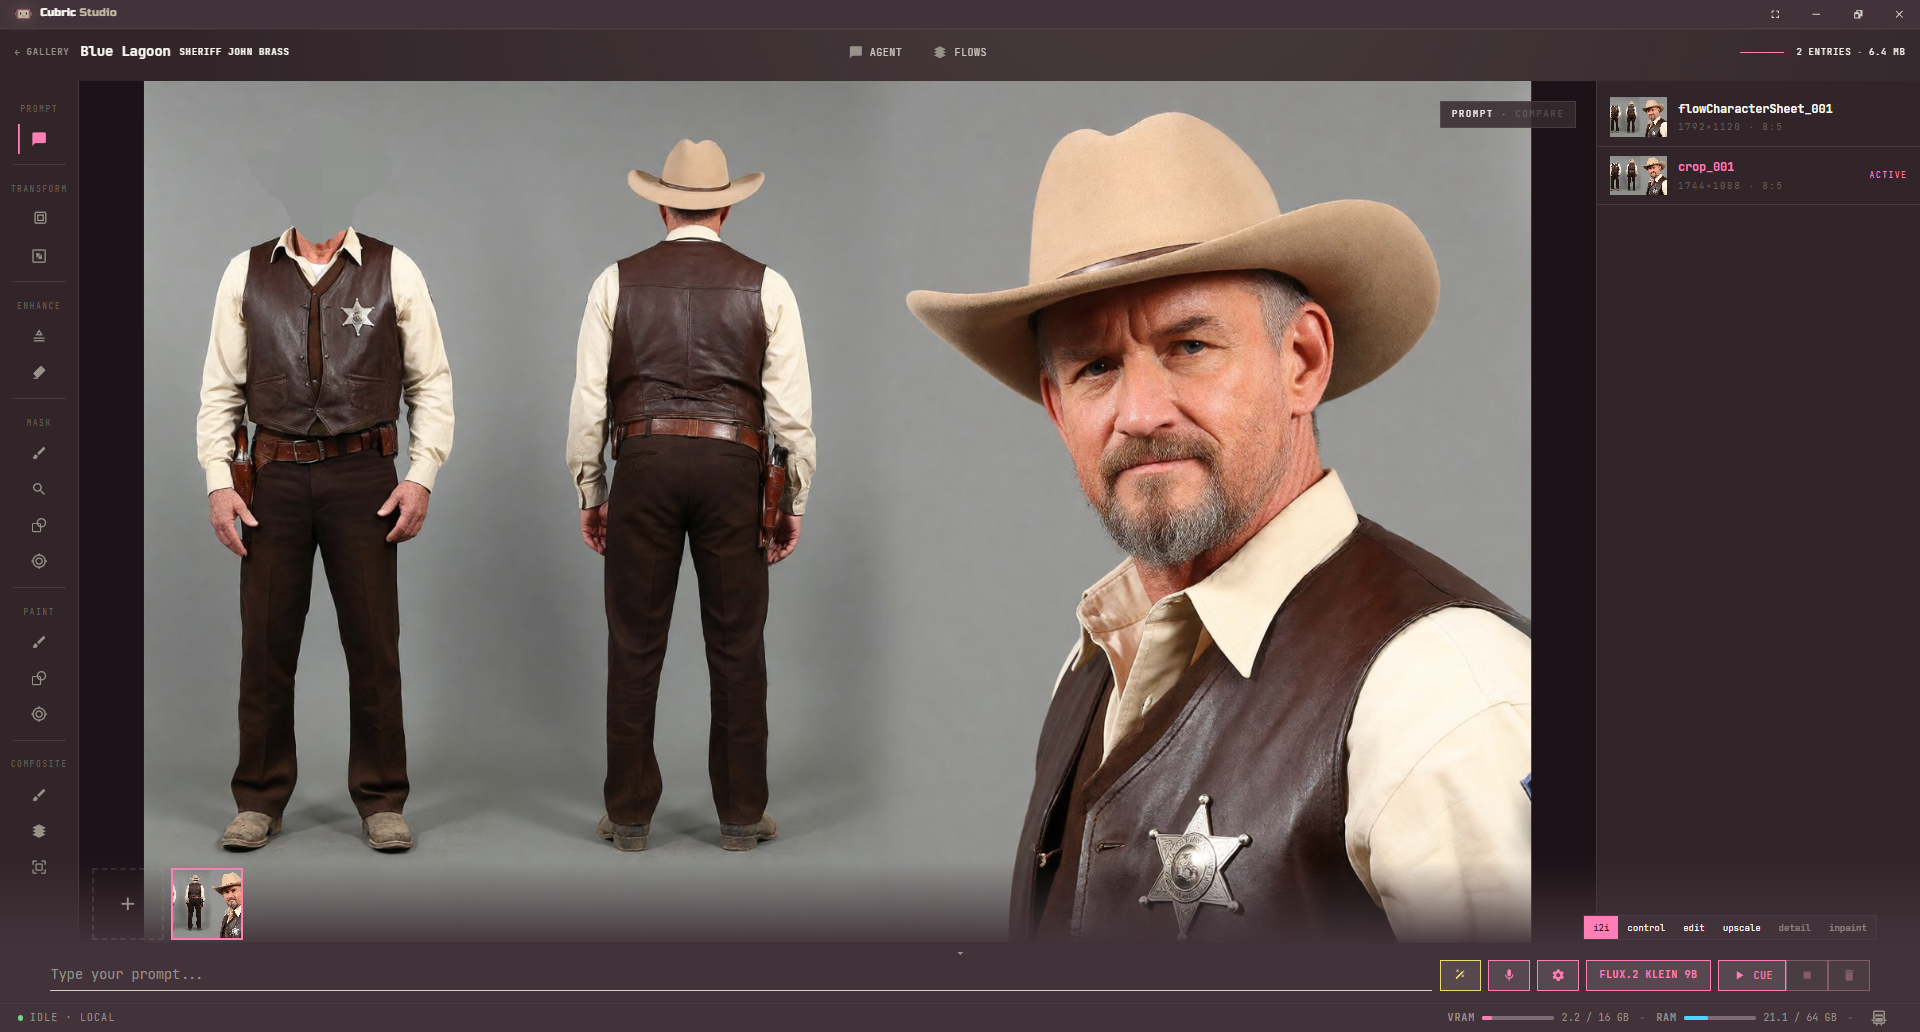
Open a Gallery card to enter History. Image history opens with the selected image in the center canvas, the tool rail on the left, operation settings on the right, and the entry list below the settings panel.
Every applied image tool creates a new entry instead of changing the selected one in place. Use History to return to an earlier result, compare two branches, or start the next operation from a different entry.
Hover a tool icon in the left rail to see its name. Each history entry shows its aspect ratio next to the pixel size, for example 768×1280 · 5:8.
A stats readout at the top of the workspace shows how many entries the group holds and their total size on disk, for example 6 ENTRIES · 4.2 MB.
Select and compare entries
History selection works like Gallery selection. Hold Ctrl or Cmd and click an entry to enter selection mode. The first selected entry is marked #1, and later selections keep their order.
Click additional entries, Ctrl/Cmd-click entries, or use Shift with Ctrl/Cmd to continue selecting.
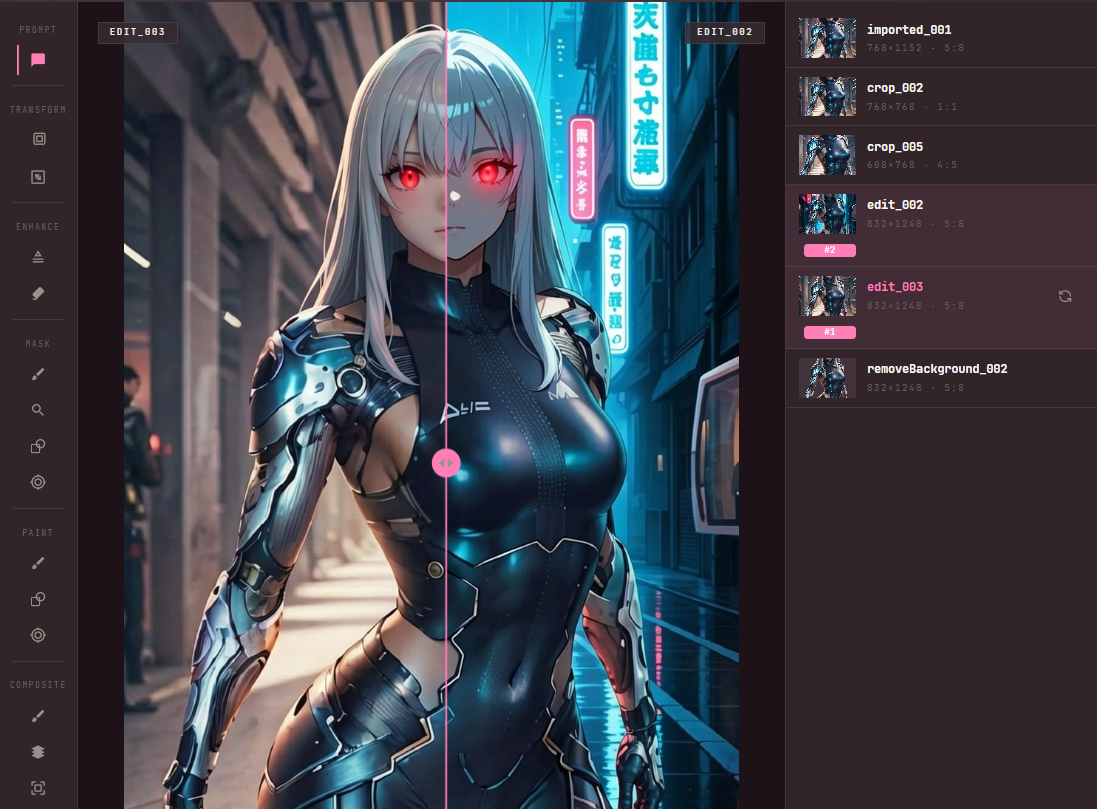
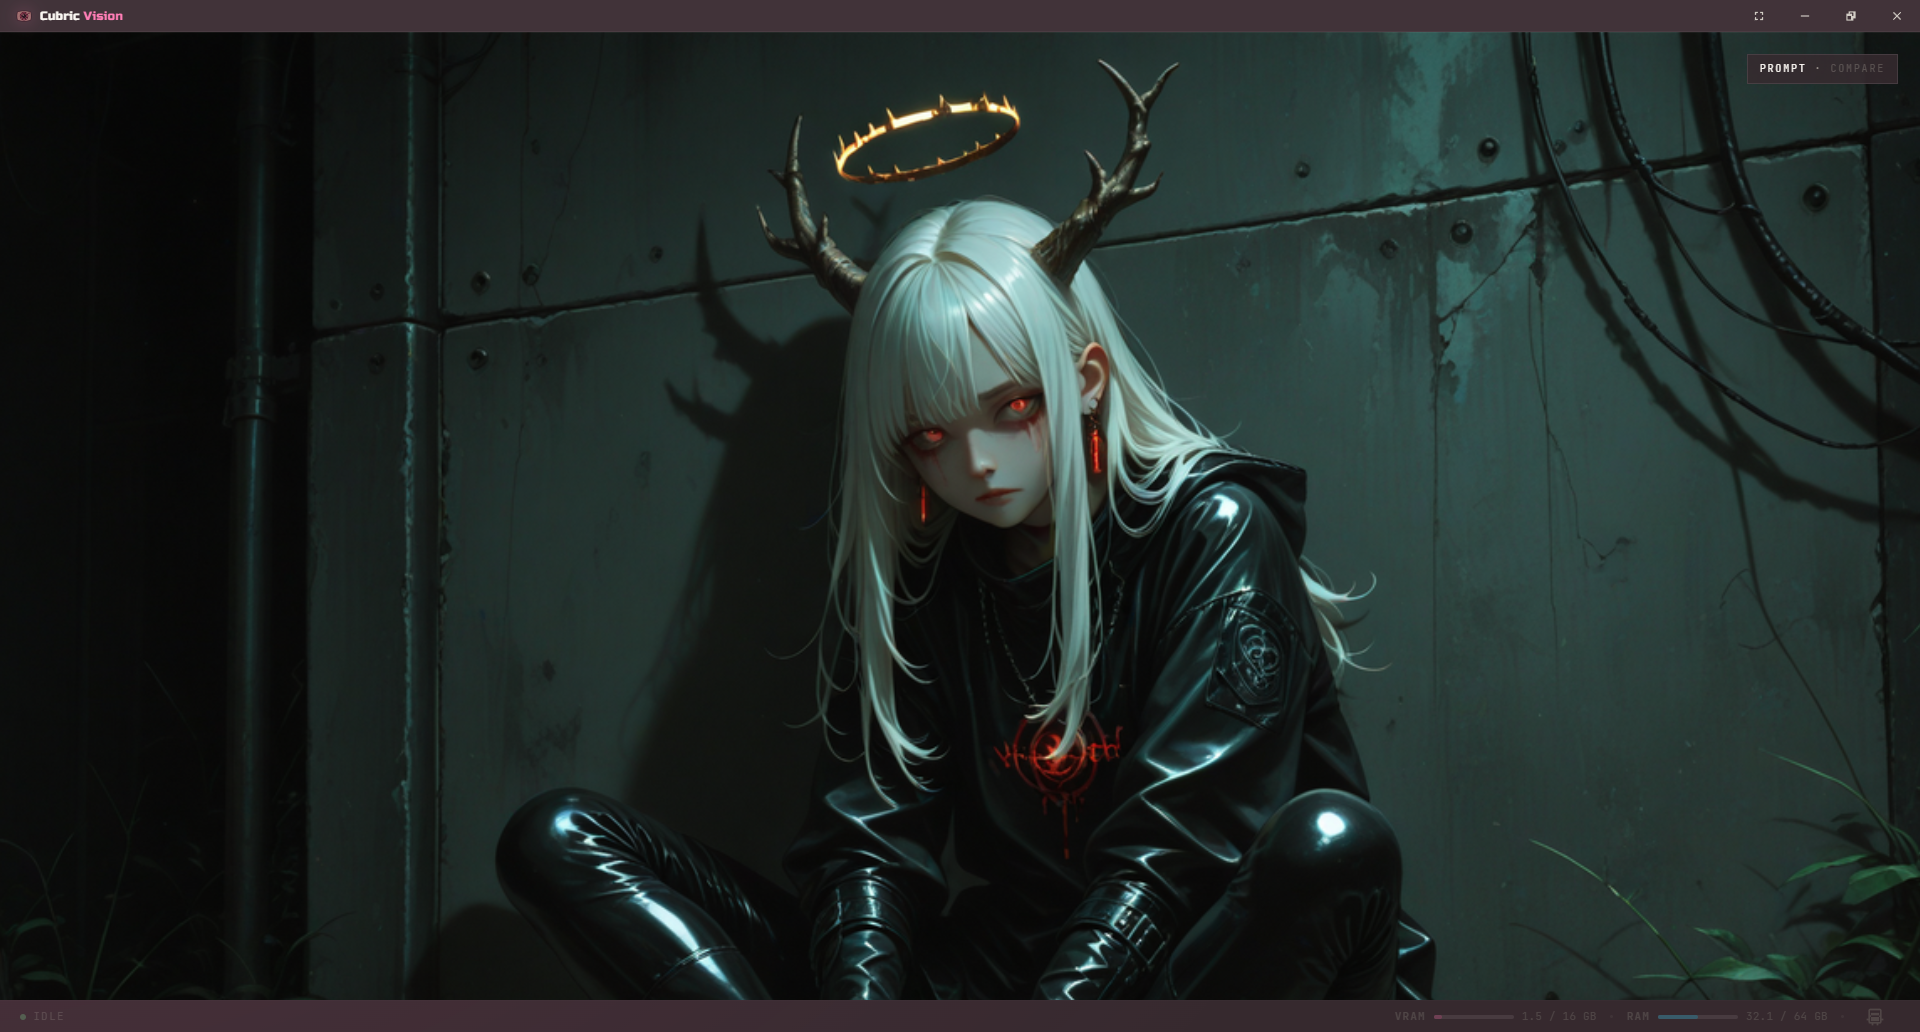
When exactly two image entries are selected, Compare lights up at the top right of the image, beside the active tool's name. Click it; there is no need for the right-click menu, though Compare is in there too. The entry you selected first (#1) shows on the left and the second on the right, each named in its top corner, with a divider between them. In video History, Compare is in the right-click menu only, and opens over the whole window.
Entry context menu
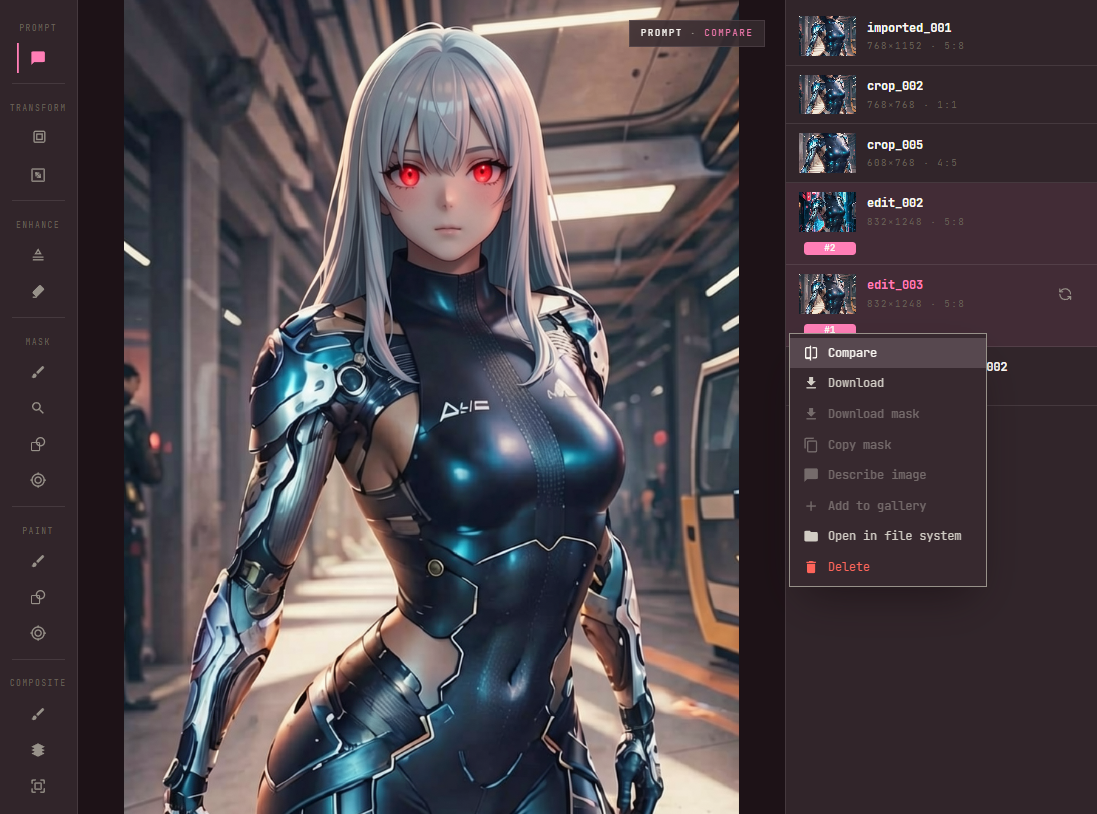
Right-click a history entry, or press the context-menu key while an entry is selected, to open entry actions: compare two selected entries, download entries, download or copy a mask, describe the image, add an entry back to the Gallery as a new card, open the file in your file browser, or delete selected entries.
Download mask and Copy mask are available when the selected entry carries a mask. Copy mask puts it on the clipboard; Paste mask then appears on another entry and drops it there. Paint and eraser strokes are carried separately, and Cubric warns if the two entries are different shapes. Open in file system reveals the media file, and Describe image writes a text description (needs the Image Describer plugin).
Right-clicking the image rather than an entry opens a different menu: Clear mask, Convert mask to paint, Convert paint to mask, and Send to Composite.
Blending two entries
When a re-run fixes one part of a picture and ruins another, you do not have to choose. Two entries can be blended into one, and you watch the blend happen on the canvas instead of describing it in a dialog first.
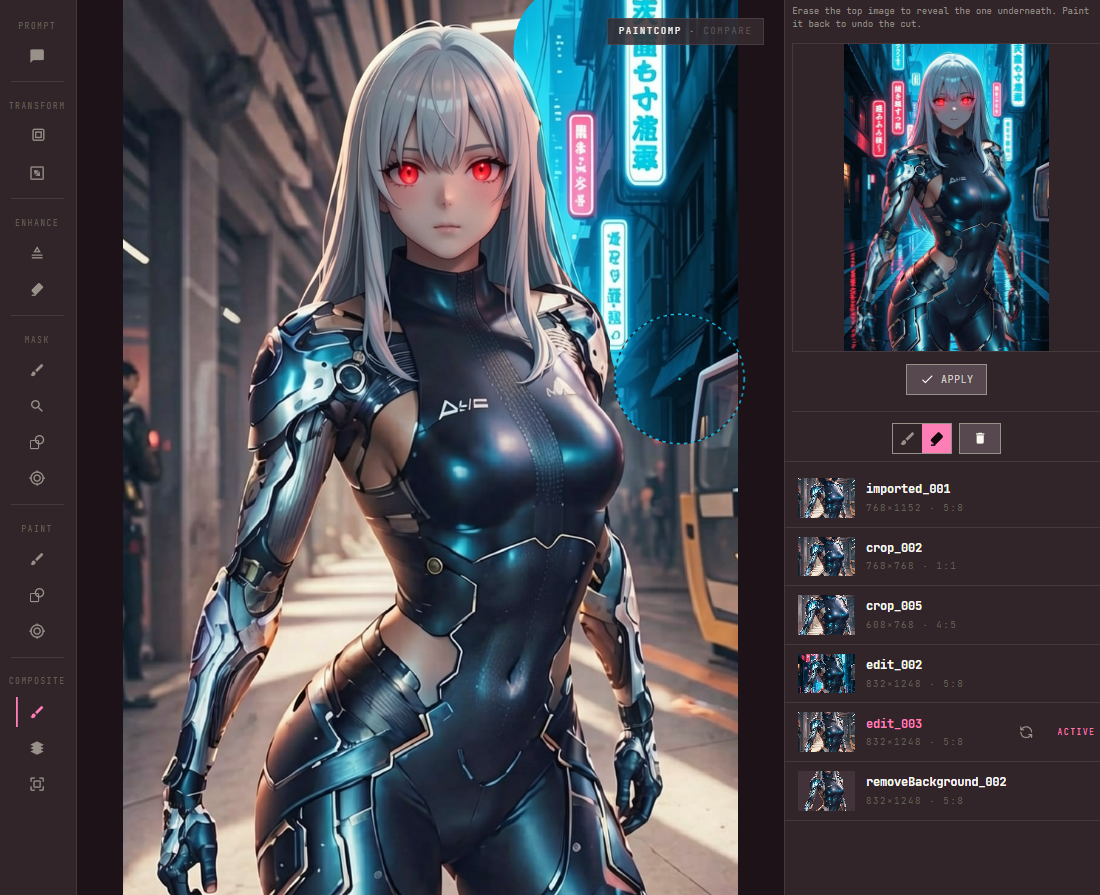
- Open the entry you want underneath, right-click the image itself, and choose Send to Composite.
- Open the entry you want on top, then pick Paint Comp or Mask Comp from the Composite group in the tool rail.
- Erase to reveal the picture underneath, or let the mask already on the image make the cut in one step.
- Press Apply. The blend lands as a new entry at full resolution, so nothing is overwritten and deleting it undoes the whole thing.
Both entries have to be on the card you have open. If the picture you want underneath lives on another card, bring it in first: click the + in the Prompt Box, turn on Add to history, and pick it. See Prompt Box > Add media.
The selected entry is always the one on top, so there is no direction to choose. A third Composite tool, Place, works differently: instead of blending two entries already in your History, it stamps a picture you drop in or pick from outside the list onto the entry on screen, at a size and position you drag into place. See Composite tools for how the three tools differ and what the brush does in each.
The Add / Subtract composite dialog that used to run this from the entry context menu is gone. It asked you to decide before anything was on screen to judge.
Video history
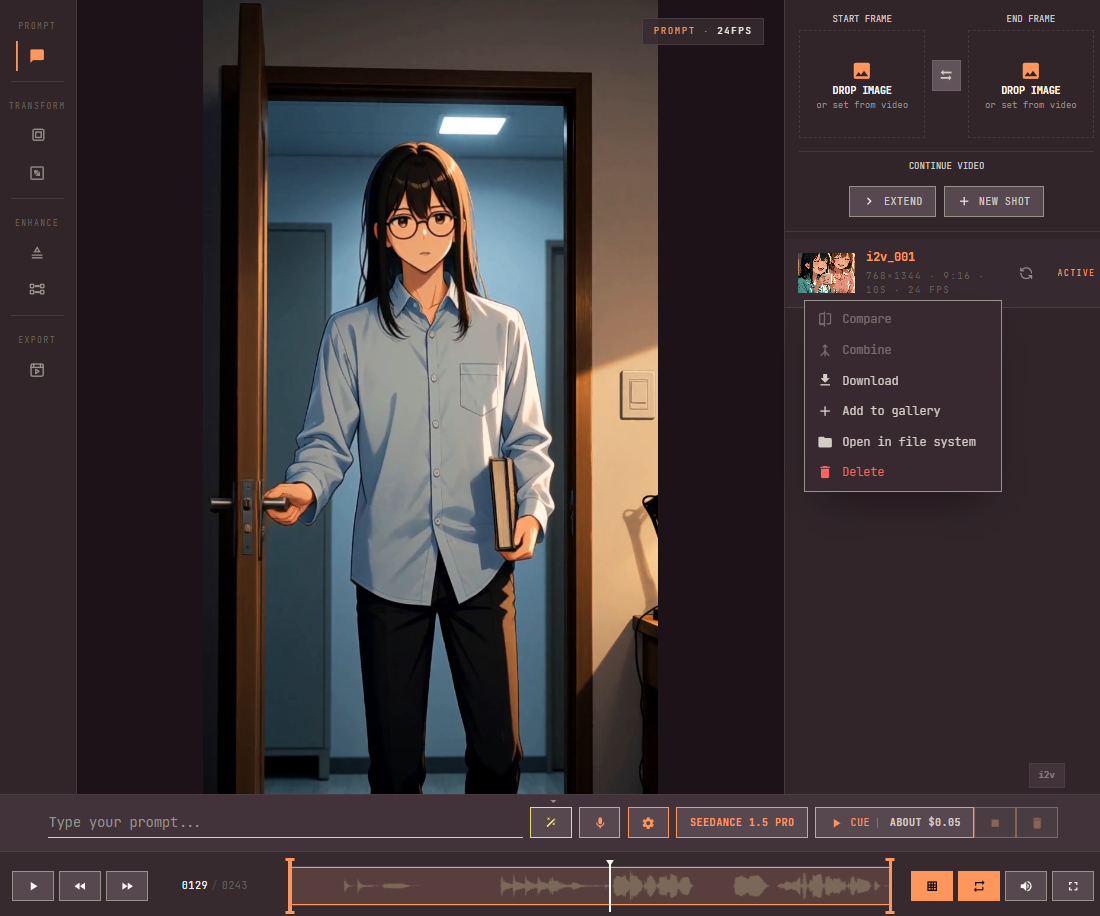
Video History uses the same workspace structure, but the center viewer adds video playback, and the transport and trim controls sit below the Prompt Box. They include play, previous frame, next frame, a frames/seconds display toggle, loop, volume, and fullscreen.
The trim range can be dragged, or set from the keyboard with I for the in point and O for the out point. Playback, loop, crop, resize, upscale, interpolate, and prompt operations respect that range. If the clip has sound, the trim bar draws its waveform behind the handles, so you can cut an in or out point on a word or a beat instead of guessing.
Latent previews now play during a video run too, in the workspace and in the minimised preview if you switch away. See Latent previews.

Video context menus
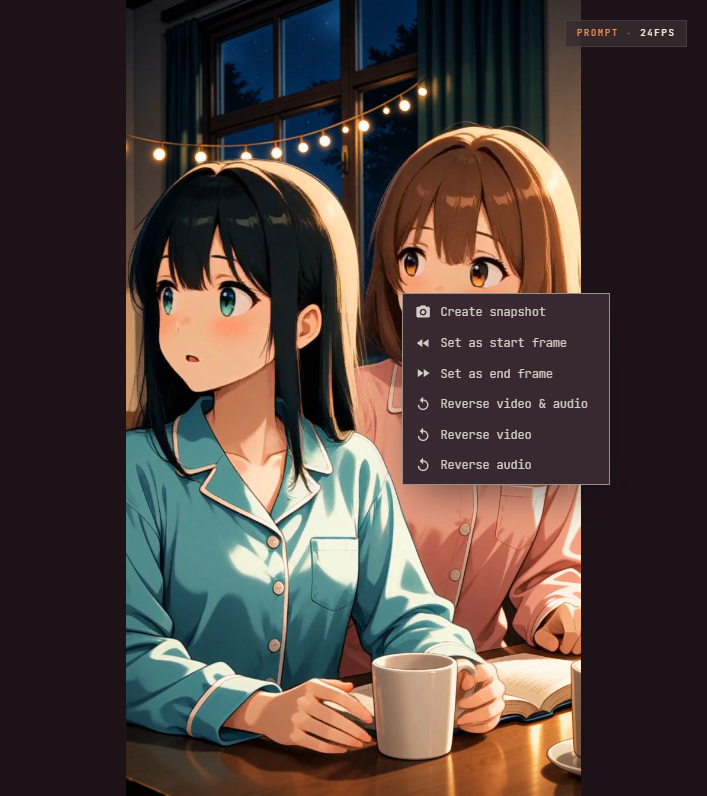
Video History has two context menus. Right-click the video viewer to save the frame on screen as a new image card in the Gallery (Create snapshot), set the current frame as a start frame or an end frame in the Prompt Box's media strip, or reverse the clip — both tracks, just the video, or just the audio. See Prompting from a video.
Right-click selected video entries to compare, download, combine selected videos, add an entry to the Gallery, open the file in your file browser, or delete selected entries. Combine uses the selection order.
Focus mode
Press F to toggle focus mode in either image or video History. Focus mode gives the current canvas or video viewer more room while keeping the current tool state intact.
Press Esc to exit focus mode, the same way you close pop-ups and other overlays in the app.
Tool handoff
Use Image Tools and Video Tools for operation-specific controls. History is the workspace that keeps the selected asset, its entries, its compare actions, and the current branch visible while those tools create new outputs.